“`html
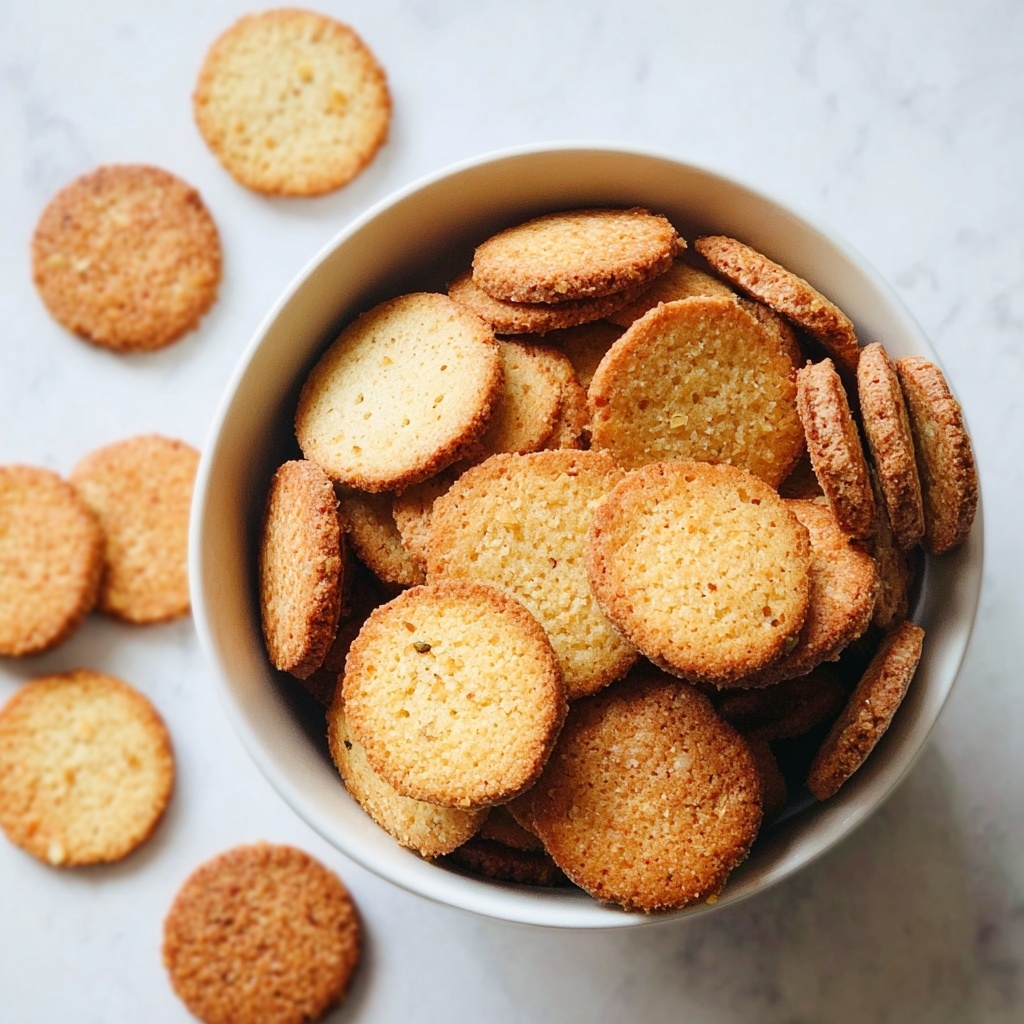
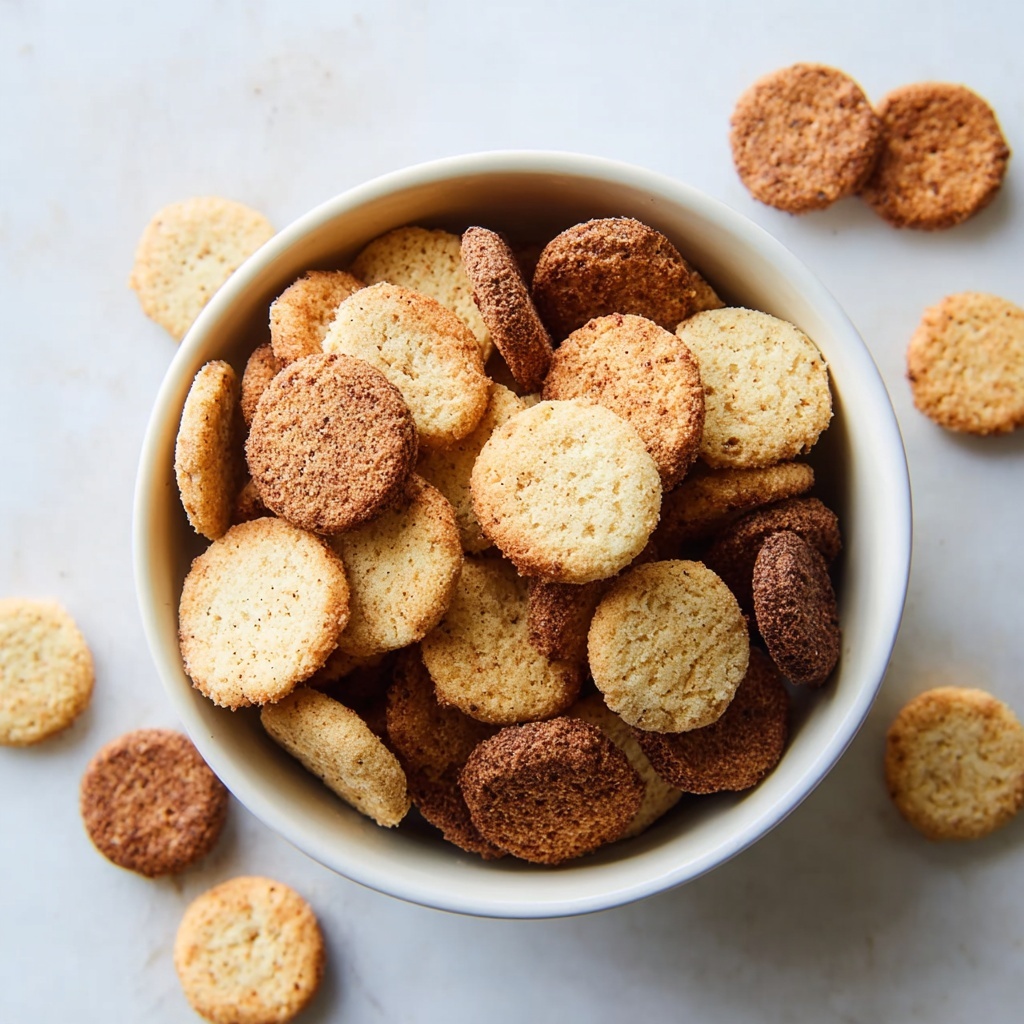
If you have a soft spot for nostalgic cookies that melt delicately in your mouth, then this Vegan Vanilla Wafers Recipe will become your new favorite go-to treat. Imagine light, golden-brown wafers packed with rich vanilla aroma and just the right amount of sweetness, yet completely plant-based. These homemade vegan vanilla wafers bring together simple pantry staples in a way that feels both comforting and exciting, making every bite an irresistible experience. Whether you’re baking to share with friends or simply indulging yourself, these crunchy, buttery cookies are guaranteed to brighten your day and warm your heart.
Ingredients You’ll Need
To make these charming vegan vanilla wafers, you’ll be working with a handful of basic yet essential ingredients that create the perfect balance of texture, flavor, and color. Each one has a specific role, bringing depth and harmony to the final cookies.
- Vegan butter: Provides richness and a tender crumb, crucial for that buttery texture.
- Granulated sugar: Sweetens the dough while helping to create a crisp finish when baked.
- Aquafaba: This magical chickpea brine acts as an egg replacer, adding moisture and structure.
- Vanilla extract: The star flavoring that breathes life into the wafers with warm, fragrant notes.
- Plain flour: The foundation that holds the dough together and gives the wafers their delicate bite.
- Baking powder: Provides a gentle lift, making these cookies light and airy.
- Sea salt: Enhances every flavor and balances the sweetness perfectly.
- Soy milk (or almond/oat milk): Adds moisture and helps bind ingredients while keeping things dairy-free.
How to Make Vegan Vanilla Wafers Recipe
Step 1: Prepare for Success
Begin by preheating your oven to 175°C (347°F) and readying two large baking trays with parchment paper. This upfront setup allows for smooth baking and easy cleanup. If your trays are smaller, plan on baking in batches to keep the wafers perfectly spaced and evenly baked.
Step 2: Cream Vegan Butter and Sugar
In a large bowl or stand mixer, whisk the vegan butter and sugar together for 3 to 4 minutes until the mixture becomes light, airy, and creamy. This process is key for incorporating air, which translates into the airy texture of the wafers.
Step 3: Add Aquafaba and Vanilla
Slowly pour the aquafaba into the whipped butter and sugar while continuing to whisk. This will keep the mixture smooth and slightly fluffy. Next, whisk in the welcoming warmth of vanilla extract to infuse that unmistakable flavor that defines the dish.
Step 4: Combine Dry Ingredients and Wet Mixture
In a separate bowl, stir together flour, baking powder, and sea salt before sifting them into the wet ingredients. Add the soy milk to the bowl, then gently fold everything together with a spatula until just combined — overmixing can toughen the dough and affect the delicate crumb.
Step 5: Pipe the Wafers
Transfer the cookie dough into a piping bag fitted with a medium tip or simply snip off the end if using a disposable bag. Pipe the dough onto your prepared trays in small, even mounds about one teaspoon each for petite wafers or up to one and a half teaspoons for larger bites. Be sure to leave roughly 1.5-2 inches between each mound for even baking. If any dough remains, store it in the fridge until you’re ready to bake the next batch.
Step 6: Bake to Golden Perfection
Bake the wafers for about 12 minutes or until they turn an even golden brown. Once out of the oven, let the cookies rest for 5 minutes on the tray to firm up. Then slide the parchment with the wafers onto a cooling rack and allow them to cool completely for 15-20 minutes. This step ensures they crisp up perfectly and develop their signature snap.
How to Serve Vegan Vanilla Wafers Recipe
Garnishes
Simple garnishes like a light dusting of powdered sugar or a drizzle of dairy-free chocolate can elevate your vegan vanilla wafers from everyday treats to party-worthy delights. Fresh berries alongside the wafers also create a lovely contrast of flavors and colors.
Side Dishes
These wafers pair beautifully with a warm cup of tea or a creamy plant-based milk latte. You can also serve them alongside vegan puddings or fruit compotes for a full dessert experience that satisfies every craving.
Creative Ways to Present
Stack your vegan vanilla wafers with layers of dairy-free whipped cream and fruit preserves to create mini wafer sandwiches. Alternatively, crumble them over vegan ice cream as a crunchy topping or use them as a base for a no-bake vegan cheesecake crust.
Make Ahead and Storage
Storing Leftovers
Store any leftover vegan vanilla wafers in an airtight container at room temperature for up to a week. Proper storage keeps them crunchy and fresh, so you can enjoy their delightful texture any time.
Freezing
If you want to keep these cookies longer, freeze them in a sealed container or freezer bag. They freeze well for up to two months and thaw quickly at room temperature without losing their crispness.
Reheating
To bring back that freshly baked warmth, pop the wafers in a preheated oven at 160°C (320°F) for a few minutes. Avoid microwaving as it can soften the cookies and make them chewy rather than crisp.
FAQs
Can I substitute vegan butter with oil?
While oil can be used, vegan butter provides a firmer texture and buttery flavor essential to the wafers’ delicate crumb, so it’s recommended to stick with vegan butter for best results.
What if I don’t have aquafaba?
Aquafaba is an excellent egg replacer for binding and moisture. If unavailable, you might try flaxseed or chia seed gel, but expect a slightly different texture and taste.
Can I make the dough ahead of time?
Absolutely! You can prepare the dough and refrigerate it for up to 48 hours. Just bring it to room temperature before piping and baking.
Are these wafers gluten-free?
This recipe uses plain flour which contains gluten. To make a gluten-free version, you could experiment with gluten-free flour blends, but baking times and texture may vary.
How do I get the perfect crispness?
Ensuring the wafers cool completely on a wire rack after baking allows them to firm up and become crisp. Proper spacing on the pans during baking also promotes even crispness.
Final Thoughts
These vegan vanilla wafers bring together simplicity and flavor in the most charming way. Once you try this Vegan Vanilla Wafers Recipe, you’ll appreciate how approachable and rewarding baking vegan treats can be. Perfect for any occasion or simply as a sweet pick-me-up, I can’t wait for you to share these crisp, buttery bites with your loved ones.
“`
Print
Vegan Vanilla Wafers Recipe
- Prep Time: 10 minutes
- Cook Time: 12 minutes
- Total Time: 22 minutes
- Yield: Approximately 90-120 cookies (360g total)
- Category: Baking
- Method: Baking
- Cuisine: Vegan
- Diet: Vegan
Description
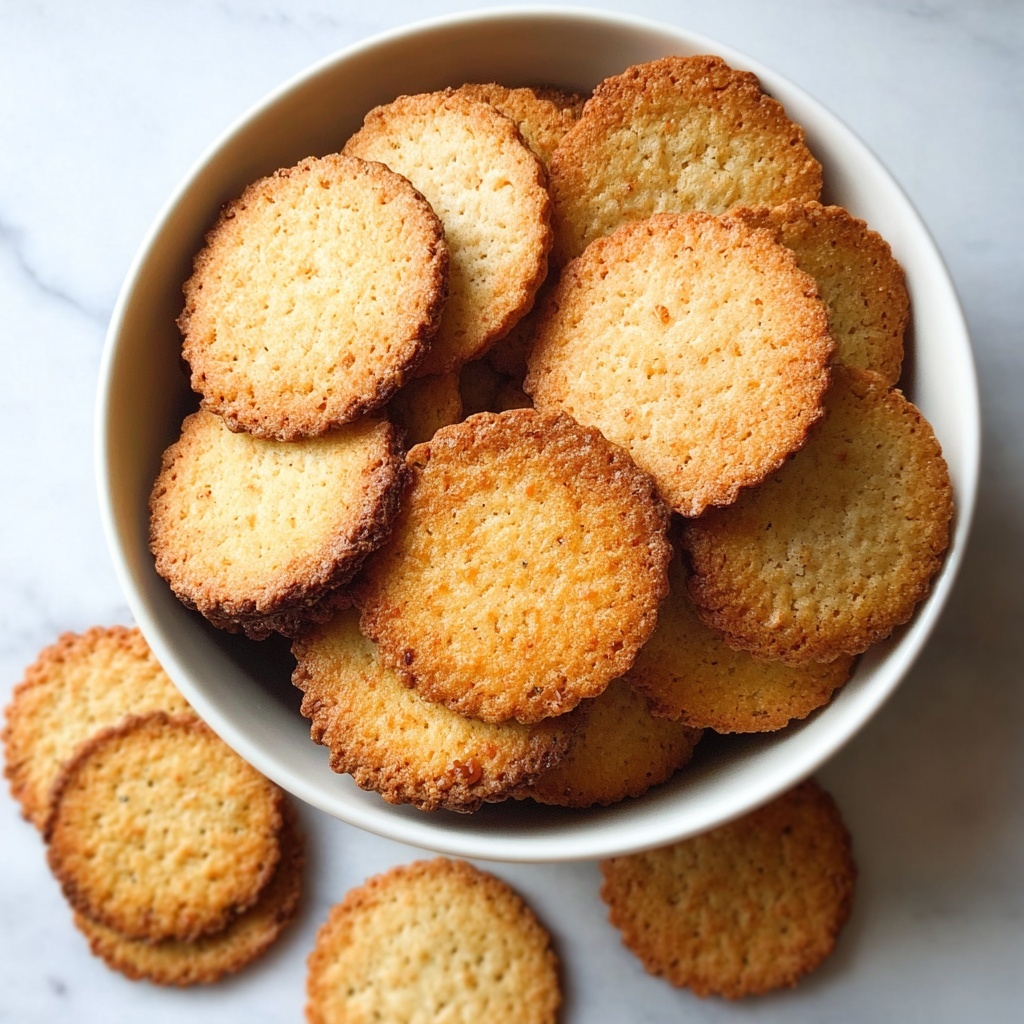
These Vegan Vanilla Wafers are deliciously light, crisp, and perfectly sweet, made entirely without animal products. Utilizing aquafaba as an egg substitute and vegan butter, these cookies offer a delightful vanilla flavor with a delicate texture. Ideal for snacking or pairing with tea, they are easy to bake and perfect for vegan and dairy-free diets.
Ingredients
Wet Ingredients
- 100 g vegan butter (room temperature)
- 120 g granulated sugar
- 40 ml aquafaba
- 2 tablespoons vanilla extract
- 1 tablespoon soy milk (or almond milk, or oat milk)
Dry Ingredients
- 170 g plain flour
- 1 teaspoon baking powder
- ½ teaspoon sea salt
Instructions
- Preheat Oven and Prepare Trays: Preheat your oven to 175°C (347°F) and line the base of two large baking trays with parchment paper. If your trays are smaller, you may need to bake the cookies in batches.
- Cream Butter and Sugar: In a large mixing bowl or stand mixer bowl, add vegan butter and granulated sugar. Whisk for 3–4 minutes until the mixture is light and fluffy, which helps incorporate air and ensures a tender texture.
- Add Aquafaba and Vanilla: Slowly pour in the aquafaba while continuing to whisk until well combined. Then whisk in the vanilla extract for flavor.
- Combine Dry Ingredients: In a medium bowl, stir together plain flour, baking powder, and sea salt. Sift this mixture into the wet ingredients. Add soy milk and gently fold everything together with a spatula until just combined, taking care not to overmix.
- Pipe the Dough: Transfer the cookie dough into a piping bag fitted with a medium tip. Pipe the dough onto the baking trays in evenly sized mounds—use about 1 teaspoon of dough for small wafers or 1.5 teaspoons for larger ones. Leave at least 1.5 to 2 inches space between each mound for spreading. If you have leftover dough after filling the trays, refrigerate it until ready to bake.
- Bake the Cookies: Place the trays in the oven and bake for 12 minutes, or until the cookies turn evenly golden brown. The edges should be crisp while the center remains slightly tender.
- Cool and Serve: Remove the trays from the oven and let the cookies cool on the baking sheets for about 5 minutes. Then carefully slide the parchment paper with cookies onto a cooling rack and allow them to cool completely for 15 to 20 minutes to achieve the perfect crisp texture before serving.
Notes
- Use vegan butter softened to room temperature for best creaming results.
- Aquafaba is the liquid from canned chickpeas and acts as an excellent egg substitute.
- You can substitute soy milk with almond or oat milk according to your preference.
- Ensure to leave enough space between piped dough mounds to allow for spreading during baking.
- Store any leftover cookies in an airtight container at room temperature to maintain crispness.


