
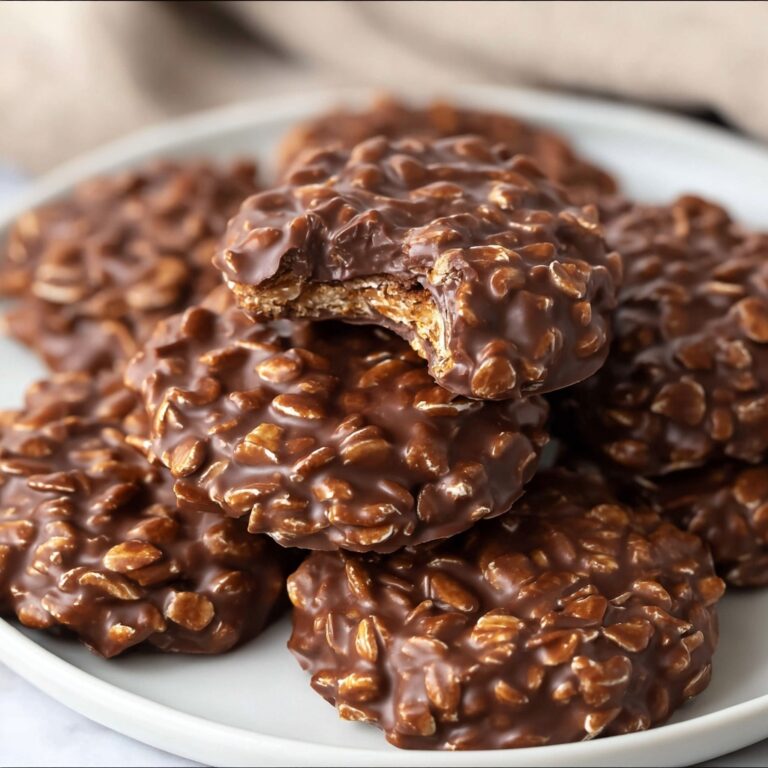
If you’re searching for a treat that perfectly balances rich, creamy chocolate with a dreamy marshmallow twist and a delightful crunch, look no further than the Original Fantasy Fudge Recipe. This nostalgic classic combines simple pantry staples into a luscious, melt-in-your-mouth confection that feels like a warm hug from your favorite memories. With each bite, you’ll experience the smooth texture of melted chocolate chips, the subtle hint of vanilla, and the pleasant snap of chopped walnuts, all making this fudge an irresistible indulgence to share with friends or savor on your own.
Ingredients You’ll Need
Gathering your ingredients is the first exciting step toward making the Original Fantasy Fudge Recipe. The beauty lies in how straightforward yet essential each component is—each ingredient plays a crucial role in creating the fudge’s signature texture and unforgettable flavor.
- 3 cups granulated sugar: Provides the sweet foundation that gives fudge its classic sugary taste and structure.
- ¾ cup margarine: Adds richness and a smooth mouthfeel—BlueBonnet brand recommended for best results.
- ⅔ cup evaporated milk: Contributes creamy depth, helping achieve the perfect chewiness without being greasy.
- 12 ounces semi-sweet chocolate chips: The star of the show, melting into a silky chocolate layer; Nestle Toll House brand works wonderfully.
- 7 ounces jar marshmallow creme: Infuses fudge with a dreamy fluffiness and classic marshmallow taste—Jet-Puff is a favorite choice.
- 1 teaspoon vanilla extract: Enhances all the sweet flavors and adds warmth and complexity.
- 1 cup chopped walnuts: Gives a delightful crunch and contrasts beautifully with the creamy fudge.
How to Make Original Fantasy Fudge Recipe
Step 1: Prepare Your Pan
Line a 9×13-inch straight-sided baking pan with parchment paper, making sure to leave some overhang on the sides. This little trick makes it so much easier to lift the fudge out when it’s time to slice, keeping everything neat and hassle-free.
Step 2: Combine Sugar, Margarine, and Evaporated Milk
Place the granulated sugar, margarine, and evaporated milk into a medium saucepan over medium heat. Stir constantly to blend everything well. This mixture is the backbone of your fudge, and stirring ensures it heats evenly and the sugar dissolves properly.
Step 3: Bring to a Rolling Boil
Once the mixture starts bubbling vigorously, keep stirring and allow it to boil for exactly 5 minutes. This critical timing creates the perfect consistency to achieve fudge that’s firm yet tender.
Step 4: Melt in the Chocolate Chips
Remove the pan from heat and immediately stir in the semi-sweet chocolate chips. Stir until they fully melt and the mixture turns glossy and smooth, which is the magical texture you’re aiming for.
Step 5: Add Marshmallow Creme and Vanilla
Next, fold in the marshmallow creme and vanilla extract, stirring continuously so the mixture becomes uniform without any streaks. The marshmallow creme brings that luscious, fluffy quality to your Original Fantasy Fudge Recipe that makes it truly special.
Step 6: Mix in the Walnuts
Finally, stir in the chopped walnuts. Distributing these evenly gives you delicious bites with just the right amount of crunch.
Step 7: Pour and Spread
Pour the fudge mixture into your prepared pan. Use a small offset spatula or the back of a spoon to smooth out the top. Even spreading ensures your fudge is uniform and perfect for slicing.
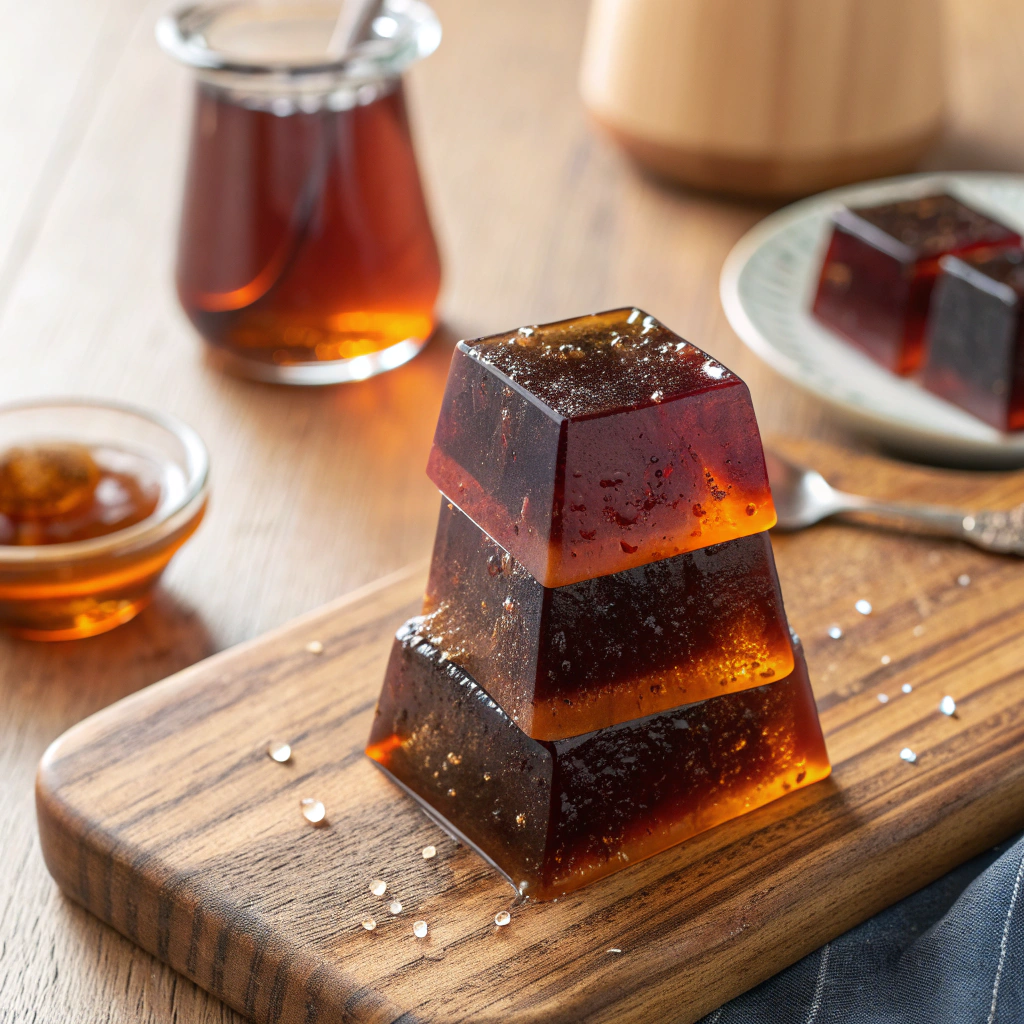
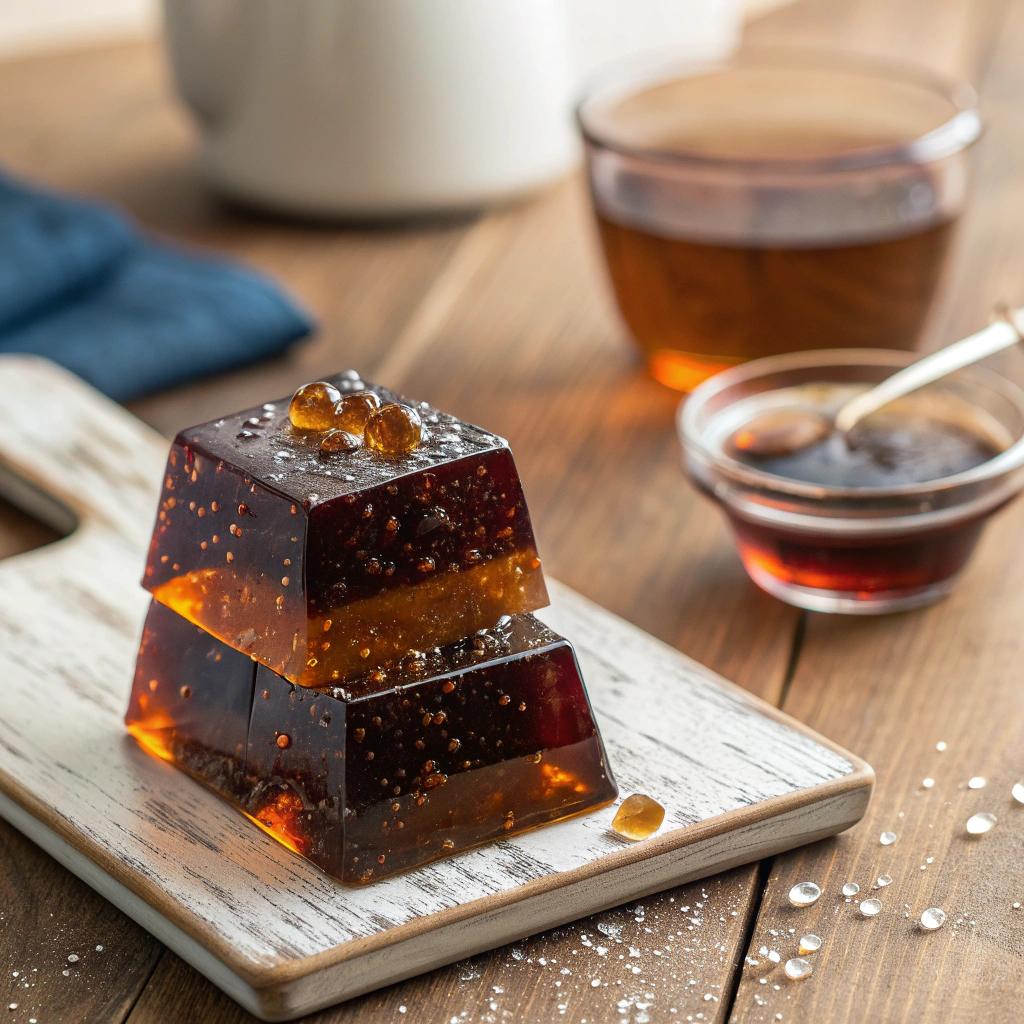
Step 8: Cool and Slice
Let the fudge cool completely at room temperature before lifting it out of the pan using the parchment paper overhang. Once set, slice into 1×1-inch squares. These irresistible pieces are now ready to delight your taste buds!
How to Serve Original Fantasy Fudge Recipe
Garnishes
While the Original Fantasy Fudge Recipe is incredible on its own, adding a sprinkle of finely chopped nuts or a light dusting of cocoa powder on top can elevate presentation and add a hint of extra texture or flavor. For a festive touch, try colorful sprinkles or tiny edible glitter.
Side Dishes
This fudge pairs wonderfully with a hot cup of coffee or tea, balancing its sweetness with warm, comforting drinks. For dessert tables, serve alongside fresh berries or a dollop of lightly whipped cream to add freshness and contrast.
Creative Ways to Present
Looking to impress guests? Arrange fudge pieces in decorative boxes or small mason jars lined with parchment paper. You can even layer fudge squares with nuts or dried fruit in a glass dish for a stunning, shareable dessert centerpiece.
Make Ahead and Storage
Storing Leftovers
Store any leftover fudge in an airtight container at room temperature for up to one week. This keeps it soft and fresh, making it easy to grab a sweet bite anytime.
Freezing
The Original Fantasy Fudge Recipe freezes beautifully. Wrap individual pieces tightly in plastic wrap and place in a freezer-safe container. When well stored, fudge can keep for up to three months.
Reheating
When you’re ready to enjoy frozen fudge, simply thaw it overnight in the refrigerator or at room temperature for a few hours. Avoid microwaving to maintain its perfect texture.
FAQs
Can I substitute butter for margarine?
Absolutely! Butter works well and often adds a richer flavor, though margarine helps keep the fudge slightly softer. Choose what suits your taste and dietary preferences.
What if I don’t have evaporated milk?
You can use regular milk, but evaporated milk provides a creamier consistency that’s key to the recipe’s texture. If in a pinch, mix regular milk with a bit less water content.
Can I omit the walnuts?
Yes, if you prefer nut-free fudge or have allergies, simply leave them out. The fudge will still be deliciously creamy and chocolatey without the nuts.
How long does this fudge take to set?
Typically, the fudge needs a few hours at room temperature to fully set. If you’re in a hurry, chilling it in the refrigerator can speed up the process.
Is it possible to make this fudge vegan?
This traditional Original Fantasy Fudge Recipe uses margarine and evaporated milk, so to make it vegan, look for plant-based margarine and a non-dairy evaporated milk alternative, and ensure marshmallow creme is free of gelatin.
Final Thoughts
The Original Fantasy Fudge Recipe is a timeless delight that’s as fun to make as it is to eat. Its perfect balance of ingredients and textures brings joy with every bite, whether you’re gifting it to loved ones or treating yourself. Dive in, enjoy the process, and discover why this fudge recipe has such a special place in the hearts of so many fudge lovers.
Print
Original Fantasy Fudge Recipe
- Prep Time: 10 minutes
- Cook Time: 15 minutes
- Total Time: 25 minutes
- Yield: 36 pieces (1×1 inch each)
- Category: Dessert
- Method: Stovetop
- Cuisine: American
Description
This original fantasy fudge recipe offers a rich and creamy treat made with semi-sweet chocolate, marshmallow creme, and crunchy walnuts. Perfectly smooth and sweet, this fudge is an ideal classic dessert to share, featuring a buttery texture and a balance of chocolate and nutty flavors.
Ingredients
Fudge Base
- 3 cups granulated sugar
- ¾ cup margarine (BlueBonnet brand used)
- ⅔ cup evaporated milk
- 12 ounces semi-sweet chocolate chips (Nestle Toll House brand used)
- 7 ounces jar marshmallow creme (Jet-Puff brand used)
- 1 teaspoon vanilla extract
Add-ins
- 1 cup chopped walnuts
Instructions
- Prepare the Pan: Line a 9×13-inch straight-sided baking pan with parchment paper, leaving extra paper overhang on the sides to easily lift the fudge out after it sets.
- Combine Ingredients: In a 3-4 quart saucepan over medium heat, add granulated sugar, margarine, and evaporated milk. Stir the mixture well to combine before heating.
- Boil the Mixture: Cook over medium heat, stirring constantly for 5-8 minutes until the mixture reaches a rolling boil. Once boiling, maintain the boil and continue stirring for exactly 5 minutes, then remove from heat promptly.
- Melt Chocolate: Immediately stir in the semi-sweet chocolate chips until fully melted and smooth to create the chocolate fudge base.
- Add Marshmallow and Vanilla: Mix in the marshmallow creme and vanilla extract, stirring thoroughly until the mixture is smooth and no streaks remain.
- Incorporate Walnuts: Fold in the chopped walnuts evenly throughout the fudge mixture.
- Pour and Spread: Transfer the fudge mixture into the prepared pan, spreading it evenly using a small offset spatula for a smooth surface.
- Cool and Slice: Allow the fudge to cool completely at room temperature. Once set, lift it out using the parchment overhang and slice into 1×1-inch square pieces for serving.
Notes
- Use parchment paper for easy removal and clean slicing.
- Stirring constantly during boiling is crucial to prevent burning or grainy texture.
- For a nuttier version, substitute walnuts with pecans or almonds.
- Ensure the fudge has completely cooled to room temperature before slicing for clean cuts.
- Store fudge in an airtight container at room temperature for up to one week or refrigerate for longer freshness.


