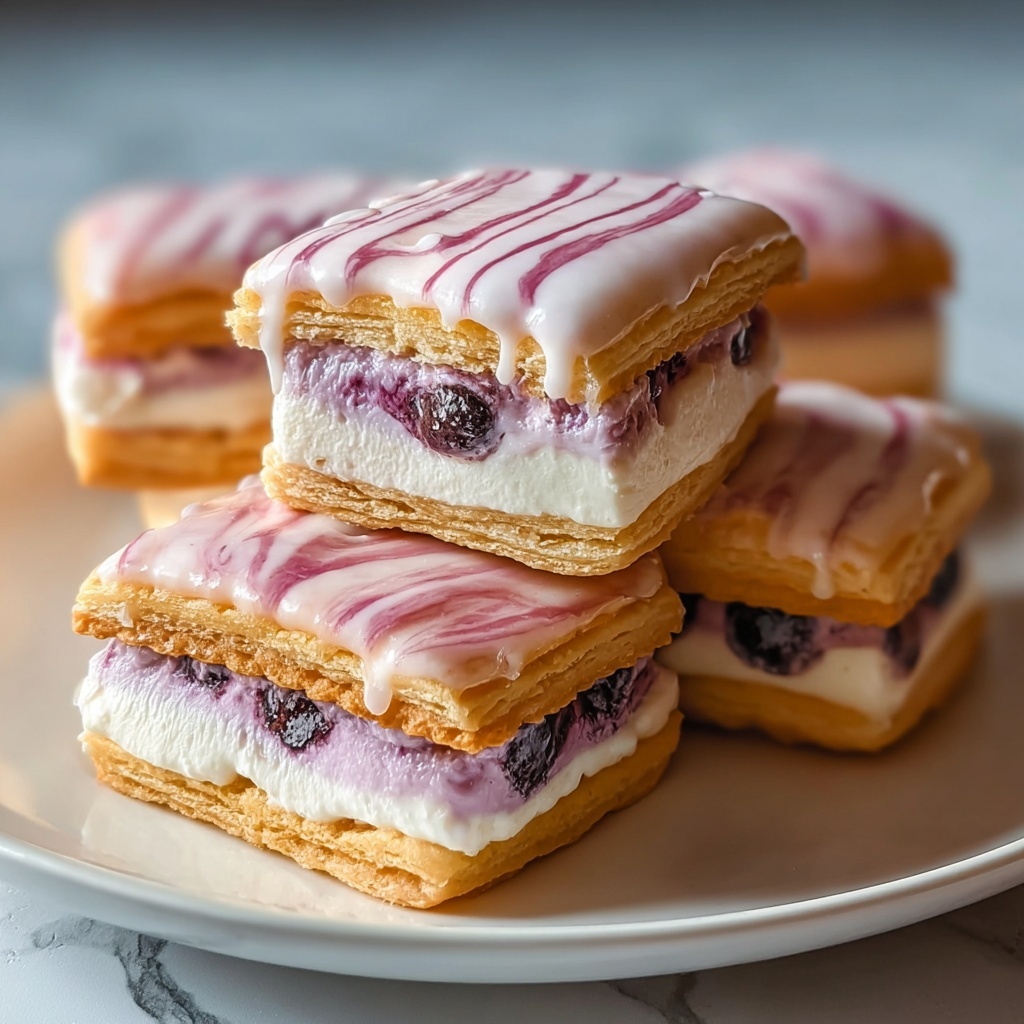
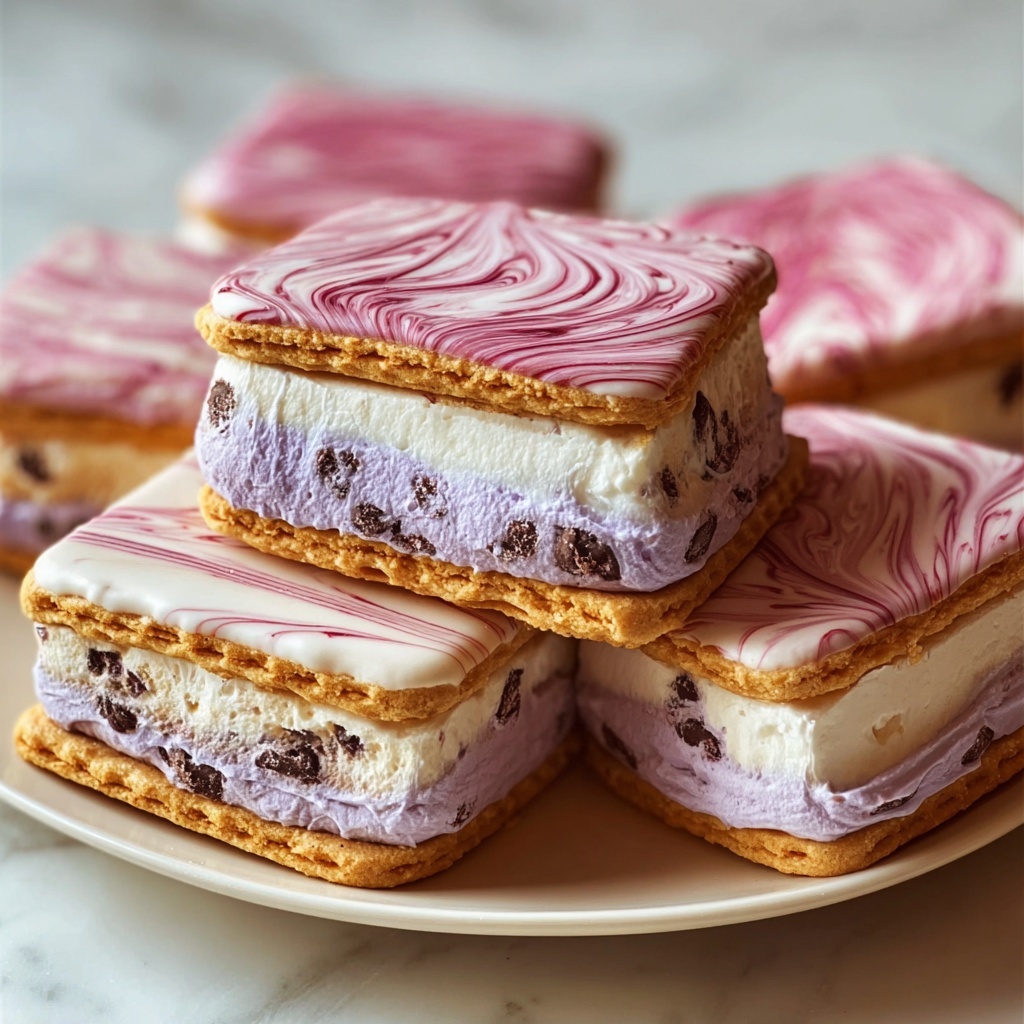
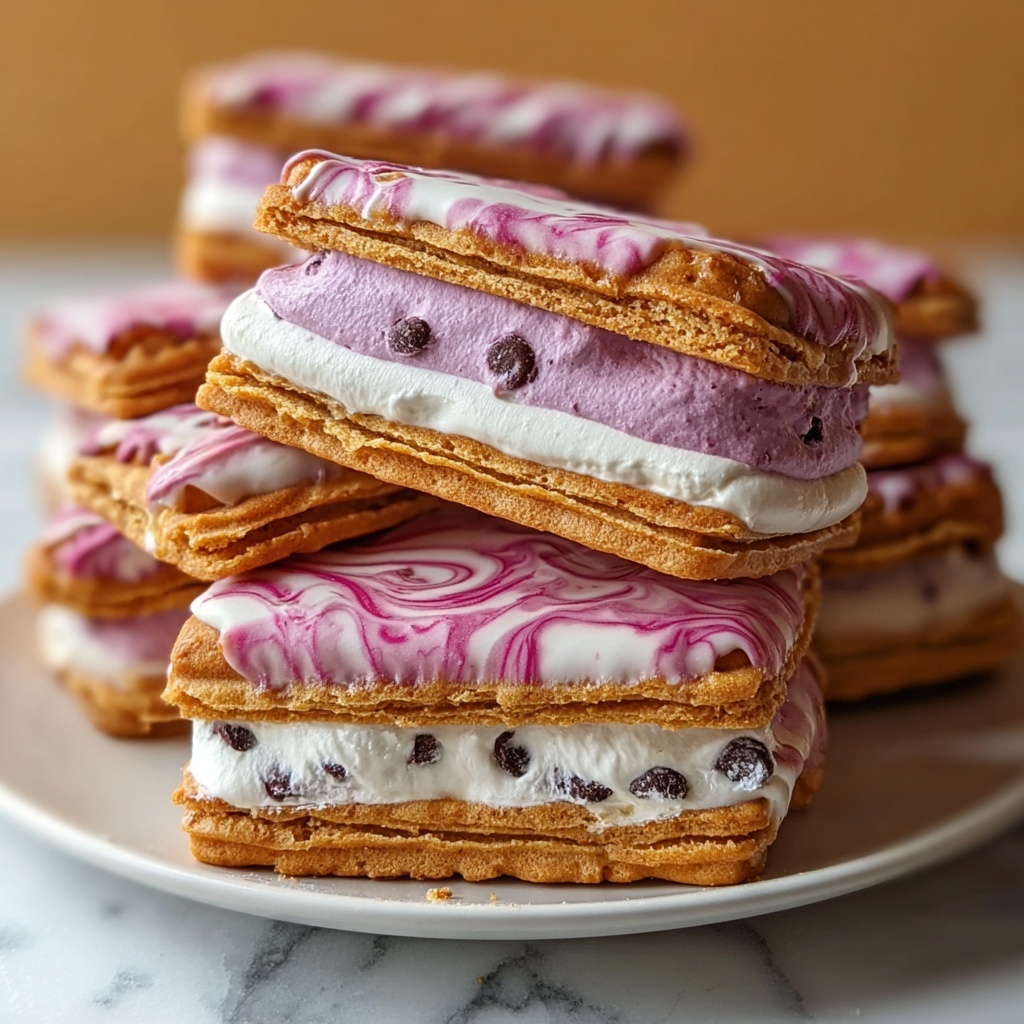
If you’re ready to brighten up your dessert game with something as delightful to eat as it is to look at, then the Glow Swirl Ice Cream Sandwiches Recipe is exactly what you need. This playful treat combines soft, colorful cookies with vibrant, neon-hued ice cream swirls that practically sparkle with fun. Whether you’re hosting a party or just craving a whimsical sweet, these ice cream sandwiches are a dazzling way to cool down and indulge your creative side.
Ingredients You’ll Need
These ingredients are simple yet essential, each playing a starring role to give you that perfect balance of texture, flavor, and radiant color. From the buttery cookies to the creamy neon ice cream, every component works together like magic.
- All-purpose flour: The sturdy base for your soft, chewy cookies, crucial for structure.
- Baking soda: Adds lift and helps cookies achieve a tender crumb.
- Salt: Enhances the sweetness and balances the flavors perfectly.
- Unsalted butter, softened: Gives richness and keeps the cookie tender.
- Granulated sugar: Sweetens and adds a slight crisp edge to the cookies.
- Large egg: Binds ingredients, creating a smooth, cohesive dough.
- Vanilla extract: Adds warm, comforting notes that complement the bright colors.
- Milk (optional): Just a splash for extra softness if your dough needs it.
- Neon food coloring: The star of the show for both cookies and ice cream, bringing vibrant hues.
- Vanilla ice cream, softened: The creamy, cool filling that melts beautifully inside your sandwich.
- Powdered sugar (optional): Helps stabilize the ice cream so it stays scoopable and colorful.
How to Make Glow Swirl Ice Cream Sandwiches Recipe
Step 1: Prepare the Cookie Dough
Start by preheating your oven to 350°F (175°C) and lining a baking sheet with parchment paper. Mixing the dry ingredients first — flour, baking soda, and salt — gives you a well-balanced dough base. Then, cream the softened butter with sugar until fluffy, beat in your egg and vanilla, and combine everything. Adding a bit of milk here can soften the dough perfectly if it feels too stiff. Now, divide your dough by the number of neon colors you want to work with and knead the food coloring in until each portion shines brightly.
Step 2: Form the Swirl Cookies
Roll small balls from each colored dough and arrange them touching on the baking sheet. Press gently and flatten to combine the colors visually without mixing them completely. This creates the signature glow swirl effect in each cookie. Bake for just 8 to 10 minutes until the edges start to turn a light golden, taking care not to overbake so the cookies stay soft and chewy.
Step 3: Color the Ice Cream
While the cookies cool, soften your vanilla ice cream and divide it into bowls corresponding to your chosen colors. Stir in neon food coloring until each bowl glows with vivid shades. Adding powdered sugar is a clever trick to stabilize your icy filling, so it holds shape beautifully when sandwiched.
Step 4: Assemble the Ice Cream Sandwiches
Once the cookies are fully cooled, scoop a generous swirl of your neon ice cream onto the flat side of one cookie, then top it with another cookie to create your sandwich. Place the completed treats on a parchment-lined tray and freeze them for at least 1 to 2 hours to firm up, locking in that eye-catching glow swirl for the perfect presentation.
How to Serve Glow Swirl Ice Cream Sandwiches Recipe
Garnishes
Adding a little extra sparkle to your Glow Swirl Ice Cream Sandwiches is super fun and makes them even more irresistible. Consider sprinkling edible glitter or tiny candy beads around the edges for texture and shine. Fresh mint leaves or a drizzle of berry sauce can complement the neon colors with a fresh, natural touch that balances the sweetness.
Side Dishes
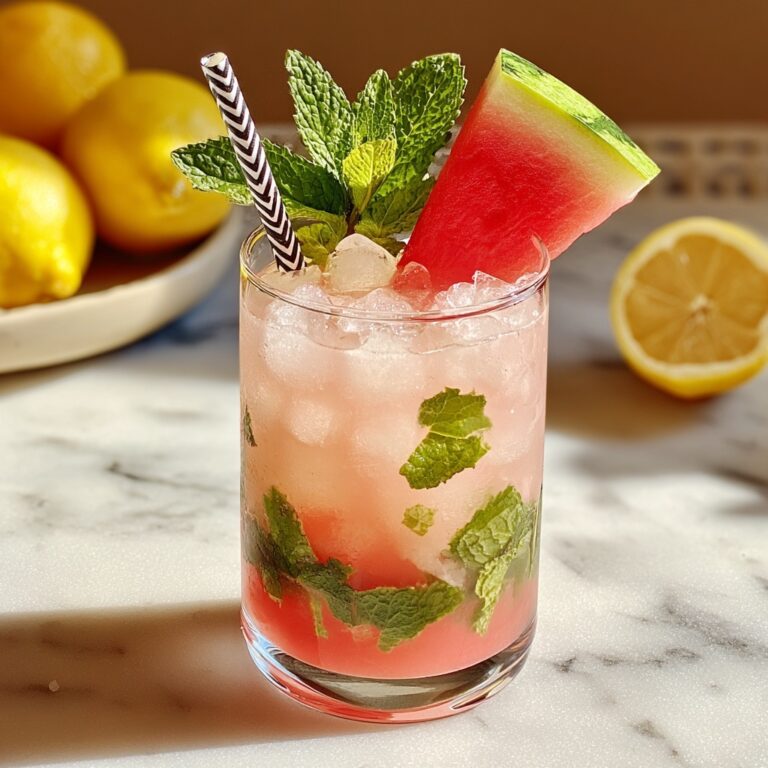
Pairing these sandwiches with light, refreshing sides lets them steal the spotlight without overwhelming your palate. Fresh fruit salads, like a mix of kiwi, mango, and berries, highlight the bright colors and add a juicy contrast. Or try a simple sparkling lemonade to cut through the richness and keep the whole experience lively and festive.
Creative Ways to Present
Presentation is everything when serving Glow Swirl Ice Cream Sandwiches Recipe! Try stacking different colored sandwiches on a clear acrylic cake stand under some UV or black lights to make the neon really pop. Wrapping each sandwich in translucent parchment tied with colorful ribbons creates a gift-like vibe perfect for parties. For smaller bites, cut the sandwiches into fun shapes with cookie cutters—hearts, stars, or circles—making every serving shareable and Instagram-worthy.
Make Ahead and Storage
Storing Leftovers
If you happen to have any leftover Glow Swirl Ice Cream Sandwiches, keep them stored tightly wrapped in plastic wrap or in an airtight container to prevent ice crystals from forming. This will maintain their soft cookie texture and the vibrant ice cream colors for several days in the freezer.
Freezing
These sandwiches freeze beautifully! After assembly, freeze them on a tray uncovered for 1-2 hours to firm, then wrap individually for long-term storage. When kept properly, the frozen treats can be enjoyed anytime without losing that exciting neon glow or creamy softness.
Reheating
Since these are ice cream sandwiches, you wouldn’t want to heat them up completely, but letting them sit at room temperature for about 5 minutes before serving softens the ice cream slightly and makes biting in a joy. Avoid microwaving, as it melts the ice cream too much and changes the cookie texture.
FAQs
Can I use different ice cream flavors for this recipe?
Absolutely! While vanilla is a classic choice that lets the colors shine, you can use any ice cream flavor that complements the neon theme. Just make sure it’s softened enough to mix with food coloring smoothly.
Will the neon colors stain my hands or surfaces?
Neon food coloring can be stubborn, so it’s a good idea to wear disposable gloves while kneading the dough or color mixing the ice cream. Also, protect your workspace with parchment or a silicone mat to avoid staining.
Can I make the cookies ahead without assembling the sandwiches?
Yes! You can bake the colorful cookies in advance and store them in an airtight container for several days. Assemble the ice cream sandwiches when you’re ready to serve for the best texture and freshness.
How long do these sandwiches last once made?
Stored properly in the freezer, your Glow Swirl Ice Cream Sandwiches Recipe will stay delicious for up to two weeks. Just make sure they’re well wrapped to keep them from drying out or absorbing freezer smells.
Is there a way to make the ice cream swirl more defined?
For a sharper swirl effect, use a piping bag to layer different colored ice creams inside before pressing cookies together. This technique helps the colors stay distinct instead of blending too much.
Final Thoughts
There is something truly joyful about making and sharing the Glow Swirl Ice Cream Sandwiches Recipe. It’s a treat that dazzles the eyes and delights the taste buds all at once. If you want to impress your friends or just add some vibrant fun to your dessert rotation, give this recipe a try and watch your creations glow with happiness on every bite!
Print
Glow Swirl Ice Cream Sandwiches Recipe
- Prep Time: 30 minutes
- Cook Time: 10 minutes
- Total Time: 40 minutes
- Yield: 12 servings
- Category: Dessert
- Method: Baking
- Cuisine: American
Description
Glow Swirl Ice Cream Sandwiches are vibrant, fun treats featuring neon-colored swirl cookies sandwiching colorful, stabilized ice cream. Perfect for glow-in-the-dark or neon-themed parties, these soft, chewy cookies paired with creamy ice cream deliver a visually stunning and delicious dessert experience.
Ingredients
Cookies
- 1 1/2 cups all-purpose flour
- 1 teaspoon baking soda
- 1/2 teaspoon salt
- 1/2 cup unsalted butter, softened
- 1 cup granulated sugar
- 1 large egg
- 1 teaspoon vanilla extract
- 1 tablespoon milk (optional, for extra softness)
- Neon food coloring (red, blue, green, or your choice of colors)
Ice Cream Filling
- 4 cups vanilla ice cream (or any ice cream of your choice, softened)
- Neon food coloring (same colors as the cookies or any desired shades)
- 1 tablespoon powdered sugar (optional, for stabilization)
Instructions
- Prepare the Cookie Dough: Preheat your oven to 350°F (175°C) and line a baking sheet with parchment paper to prevent sticking.
- Mix Dry Ingredients: In a medium bowl, whisk together the all-purpose flour, baking soda, and salt to evenly distribute the leavening agents and salt.
- Cream Butter and Sugar: In a separate large bowl, cream the softened unsalted butter and granulated sugar until light and fluffy, which should take about 2-3 minutes with a mixer.
- Add Egg and Vanilla: Beat in the large egg and vanilla extract to the butter-sugar mixture until fully combined, creating a smooth batter.
- Combine Wet and Dry Mixtures: Gradually add the dry ingredients into the wet mixture, mixing just until the dough forms and is combined.
- Adjust Dough Consistency: If the dough feels too thick or dry, incorporate up to a tablespoon of milk to soften it for easier handling and a softer cookie texture.
- Divide Dough for Coloring: Split the dough into 3 to 4 small portions depending on how many neon colors you want to use for the swirl effect.
- Color the Dough: Add a few drops of neon food coloring to each portion and knead thoroughly until the color is evenly distributed. Use gloves to avoid staining your hands.
- Shape Multicolored Dough: Roll small balls of each colored dough and place them close together on the baking sheet so the colors touch but do not mix fully.
- Form Cookie Mounds: Gently press the dough balls together and flatten them slightly with your palm, creating multi-colored mound shapes for a swirl effect.
- Bake Cookies: Bake on the preheated baking sheet for 8-10 minutes or until the edges are just lightly golden. Avoid overbaking to keep cookies soft.
- Cool Cookies: Remove from oven and transfer cookies to a wire rack to cool completely before assembly.
- Prepare Colored Ice Cream: In separate bowls, divide the softened vanilla ice cream into portions matching the number of cookie colors and add matching neon food coloring to each, stirring well for even color.
- Stabilize Ice Cream: Optionally, mix in a tablespoon of powdered sugar into the colored ice cream to help prevent quick melting.
- Assemble Sandwiches: Once cookies are fully cooled, scoop a generous amount of neon-colored ice cream onto the flat side of one cookie.
- Complete Sandwich: Place a second cookie on top of the ice cream and gently press to create a sandwich.
- Repeat Assembly: Continue assembling all cookies in this manner until finished.
- Freeze Sandwiches: Arrange the sandwiches on a baking sheet lined with parchment paper and freeze for at least 1-2 hours to allow the ice cream to firm up properly.
- Serve: Serve the Glow Swirl Ice Cream Sandwiches chilled; their neon colors will glow vibrantly under UV light, perfect for themed parties.
Notes
- Use gloves when handling neon food coloring to prevent skin staining.
- If dough is too firm, add milk gradually to achieve soft and pliable consistency.
- Do not overbake cookies to maintain a soft, chewy texture ideal for ice cream sandwiches.
- Powdered sugar in ice cream filling stabilizes it to help prevent melting during handling.
- For best visual effect, serve under UV or black light.
- Ice cream should be softened slightly before coloring for easier mixing.
- Store assembled sandwiches in an airtight container in the freezer to maintain freshness.


