
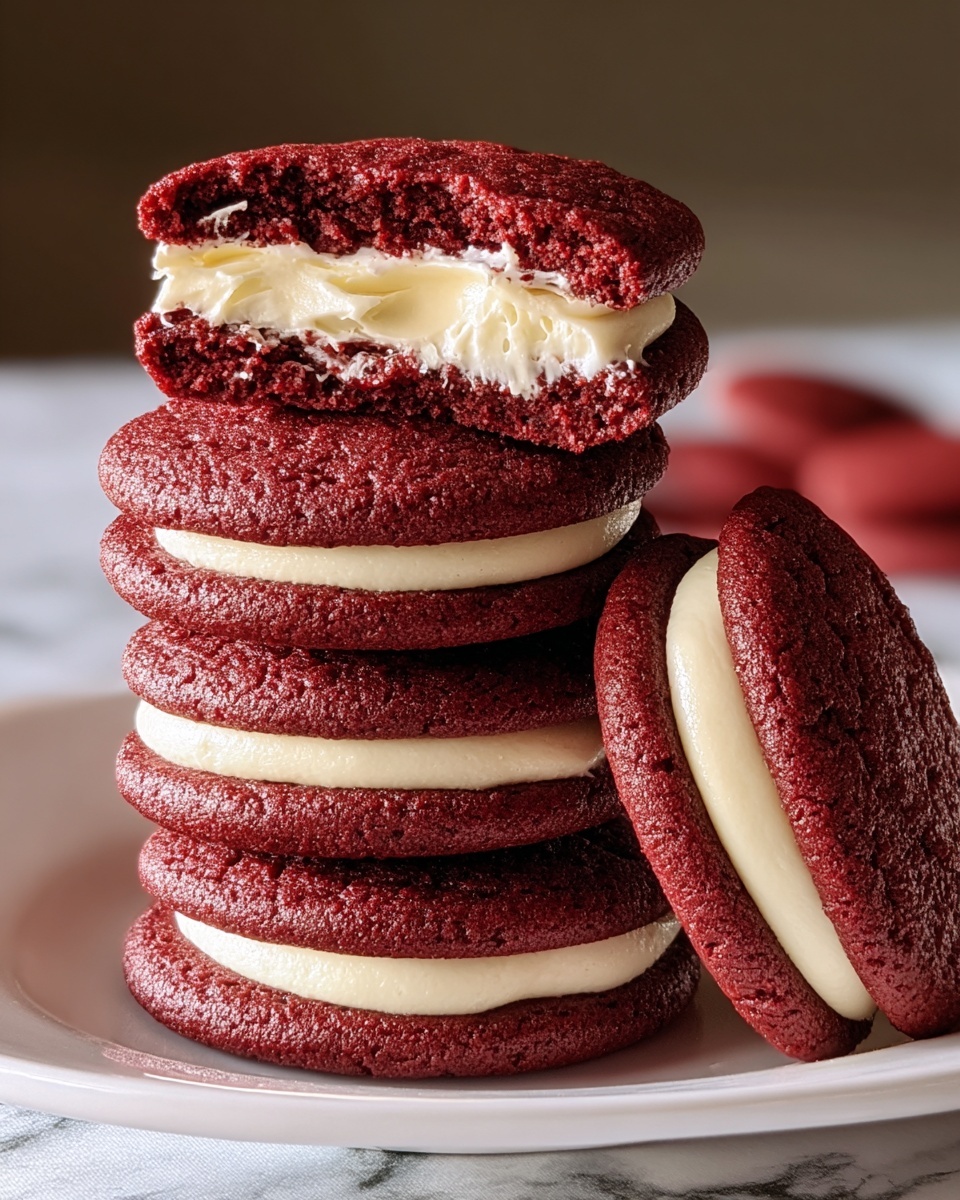
If you’ve been searching for a show-stopping treat that combines rich flavor and a surprising twist, these Luscious Red Velvet Cookies with Creamy Cheesecake Filling Recipe are absolutely the answer. Imagine soft, tender red velvet cookies with a hint of cocoa kissed by a smooth, luscious cheesecake surprise melting in every bite. This recipe balances vibrant color, indulgent sweetness, and a creamy center so perfectly, it’s sure to become your new favorite indulgence to make and share.
Ingredients You’ll Need
These ingredients are straightforward and come together to create an irresistible balance of taste and texture. Each component plays an important part—from the rich cocoa powder enhancing deep flavor to the tangy cream cheese that makes the filling irresistibly smooth.
- All-purpose flour: The sturdy base providing structure and softness for the cookies.
- Cocoa powder: Adds a subtle chocolate note that deepens the red velvet flavor.
- Baking soda: Helps the cookies rise and become tender.
- Salt: Enhances and balances sweetness perfectly.
- Unsalted butter: Brings richness and moisture, creating a melt-in-your-mouth crumb.
- Granulated sugar: Sweetens and helps with thecookie’s chewy texture.
- Large egg: Binds the ingredients together and contributes to the cookie’s tender crumb.
- Vanilla extract: Offers warmth and depth to the overall flavor.
- Red food coloring: Gives that iconic red velvet vibrancy these cookies are known for.
- Buttermilk (or milk): Adds slight acidity which enhances the tender texture and classic flavor.
- Cream cheese, softened: The star of the filling, providing that creamy, tangy contrast inside.
- Powdered sugar: Sweetens the cheesecake filling without graininess.
How to Make Luscious Red Velvet Cookies with Creamy Cheesecake Filling Recipe
Step 1: Preheat and Prepare
Start by preheating your oven to 350°F (175°C). Line a baking sheet with parchment paper to ensure the cookies bake evenly and don’t stick. This simple prep work sets the stage for success.
Step 2: Prepare the Cream Cheese Filling
In a mixing bowl, combine the softened cream cheese, powdered sugar, and vanilla extract. Whip these together until you achieve a perfectly smooth and creamy filling. Set this mixture aside—it’s the delicious surprise waiting inside each cookie!
Step 3: Make the Dough
Whisk the flour, cocoa powder, baking soda, and salt together in a medium bowl. In a separate large bowl, cream the softened butter and granulated sugar until the mixture looks light and fluffy—this is key to tender cookies. Add in the egg, vanilla extract, red food coloring, and buttermilk, blending until all wet ingredients are incorporated. Gradually add the dry ingredients to the wet, mixing just until you form a soft cookie dough.
Step 4: Assemble the Cookies
Divide the dough into tablespoon-sized balls. Flatten each one slightly in your palm, then place a small spoonful of the cream cheese filling in the center. Wrap the dough around the filling, pinching the edges closed to seal that luscious surprise inside.
Step 5: Bake to Perfection
Place the assembled cookie balls on the prepared baking sheet, spaced about two inches apart. Bake for 10 to 12 minutes until the cookie edges look set but the centers are still soft. Allow them to cool on the sheet for 5 minutes before moving them to a wire rack to cool completely. This cooling step ensures the filling sets just right within the cookie.
How to Serve Luscious Red Velvet Cookies with Creamy Cheesecake Filling Recipe
Garnishes
Sprinkle a light dusting of powdered sugar over the cooled cookies to add a classic touch of elegance and extra sweetness. For a festive twist, try topping them with a small dollop of whipped cream or a drizzle of white chocolate to celebrate the luscious red velvet theme.
Side Dishes
Pair these cookies with a cold glass of milk to complement the rich cream cheese filling and balance the cookie’s sweetness. A cup of strong coffee or chilled vanilla almond milk can also enhance the flavor experience beautifully.
Creative Ways to Present
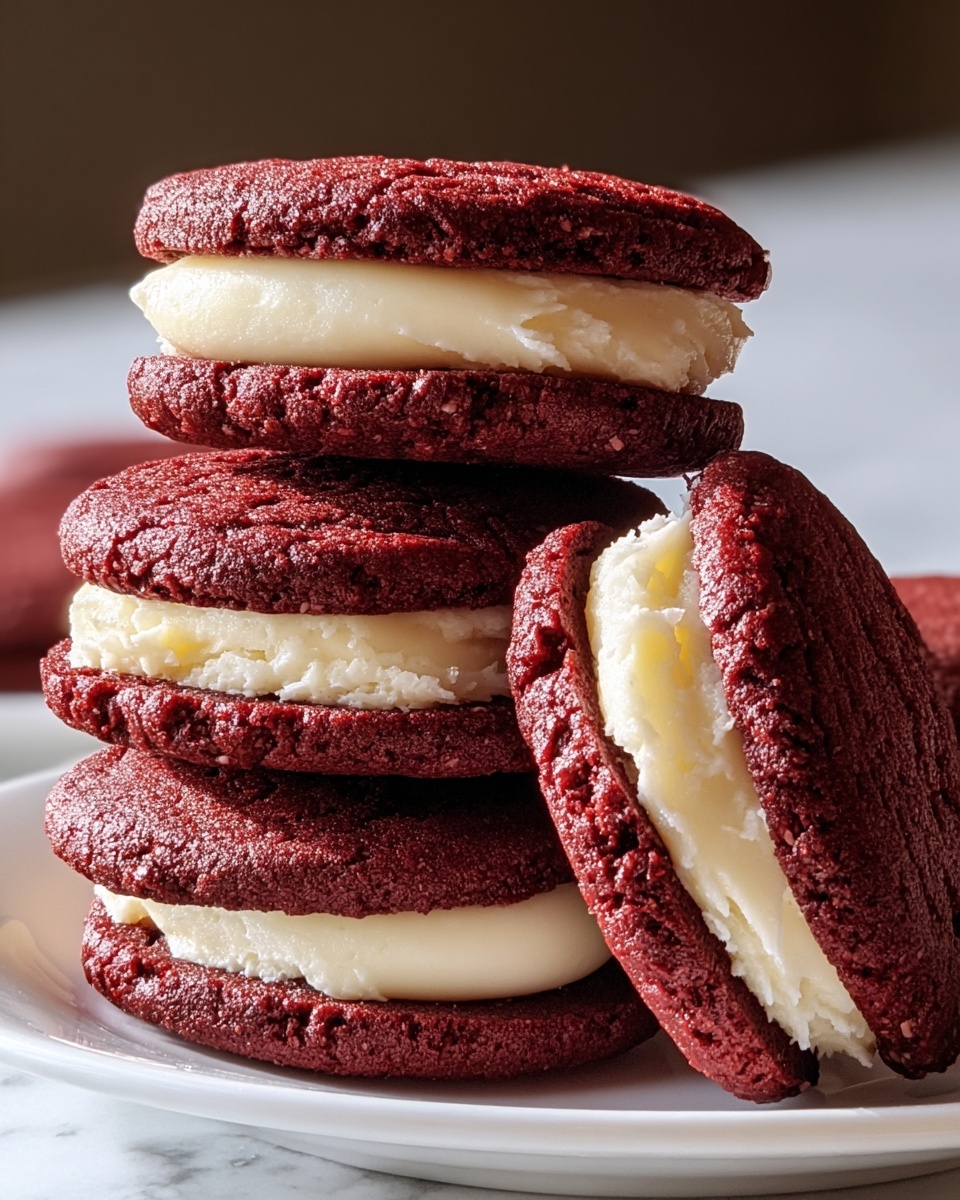
For parties, arrange these cookies on a tiered dessert stand for a stunning display that’s sure to impress guests. You can also sandwich two cookies together with extra cheesecake filling for a decadent cookie sandwich perfect for special occasions.
Make Ahead and Storage
Storing Leftovers
Store leftover cookies in an airtight container at room temperature for up to 3 days. This keeps the cookies soft while preserving the luscious cheesecake filling without drying out.
Freezing
You can freeze baked cookies in a single layer on a tray, then transfer them to a freezer-safe bag or container. For best flavor and texture, freeze up to one month and thaw at room temperature before serving.
Reheating
To enjoy freshly warm cookies, reheat them gently in a microwave for about 10 seconds or briefly in a preheated 300°F oven for 5 minutes. This revives their softness and makes the creamy filling melt slightly again, just like fresh out of the oven.
FAQs
Can I make the cream cheese filling ahead of time?
Absolutely! You can prepare the cream cheese filling a day in advance and keep it covered in the refrigerator. Just bring it to room temperature before using it to make rolling easier.
Is it necessary to use buttermilk?
While buttermilk adds a slight tang and tenderizes the dough, you can substitute it with regular milk if needed. Adding a teaspoon of lemon juice or vinegar to milk can mimic buttermilk’s effect perfectly.
Can I use natural red food coloring?
Yes, natural red food coloring made from beet juice or other plant-based sources works well. It may produce a slightly different shade but will still give you that vibrant red velvet look.
How do I prevent the cream cheese filling from oozing out while baking?
Sealing the dough completely around the filling is key. Make sure to pinch the dough edges tightly and smooth over any cracks to keep the cheesecake inside as the cookies bake.
Are these cookies suitable for a party dessert platter?
Definitely! These indulgent cookies are both visually stunning and delicious, making them a perfect addition to any dessert table or holiday gathering.
Final Thoughts
Making these Luscious Red Velvet Cookies with Creamy Cheesecake Filling Recipe is such a joyful experience, from mixing the vibrant dough to discovering that creamy surprise hidden inside. I promise, once you try them, they’ll become a beloved staple you’ll want to bake again and again, delighting family and friends with every batch. So go ahead—bake some magic in your kitchen today!
Print
Luscious Red Velvet Cookies with Creamy Cheesecake Filling Recipe
- Prep Time: 25 minutes
- Cook Time: 12 minutes
- Total Time: 37 minutes
- Yield: 24 cookies
- Category: Dessert
- Method: Baking
- Cuisine: American
Description
These Luscious Red Velvet Cookies feature a soft, cocoa-infused red dough with a decadent creamy cheesecake surprise hidden inside. Perfectly baked for tender edges and a slightly soft center, these cookies offer a delightful blend of classic red velvet flavor and rich cream cheese filling, ideal for holiday treats or any special occasion.
Ingredients
Dry Ingredients
- 2 1/2 cups all-purpose flour
- 1 tablespoon cocoa powder
- 1 teaspoon baking soda
- 1/2 teaspoon salt
Wet Ingredients & Dough
- 1/2 cup unsalted butter, softened
- 1 cup granulated sugar
- 1 large egg
- 2 teaspoons vanilla extract
- 1 tablespoon red food coloring
- 1 tablespoon buttermilk (or milk)
Cream Cheese Filling
- 8 oz cream cheese, softened
- 1/4 cup powdered sugar
- 1 teaspoon vanilla extract
Instructions
- Preheat the oven: Set your oven to 350°F (175°C) and prepare a baking sheet by lining it with parchment paper to prevent sticking and ensure even baking.
- Prepare the cream cheese filling: In a medium bowl, combine the softened cream cheese, powdered sugar, and vanilla extract. Mix thoroughly until the mixture is smooth and creamy. Set aside this filling to use later.
- Make the dough: In another bowl, whisk together the flour, cocoa powder, baking soda, and salt for the dry ingredients. Separately, cream the softened butter and granulated sugar together until the mixture is light and fluffy. Then, add the egg, vanilla extract, red food coloring, and buttermilk to the butter mixture, mixing well to combine all wet ingredients.
- Combine dry and wet ingredients: Gradually incorporate the dry ingredients into the wet mixture, stirring until a soft dough forms. Be careful not to overmix, just blend until combined.
- Assemble the cookies: Roll the dough into balls, approximately 1 tablespoon of dough each. Flatten each ball slightly and place a small spoonful of cream cheese filling in the center. Carefully fold the dough over the filling and seal completely, reshaping into a ball to encase the filling fully.
- Bake: Place the filled dough balls on the prepared baking sheet with some space between them. Bake in the preheated oven for 10 to 12 minutes, or until the edges are set and lightly firm while the centers remain soft.
- Cool: Allow the cookies to cool on the baking sheet for 5 minutes to firm up, then transfer them to a wire rack to cool completely before serving. This ensures the cream cheese filling stays intact and the cookies are perfectly textured.
Notes
- Use full-fat cream cheese for the best creamy texture in the filling.
- Red food coloring can be adjusted based on the desired intensity of the red velvet color.
- For buttermilk substitute, combine 1 tablespoon milk with 1 teaspoon vinegar or lemon juice and let sit for 5 minutes.
- Do not overbake to maintain a soft center with the creamy filling.
- Cookies can be stored in an airtight container in the refrigerator for up to 3 days.
- Bring cookies to room temperature before serving for the best flavor and texture.


