If you’ve ever found yourself daydreaming about those crisp, minty, chocolatey treats sold by Girl Scouts each year, you’re going to be absolutely thrilled with this Perfect Homemade Thin Mint Cookies Recipe. These cookies combine a tender, cocoa-infused base with a luscious peppermint-chocolate coating, delivering that iconic Thin Mint flavor straight from your own kitchen. Not only are they incredibly satisfying to make, but biting into one is like indulging in a delightful dance of refreshing mint and rich chocolate that’s simply irresistible.
Ingredients You’ll Need
Getting these cookies just right depends on simple, quality ingredients that each play an essential role. From the creamy butter that brings tenderness to the subtle peppermint extract that gives the cookies their signature zing, every component is crucial for that perfect bite.
- 1 cup unsalted butter, softened: Brings the cookie dough a smooth texture and rich flavor without added salt.
- 1 cup powdered sugar: Provides a delicate sweetness that blends seamlessly into the dough.
- 1 teaspoon vanilla extract: Adds warmth and depth to the cookie’s flavor.
- 1/2 teaspoon peppermint extract: Infuses the dough with that refreshing mint taste that defines Thin Mints.
- 1/2 cup unsweetened cocoa powder: Gives the cookies their signature chocolatey richness and dark color.
- 1 1/2 cups all-purpose flour: Forms the sturdy but tender base of the cookie dough.
- 1/4 teaspoon salt: Balances the sweetness and enhances the overall flavor.
- 12 ounces semi-sweet or dark chocolate chips: Perfect for melting into the shiny chocolate coating.
- 1/2 teaspoon peppermint extract (for coating): Added to the chocolate for an extra fresh burst of mint with every bite.
How to Make Perfect Homemade Thin Mint Cookies Recipe
Step 1: Cream Butter and Sugar
Start by beating the softened butter and powdered sugar together until the mixture becomes fluffy and smooth. This step is key for that melt-in-your-mouth texture and ensures your cookies won’t feel dense or heavy.
Step 2: Add Vanilla and Peppermint Extracts
Next, mix in the vanilla and peppermint extracts thoroughly. This is when the cookie dough starts taking on its iconic Thin Mint fragrance — a luscious blend of warm vanilla mellowed by crisp mint.
Step 3: Mix Dry Ingredients
Combine the cocoa powder, flour, and salt separately before adding them gradually to your wet mixture. Mixing just until a dough forms is important here; overworking the dough can lead to tougher cookies, and we want tender perfection every time.
Step 4: Chill the Dough
Divide the dough into two disks, wrap them in plastic wrap, and refrigerate for at least one hour. This chilling step firms up the dough, making it easier to roll out and helping preserve the cookie’s shape during baking.
Step 5: Roll and Cut
Once chilled, roll the dough out on a floured surface to a quarter-inch thickness. Using a small round cookie cutter (about two inches), cut out your cookies and place them evenly spaced on a parchment-lined baking sheet. This ensures even baking and helps you get a clean edge on each cookie.
Step 6: Bake and Cool
Bake the cookies at 350°F (175°C) for 10 to 12 minutes, just until set. For those who prefer a bit more crunch, add an extra 1–2 minutes, but watch carefully. Let your cookies cool completely on a wire rack to maintain their crispness and prepare for the delicious coating.
Step 7: Prepare Mint Chocolate Coating
In a microwave-safe bowl, melt the chocolate chips gently in 30-second intervals, stirring each time until smooth and glossy. Stir in the additional peppermint extract to elevate the minty flavor in the coating.
Step 8: Dip and Chill
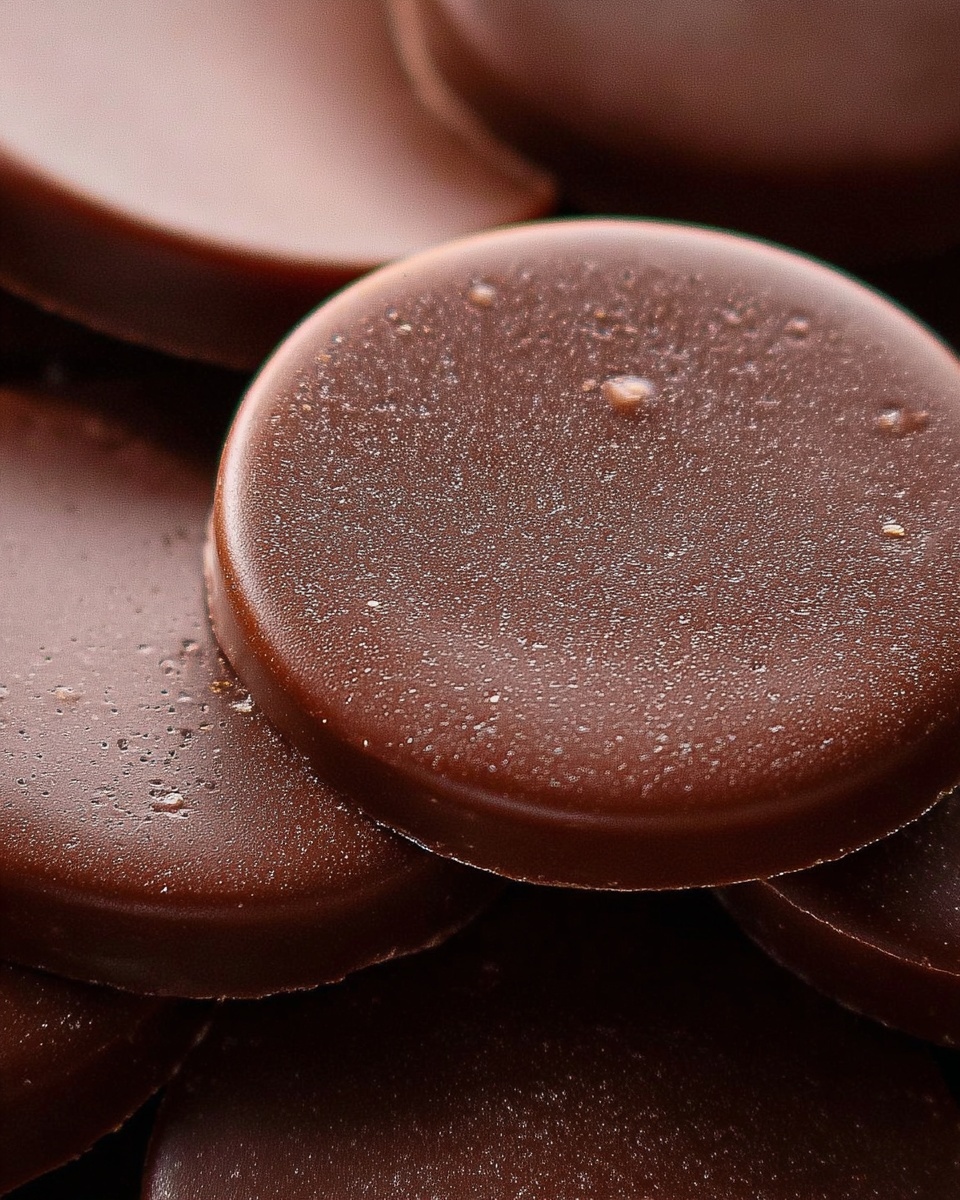
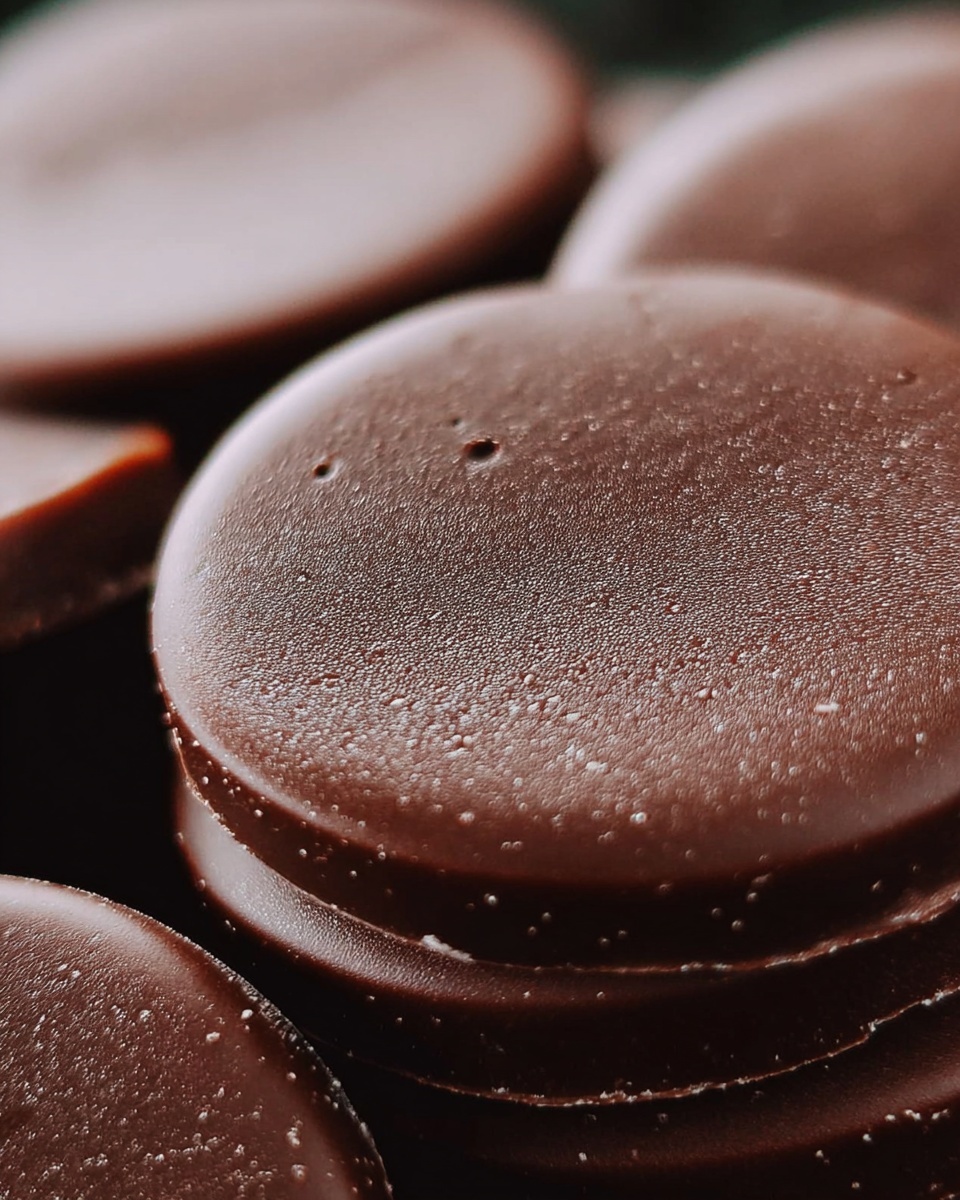
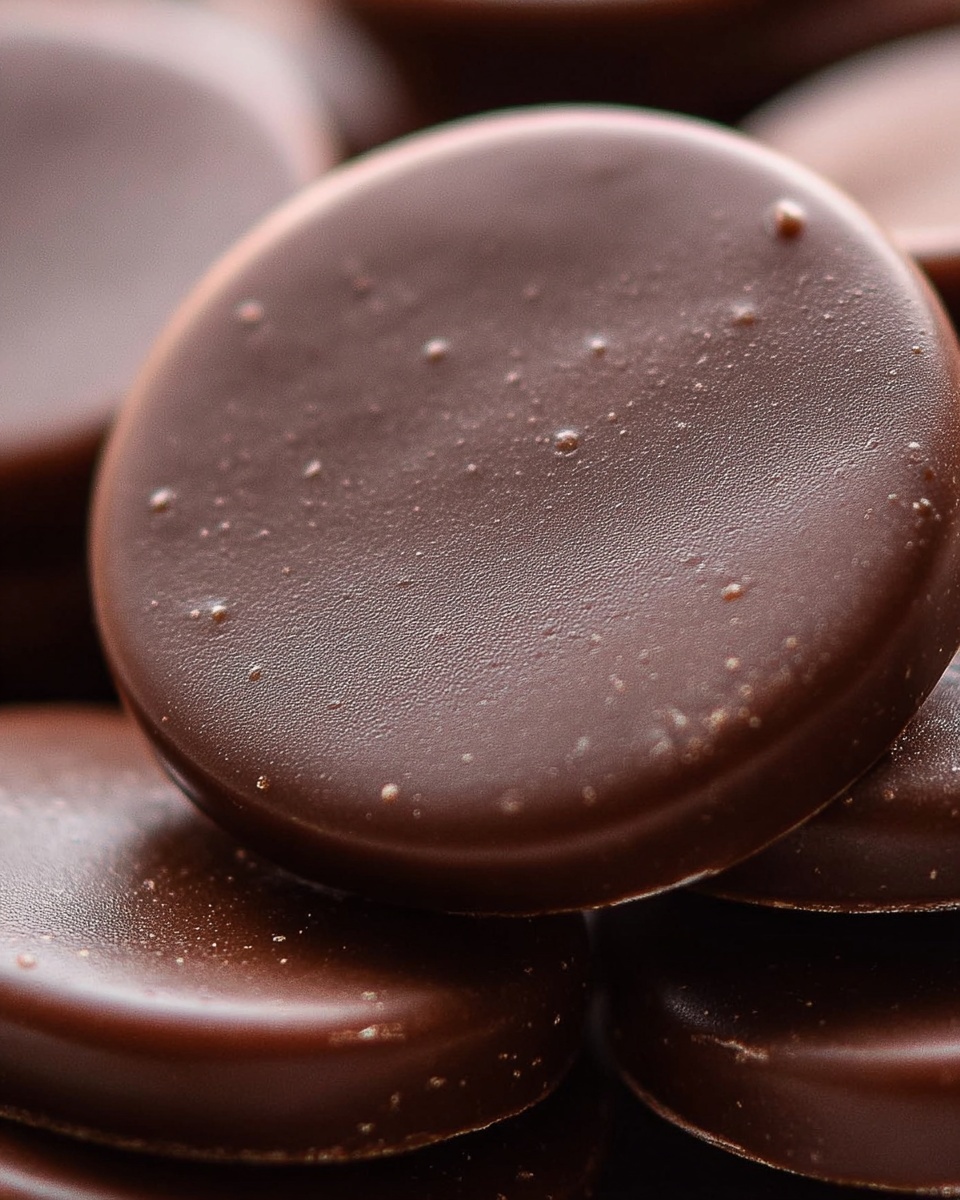
Dip each cooled cookie into the chocolate, allowing excess to drip off elegantly before placing them back onto parchment paper. Refrigerate until the chocolate sets firm, and behold that beautiful, shiny coating that defines thin mint cookies.
How to Serve Perfect Homemade Thin Mint Cookies Recipe
Garnishes
While these cookies are stunning on their own, a sprinkle of crushed peppermint candies or a faint dusting of cocoa powder can add a festive touch for special occasions. A thin drizzle of white chocolate over the top also makes a striking visual contrast and adds a hint of sweetness.
Side Dishes
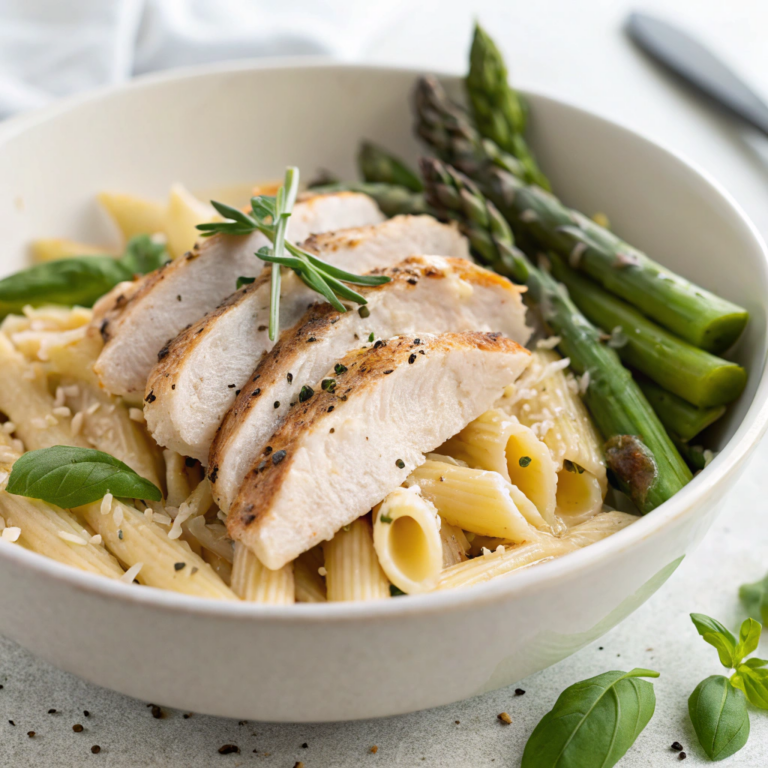
Thin Mint cookies pair wonderfully with a cup of strong coffee or a chilled glass of milk to balance their minty richness. For a more decadent treat, serve alongside a scoop of vanilla or mint chocolate chip ice cream for an indulgent dessert experience.
Creative Ways to Present
Arrange the cookies in a decorative tin or wrap them in parchment with a ribbon for adorable homemade gifts. For party platters, alternate them with fresh mint leaves and chocolate-covered strawberries to create an elegant display that’s as tasty as it is eye-catching.
Make Ahead and Storage
Storing Leftovers
Perfect Homemade Thin Mint Cookies Recipe yields enough that you’ll have leftovers, which can be stored in an airtight container in the refrigerator for up to one week. This keeps the chocolate coating crisp and the cookie base fresh.
Freezing
If you want to savor these treats even longer, freeze them in a single layer on a baking sheet before transferring to a freezer-safe container or bag. They keep well for several months and thaw quickly at room temperature when you’re ready to dive back in.
Reheating
To bring back that fresh-baked feel, let frozen or refrigerated cookies come to room temperature or warm them for a few seconds in the microwave. Be careful not to overheat, as the chocolate coating may soften excessively.
FAQs
Can I use peppermint oil instead of peppermint extract?
Yes, but peppermint oil is much more concentrated. Use it sparingly—start with a drop or two and adjust to taste to avoid overpowering your cookies.
What’s the best chocolate to use for the coating?
Semi-sweet or dark chocolate chips work best, as they provide the perfect balance of sweetness and bitterness that complements the mint flavor beautifully.
Can I make these cookies gluten-free?
Absolutely! Substitute the all-purpose flour with a gluten-free blend suitable for baking. Just ensure it contains xanthan gum or another binder for the best texture.
How do I make the cookies crunchier?
Simply bake them for an extra 1–2 minutes, watching closely to prevent burning. Cooling them completely will also enhance their crispness.
Is there a way to make the mint flavor stronger?
Adding a touch more peppermint extract to the dough or the chocolate coating can boost the mint intensity, but be careful not to overdo it—too much mint can become overpowering.
Final Thoughts
There’s something truly special about homemade versions of beloved treats, and this Perfect Homemade Thin Mint Cookies Recipe delivers that nostalgic Thin Mint magic with every bite. Whether you’re sharing with friends or savoring a personal moment, these cookies are sure to become a cherished favorite. Give them a try—you won’t believe how effortlessly delicious they are!
Print
Perfect Homemade Thin Mint Cookies Recipe
- Prep Time: 20 minutes
- Cook Time: 12 minutes
- Total Time: 1 hour 45 minutes
- Yield: 30 cookies
- Category: Dessert
- Method: Baking
- Cuisine: American
- Diet: Vegetarian
Description
This recipe for Perfect Homemade Thin Mint Cookies replicates the classic Girl Scout treat with a rich chocolate base infused with peppermint extract. The crisp, thin cookies are coated in a smooth peppermint-flavored chocolate, creating a refreshing and indulgent dessert perfect for any occasion.
Ingredients
Cookie Dough
- 1 cup unsalted butter, softened
- 1 cup powdered sugar
- 1 teaspoon vanilla extract
- 1/2 teaspoon peppermint extract
- 1/2 cup unsweetened cocoa powder
- 1 1/2 cups all-purpose flour
- 1/4 teaspoon salt
Chocolate Coating
- 12 ounces semi-sweet or dark chocolate chips
- 1/2 teaspoon peppermint extract
Instructions
- Prepare the dough: In a large mixing bowl, cream together the softened butter and powdered sugar until the mixture is smooth and fluffy. Add the vanilla and peppermint extracts, mixing well to combine all flavors evenly.
- Mix dry ingredients: Sift in the cocoa powder, all-purpose flour, and salt. Stir gently until a cohesive dough forms without overmixing to keep the texture tender.
- Chill the dough: Divide the dough in half, shape each half into a disk, wrap in plastic wrap, and refrigerate for at least 1 hour to firm up for easier rolling and cutting.
- Preheat the oven: Set the oven temperature to 350°F (175°C) and prepare baking sheets by lining them with parchment paper.
- Roll and cut cookies: On a lightly floured surface, roll out the chilled dough to about 1/4-inch thickness. Use a small round cookie cutter (approximately 2 inches in diameter) to cut out the cookie shapes and place them evenly spaced on the prepared baking sheets.
- Bake: Bake the cookies in the preheated oven for 10 to 12 minutes, or until just set. For a crunchier texture, bake an additional 1–2 minutes if desired. Remove from the oven and allow them to cool completely on a wire rack.
- Melt the chocolate coating: In a microwave-safe bowl, melt the chocolate chips in 30-second increments, stirring well between each until the chocolate is smooth and fully melted. Stir in the 1/2 teaspoon of peppermint extract to infuse flavor.
- Coat the cookies: Dip each cooled cookie into the melted chocolate mixture, allowing any excess chocolate to drip off. Place the coated cookies on a parchment-lined tray for easy cleanup.
- Set the coating: Refrigerate the dipped cookies until the chocolate coating is set and firm.
Notes
- For extra crunch, bake cookies 1–2 minutes longer than suggested.
- Store cookies in the refrigerator or freezer to maintain crispness and freshness.
- Use dark or semi-sweet chocolate chips according to your preference for sweetness.
- Ensure cookies are completely cool before dipping to avoid melting the coating.


