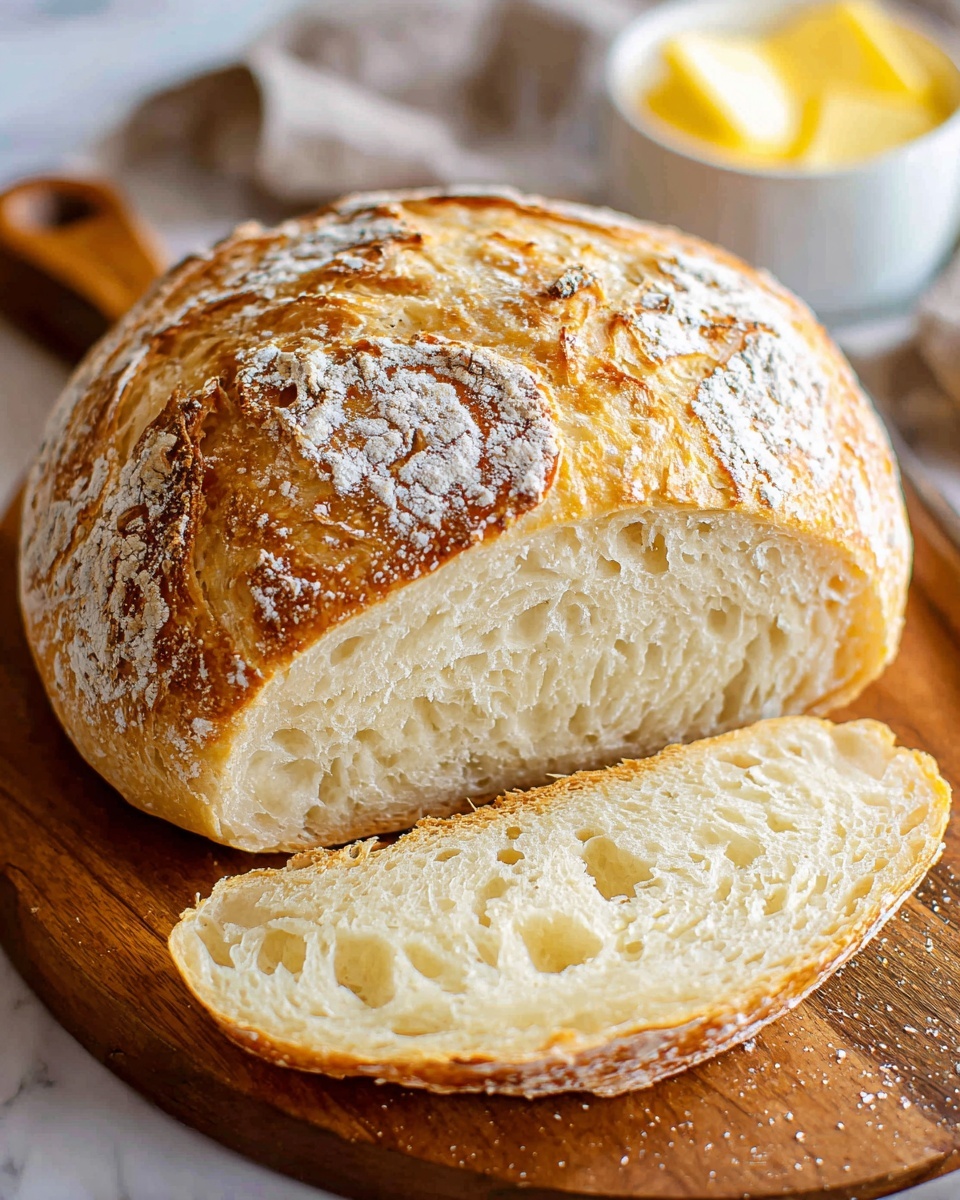
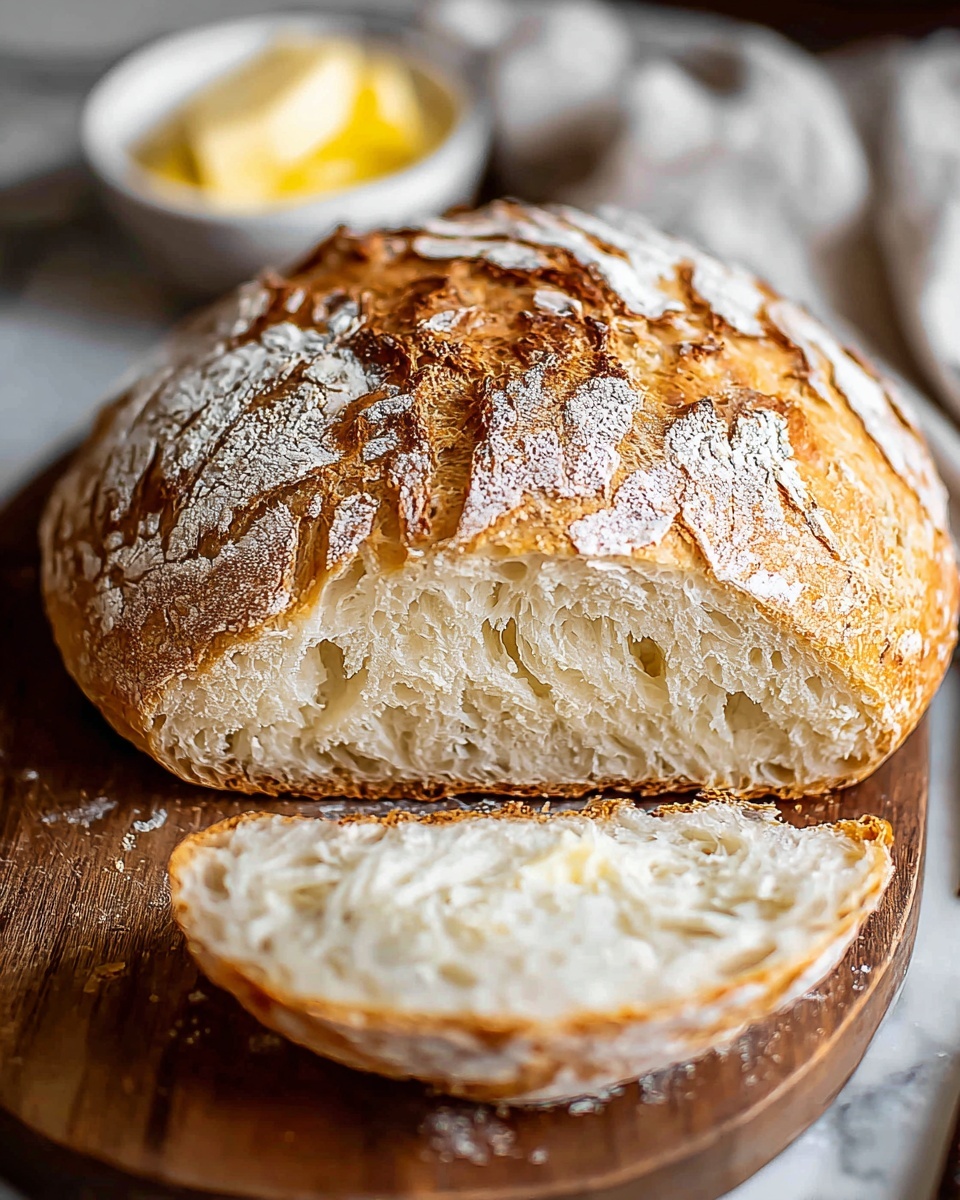
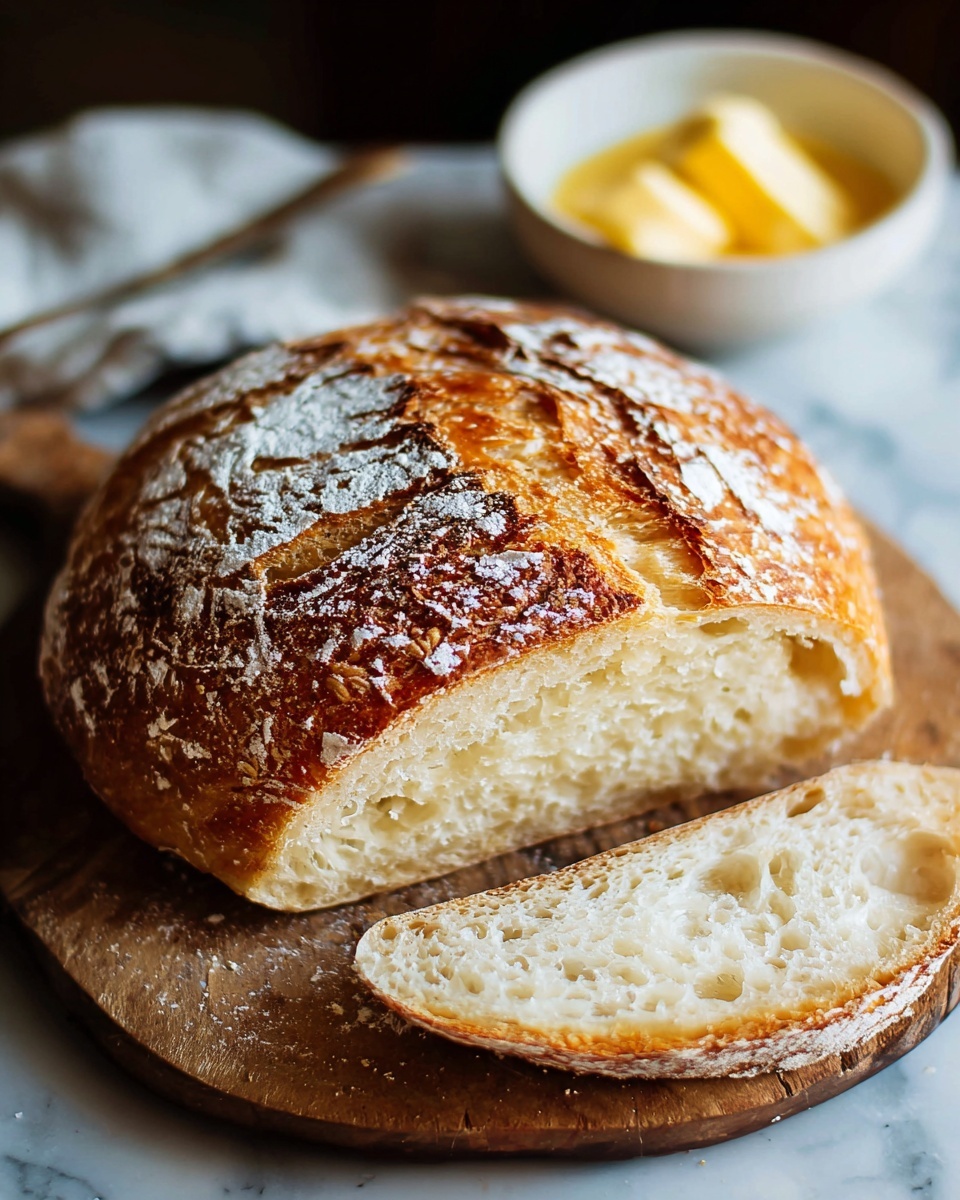
If you’ve ever dreamed of baking your own crusty, bakery-quality bread at home without the fuss of kneading or complicated techniques, you are in for a treat. This Best No Knead Artisan Bread Recipe is a game changer—so simple, yet incredibly rewarding. With just a few humble ingredients and a little patience, you’ll create a golden, bubbly loaf with a perfectly chewy crumb and crackling crust that tastes like it came from a fancy bakery. It’s all about letting time work its magic while keeping things easy and accessible, making this recipe a sure favorite in your baking repertoire.
Ingredients You’ll Need
Every ingredient in this recipe plays an essential role, coming together to create that irresistible artisan flavor and texture. Plus, you likely have everything you need right in your pantry, which makes this bread even more inviting to bake.
- 3 cups all-purpose flour: The foundation of our bread, providing structure and body to the loaf.
- 2 teaspoons coarse sea salt: Enhances flavor while helping control yeast activity for perfect fermentation.
- 1/2 teaspoon active dry yeast (or instant yeast): Just a small amount to gently leaven the dough over time, ensuring a tender crumb.
- 1 ½ cups warm water (about 110°F): Activates the yeast and hydrates the flour, creating that shaggy dough texture we love.
How to Make Best No Knead Artisan Bread Recipe
Step 1: Mix the Dry Ingredients
Start by combining your flour, coarse sea salt, and yeast in a large bowl. Take a moment to appreciate how easy this recipe is so far—the magic really begins with just these simple dry ingredients coming together.
Step 2: Add the Warm Water
Pour in the warm water and stir everything until you get a shaggy dough. No need for fancy mixers or kneading here! The rustic texture is actually what gives the bread its airy, chewy crumb after fermentation.
Step 3: Let the Dough Rise
Cover your bowl with a damp cloth or plastic wrap and leave it to rest at room temperature for 12 to 18 hours. This slow rise is the secret weapon—it allows the yeast to develop subtle flavors and creates those beautiful bubbles inside the bread.
Step 4: Preheat the Oven and Dutch Oven
After the dough has risen, preheat your oven to 450°F (230°C). Place a Dutch oven or any oven-safe pot with a lid inside while it’s heating for about 30 minutes. This hot pot will mimic a professional steam oven, crucial for forming the bread’s crisp crust.
Step 5: Shape the Loaf
Turn the sticky dough out onto a floured surface and gently shape it into a round loaf—remember, no aggressive kneading is needed! The dough should still feel light and airy, preserving the bubbles formed during fermentation.
Step 6: Bake with the Lid On
Carefully transfer the dough into the preheated pot and cover it with the lid. Bake for 30 minutes to trap steam, which ensures a perfectly blistered crust that crunches delightfully with every bite.
Step 7: Bake with the Lid Off
Remove the lid and continue baking for an additional 10 to 15 minutes. This step lets the crust turn that gorgeous golden-brown shade and develop a deep, nutty flavor, hallmark to any artisan bread worth savoring.
Step 8: Cool and Enjoy
Once baked, take the bread out of the pot and let it cool completely on a wire rack before slicing. Waiting might be the hardest part, but it ensures the crumb sets perfectly without becoming gummy.
How to Serve Best No Knead Artisan Bread Recipe
Garnishes
While this bread shines on its own, a simple brush of olive oil or a sprinkle of flaky sea salt right after baking can elevate it further. For an extra touch, try rubbing the crust with a garlic clove for a hint of savory aroma that will have everyone reaching for seconds.
Side Dishes
This artisan bread pairs wonderfully with all kinds of dishes. Think rich stews, creamy cheeses, or fresh salads. Its chewy texture is perfect for soaking up soups and sauces, making it a versatile companion for both hearty meals and light bites.
Creative Ways to Present
For gatherings, slice the bread and serve it in a rustic bread basket lined with a colorful napkin for a cozy, inviting look. Or, elevate your presentation by creating an appetizer platter with assorted spreads, olives, and cured meats alongside the bread slices. It’s amazing how this simple loaf adapts to your culinary creativity.
Make Ahead and Storage
Storing Leftovers
If you find any bread left, wrap it tightly in a clean tea towel or store it in a paper bag. This helps the crust remain crisp while keeping the inside soft. Avoid airtight plastic bags, as they can make the crust soggy.
Freezing
This bread freezes beautifully if you want to keep it longer. Slice it before freezing for easy grab-and-toast convenience. Make sure it’s completely cooled, then wrap it tightly in plastic wrap and place it in a freezer bag.
Reheating
To refresh your bread, pop it in a preheated oven at 350°F (175°C) for about 10 minutes. This brings back the crunch and warmth, almost as if it just came out of the oven. Trust me, it’s well worth the effort!
FAQs
Can I use whole wheat flour instead of all-purpose?
Absolutely! You can replace up to half of the all-purpose flour with whole wheat flour for a nuttier flavor and more dense texture. Just keep in mind the dough may require a bit more water since whole wheat flour absorbs more liquid.
Do I need a Dutch oven to bake this bread?
While a Dutch oven yields the best crust thanks to its steam-trapping design, any oven-safe pot with a lid that can tolerate high heat will work. Alternatively, you can bake the loaf on a baking stone and add a pan of water in the oven to create steam.
How long can I let the dough rise?
The recommended 12 to 18 hours works best for flavor development and texture. However, if your kitchen is cool, you might need a bit longer. Conversely, if it’s warm, check earlier—over-fermentation can cause the dough to collapse.
Can I make smaller loaves with this recipe?
Yes! Just divide the dough into smaller portions after the first rise and bake in smaller pots or on baking sheets. Adjust the baking time accordingly; smaller loaves usually need less time in the oven.
What if my bread comes out too dense?
This usually means the dough didn’t rise enough or the yeast was inactive. Always check the freshness of your yeast and make sure your water is not too hot or cold when mixing. Also, resist the urge to rush the fermentation process—patience is key!
Final Thoughts
There is something truly special about making your own bread from scratch, especially when it requires so little effort yet yields such delightful results. The Best No Knead Artisan Bread Recipe opens the door to homemade baking that’s approachable for everyone, whether you’re a seasoned baker or just starting out. Invite a little patience into your kitchen, and soon you’ll be savoring slices of golden, crusty bread that feel like a warm hug. Trust me, once you’ve tried this recipe, it will become your go-to for every bread craving!
Print
Best No Knead Artisan Bread Recipe
- Prep Time: 15 minutes
- Cook Time: 45 minutes
- Total Time: 13 hours 15 minutes
- Yield: 1 loaf (about 1 pound)
- Category: Bread
- Method: Baking
- Cuisine: American
- Diet: Vegetarian
Description
This Best No Knead Artisan Bread Recipe offers a simple and effortless way to bake crusty, golden-brown artisan bread at home without the need for kneading. Using a combination of all-purpose flour, sea salt, yeast, and warm water, the dough ferments overnight to develop flavor and texture. Baking the dough in a preheated Dutch oven creates a perfect crust, resulting in bakery-quality bread that’s perfect for sandwiches, toast, or accompanying any meal.
Ingredients
Dry Ingredients
- 3 cups all-purpose flour
- 2 teaspoons coarse sea salt
- 1/2 teaspoon active dry yeast (or instant yeast)
Wet Ingredients
- 1 ½ cups warm water (about 110°F)
Instructions
- Combine dry ingredients: In a large bowl, mix together the all-purpose flour, coarse sea salt, and active dry yeast until evenly distributed.
- Add warm water: Pour the warm water (around 110°F) into the dry ingredients and stir thoroughly until a shaggy, sticky dough forms.
- Rest and ferment dough: Cover the bowl with a damp cloth or plastic wrap and leave it at room temperature for 12 to 18 hours to allow the dough to rise and develop bubbles.
- Preheat oven and pot: After fermentation, preheat your oven to 450°F (230°C) and place a Dutch oven or an oven-safe pot with a lid inside to heat for 30 minutes.
- Shape the dough: Lightly flour a clean surface and gently turn the risen dough out. Shape it into a round loaf without kneading.
- Bake covered: Carefully take the hot Dutch oven out of the oven and place the dough inside. Cover with the lid and bake for 30 minutes.
- Bake uncovered: Remove the lid and continue baking for an additional 10 to 15 minutes until the crust is deeply golden brown.
- Cool the bread: Transfer the bread onto a wire rack and let it cool completely before slicing to ensure the crumb sets properly.
Notes
- Using a Dutch oven or oven-safe pot is crucial to create steam which helps develop the crispy crust.
- The long fermentation time enhances the flavor, so avoid rushing this step.
- You can use either active dry yeast or instant yeast interchangeably.
- Make sure the water is warm but not hot to avoid killing the yeast.
- Allowing the bread to cool fully prevents it from becoming gummy when sliced.


