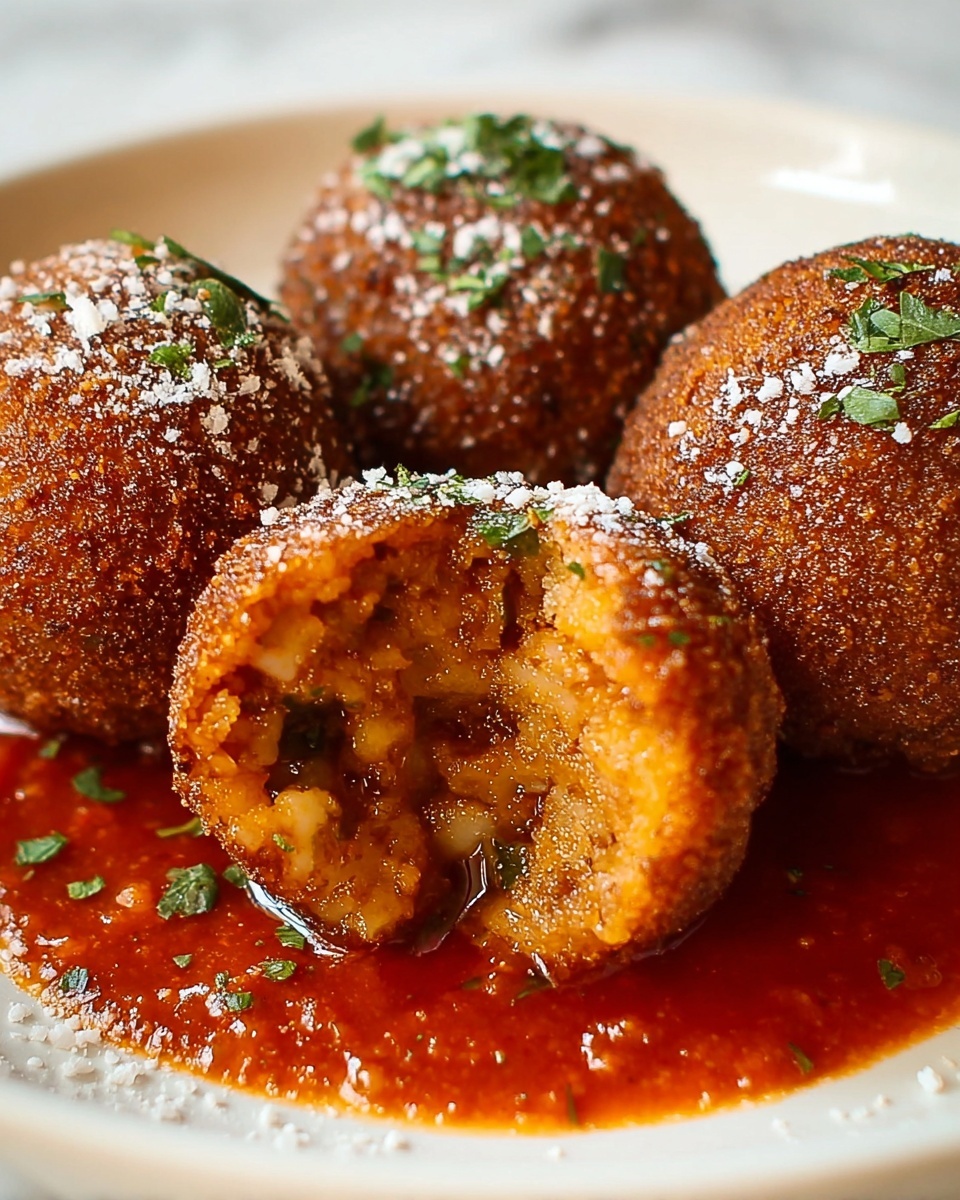
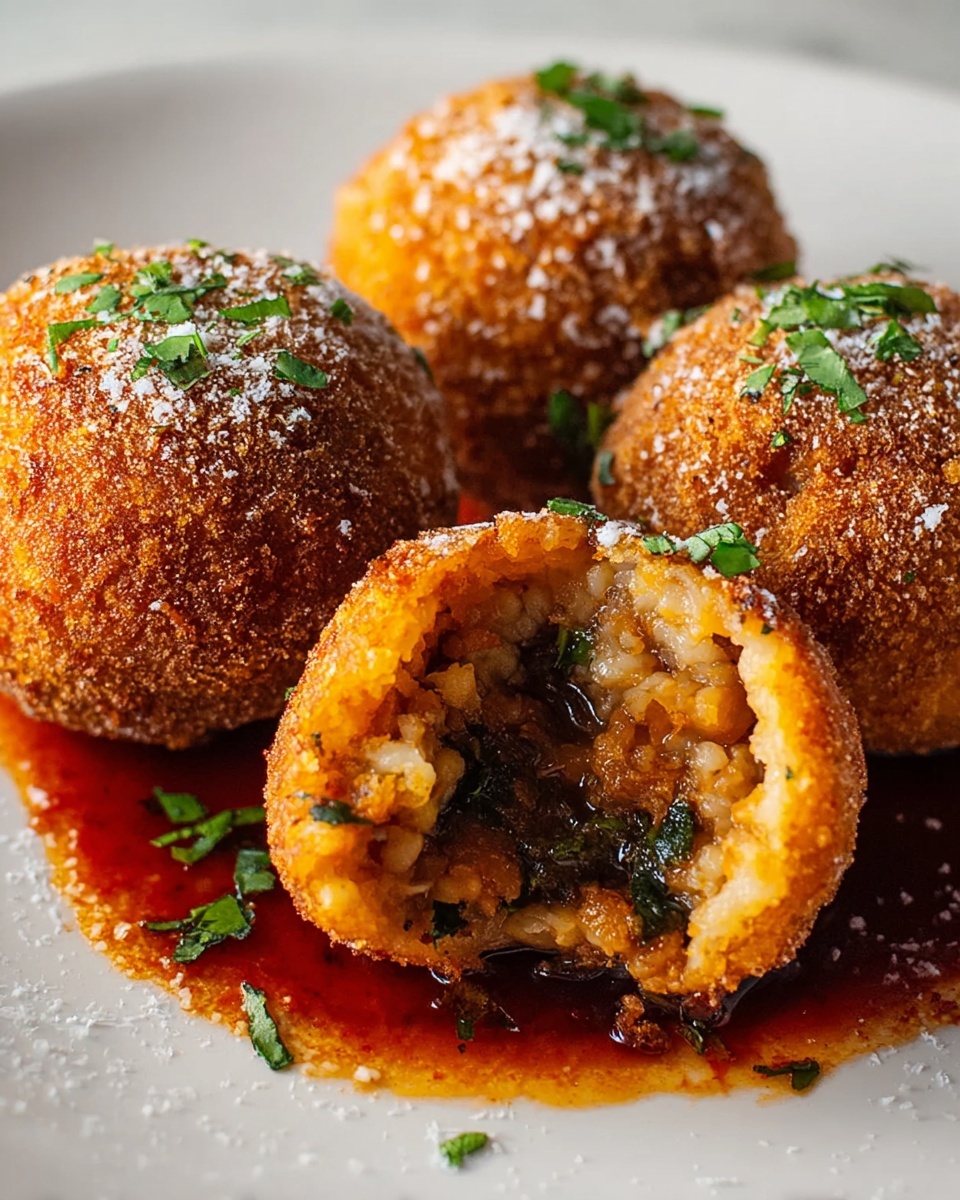
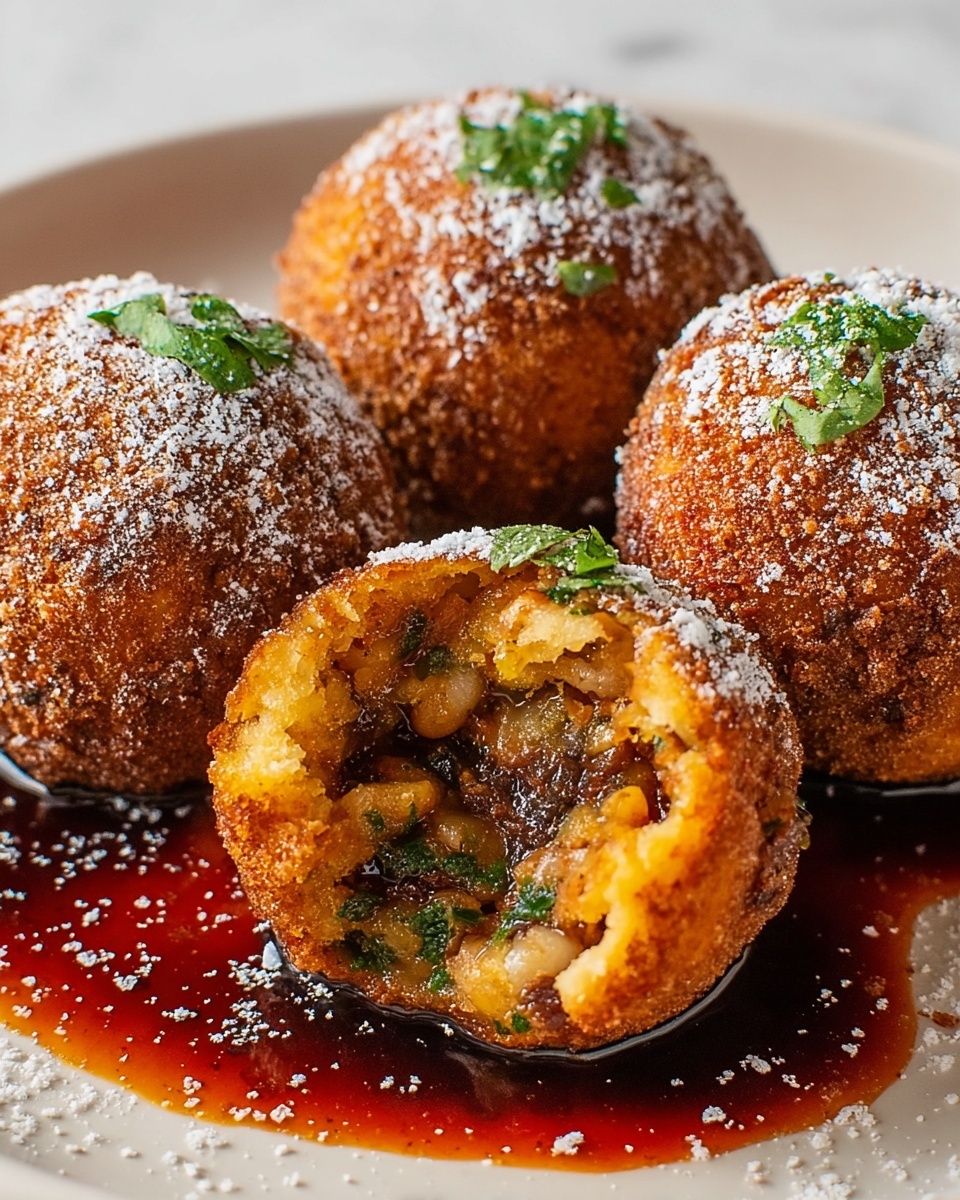
If you love a fusion of bold Korean flavors and crispy Italian comfort food, this Bulgogi Stuffed Arancini Recipe is going to be your new obsession. Imagine tender, savory bulgogi beef encased within creamy, cheesy risotto balls that are perfectly fried to golden crunchiness. This delightful bite-sized treat brings together sweet, spicy, and umami notes in every single morsel, making it an irresistible snack or appetizer for any occasion. Trust me, once you try this Bulgogi Stuffed Arancini Recipe, it will quickly become a standout star in your kitchen repertoire.

Ingredients You’ll Need
The magic of this Bulgogi Stuffed Arancini Recipe lies in combining simple, flavorful ingredients that each play a vital role—whether it’s the savory marinated beef, the creamy cheesy risotto binding everything together, or the crunchy coating that makes these arancini truly special. Gathering quality ingredients ensures every bite bursts with authentic Korean and Italian flair.
- 1 lb ground beef (or thinly sliced beef): Choose fresh beef to capture that classic bulgogi taste and tender texture.
- 2 tablespoons soy sauce: Adds rich umami depth and saltiness to the bulgogi marinade.
- 1 tablespoon sesame oil: Brings a fragrant nuttiness that is essential in Korean cooking.
- 2 tablespoons brown sugar: Balances the savory with a touch of sweetness for perfect bulgogi flavor.
- 1 tablespoon rice vinegar: Provides subtle acidity to brighten the beef mixture.
- 3 cloves garlic, minced: Infuses the filling with aromatic punch.
- 1 tablespoon grated ginger: Adds warmth and a hint of spice to the marinade.
- 1 tablespoon gochujang (Korean chili paste): Delivers that signature spicy kick and depth.
- 1 tablespoon sesame seeds (optional): Sprinkled on top for crunch and visual appeal.
- 2 green onions, chopped: Fresh garnish that perks up the final presentation.
- 2 cups cooked and cooled risotto or sticky rice: The creamy base that forms each arancini ball; day-old rice works best.
- 1/2 cup grated mozzarella cheese: Melts inside to give a luscious, gooey texture.
- 1/4 cup grated Parmesan cheese: Offers a salty, nutty flavor that enhances the rice mixture.
- 2 large eggs: Used to bind the filling and for coating during breading.
- 1/4 cup all-purpose flour (for mixing): Helps hold everything together without heaviness.
- 1/2 cup all-purpose flour (for dredging): Preps the surface to hold the crispy breadcrumb coat.
- 1 cup panko breadcrumbs: Creates the signature crunchy, airy crust that makes each bite irresistible.
- Vegetable oil for frying: Choose a neutral oil suited for deep frying to achieve that perfect golden finish.
How to Make Bulgogi Stuffed Arancini Recipe
Step 1: Prepare the Bulgogi Filling
Start by heating sesame oil in a pan over medium heat. Add the ground beef and cook until beautifully browned, breaking it up as it cooks. Then stir in soy sauce, brown sugar, rice vinegar, minced garlic, ginger, and gochujang. Let it simmer for a few minutes until the sauce thickens just enough to coat the beef, infusing it with that irresistible bulgogi flavor. Remove from heat and let the mixture cool completely—this step is crucial so the filling won’t slip out when assembling the arancini.
Step 2: Mix the Rice Base
In a large bowl, combine your cooled rice with mozzarella, Parmesan, one beaten egg, and a bit of flour. This mixture should hold together when pressed but still feel moist and tender. The cheese melts inside the arancini, creating that amazing ooey-gooey center that contrasts perfectly with the crispy exterior.
Step 3: Shape and Stuff the Arancini
Wet your hands to prevent sticking, then scoop a handful of the rice mixture and form it into a ball. Press your thumb into the center to make a hollow space, then spoon in a generous amount of the cooled bulgogi filling. Carefully mold the rice around the filling to seal it, shaping it back into a smooth, compact ball. This layering ensures each bite delivers both savory beef and creamy rice.
Step 4: Bread the Arancini
Set up a classic breading station with bowls for flour, beaten eggs, and panko breadcrumbs. Roll each rice ball in flour first to coat lightly, dip it into the egg wash, then coat thoroughly with panko for maximum crunch. This triple-step breading creates that quintessential golden, crispy shell that defines great arancini.
Step 5: Fry to Golden Perfection
Heat vegetable oil to 350°F (175°C) in a deep fryer or heavy pot. Fry the arancini in batches so they float freely without overcrowding. Cook for about 3-4 minutes until beautifully golden brown and crispy outside. Drain on paper towels to remove excess oil and maintain that perfect crunch. The aroma alone will make it impossible to wait to dig in!
How to Serve Bulgogi Stuffed Arancini Recipe

Garnishes
Brighten your Bulgogi Stuffed Arancini Recipe with a sprinkle of chopped green onions and toasted sesame seeds. These garnishes don’t just add a pop of color but also bring fresh, nutty, and slightly crunchy textures, elevating both the look and flavor profile beautifully.
Side Dishes
Pair these bulgogi arancini with a crisp cucumber salad dressed in rice vinegar or a simple kimchi side to complement the spicy, savory richness of the dish. For dipping, sweet chili sauce or a drizzle of spicy mayo can add an exciting contrast that will keep your guests coming back for more.
Creative Ways to Present
Serve these arancini on a wooden board lined with parchment paper to capture their rustic charm. Try stacking a few on skewers for a fun party appetizer or present each on a mini lettuce leaf with a dollop of gochujang aioli for bite-sized elegance. The Bulgogi Stuffed Arancini Recipe is flexible and fun to style whatever the occasion.
Make Ahead and Storage
Storing Leftovers
After cooking, let the arancini cool completely before storing them in an airtight container in the refrigerator. They will keep well for 2 to 3 days and remain crispy if reheated correctly, making them a great make-ahead snack or meal addition.
Freezing
You can freeze unbattered or battered arancini on a tray until firm, then transfer them to a freezer-safe bag. Freeze for up to 1 month for best quality. When ready to enjoy, fry or bake them straight from frozen, adjusting cooking time as needed to ensure they’re heated through and crispy once again.
Reheating
To bring back their crispy exterior without sogginess, reheat arancini in a preheated oven at 350°F (175°C) for about 10-12 minutes or in an air fryer. Avoid microwaving, as it tends to make the coating soft and chewy instead of delightfully crisp.
FAQs
Can I use leftover cooked rice instead of risotto?
Absolutely! Day-old cooked rice or sticky rice works perfectly because it’s drier and less sticky than freshly cooked rice, helping the arancini hold their shape without becoming mushy.
Is it possible to make these vegetarian?
Yes! Substitute the bulgogi beef with marinated mushrooms or tofu, seasoned with the same bulgogi-style marinade for that signature flavor without the meat.
What type of oil is best for frying arancini?
Use a neutral oil with a high smoke point such as vegetable oil, canola oil, or peanut oil to achieve crisp and golden arancini without imparting unwanted flavors.
Can I bake the arancini instead of frying?
You can bake them for a healthier option, but keep in mind they won’t be as crispy or golden as fried. To bake, brush them lightly with oil and cook at 400°F (200°C) for about 20 minutes, turning halfway through.
How do I prevent the filling from leaking during frying?
Make sure the bulgogi filling is fully cooled and the rice mixture is tightly packed around it. Wetting your hands while shaping helps seal the arancini better, minimizing the risk of leaks.
Final Thoughts
This Bulgogi Stuffed Arancini Recipe is truly exceptional in how it combines two beloved culinary styles into one unforgettable bite. Crispy, cheesy, and bursting with sweet-spicy bulgogi flavor, it’s a crowd-pleaser that’s surprisingly easy to make. Give it a try and watch as your friends and family fall in love with this delicious fusion creation just as much as I have. Happy cooking!
Print
Bulgogi Stuffed Arancini Recipe
- Prep Time: 20 minutes
- Cook Time: 15 minutes
- Total Time: 35 minutes
- Yield: 16 servings
- Category: Appetizer
- Method: Frying
- Cuisine: Korean-Italian Fusion
Description
Bulgogi Stuffed Arancini is a creative fusion dish combining Korean marinated beef with crispy Italian rice balls. Juicy, savory bulgogi filling is encased in cheesy risotto and coated with crunchy panko breadcrumbs, then deep-fried to golden perfection. This appetizer or snack offers a delightful blend of flavors and textures that’s sure to impress at any gathering.
Ingredients
Bulgogi Filling
- 1 lb ground beef (or thinly sliced beef, if preferred)
- 2 tablespoons soy sauce
- 1 tablespoon sesame oil
- 2 tablespoons brown sugar
- 1 tablespoon rice vinegar
- 3 cloves garlic, minced
- 1 tablespoon ginger, grated
- 1 tablespoon gochujang (Korean chili paste)
- 1 tablespoon sesame seeds (optional)
- 2 green onions, chopped (for garnish)
Rice Mixture
- 2 cups cooked and cooled risotto or sticky rice (cold, day-old rice works best)
- 1/2 cup grated mozzarella cheese (or provolone cheese)
- 1/4 cup grated Parmesan cheese
- 2 large eggs
Breading
- 1/4 cup all-purpose flour (for dredging)
- 1 cup panko breadcrumbs
- Vegetable oil, for frying
Instructions
- Prepare the Bulgogi Filling: In a medium pan, heat the sesame oil over medium heat. Add the ground beef and cook until browned and fully cooked.
- Season the Beef: Once the beef is cooked, add the soy sauce, brown sugar, rice vinegar, minced garlic, grated ginger, and gochujang. Stir to combine and cook for 2-3 minutes until the sauce thickens slightly and coats the beef.
- Cool the Bulgogi: Remove the pan from heat and let the bulgogi mixture cool to room temperature. Set aside.
- Mix the Rice Base: In a large bowl, combine the cooled rice, mozzarella cheese, Parmesan cheese, and one beaten egg. Mix until well combined.
- Form Rice Balls: With wet hands, take a small amount of the rice mixture and form it into a ball. Make a small indentation in the center of the ball.
- Stuff the Rice Balls: Spoon a portion of the cooled bulgogi filling into the indentation, then carefully enclose the filling with the rice to reshape into a firm ball. Repeat with the remaining rice and filling.
- Prepare the Breading Station: Set up three bowls – one with the flour for dredging, one with the remaining beaten egg, and the last with panko breadcrumbs.
- Bread the Arancini: Roll each rice ball in the flour first, dip it into the egg, then coat thoroughly with panko breadcrumbs. Ensure even coverage on all arancini.
- Heat Oil for Frying: Preheat vegetable oil in a deep fryer or large, heavy-bottomed pot over medium-high heat to approximately 350°F (175°C).
- Fry the Arancini: Fry the rice balls in batches for 3-4 minutes until golden brown and crispy on the outside. Use a slotted spoon to remove and drain on paper towels.
- Serve: Serve the Bulgogi Stuffed Arancini immediately warm, accompanied by dipping sauces such as sweet chili, soy sauce, or spicy mayo if desired.
- Garnish: Sprinkle chopped green onions and sesame seeds over the arancini for added flavor and presentation.
Notes
- Use day-old, cold rice for best texture to prevent arancini from falling apart.
- Ensure the bulgogi filling is completely cooled before stuffing to prevent the rice from becoming soggy.
- If preferred, substitute ground beef with thinly sliced beef for a more authentic bulgogi texture.
- Adjust seasoning and spice level by modifying the amount of gochujang.
- Keep hands wet while shaping rice balls to prevent sticking.
- Maintain oil temperature to avoid greasy arancini; fry in small batches to keep temperature consistent.
- Cheese can be varied to your preference, provolone or fontina can be great alternatives.
- Leftover arancini can be reheated in an oven or air fryer to maintain crispiness.


