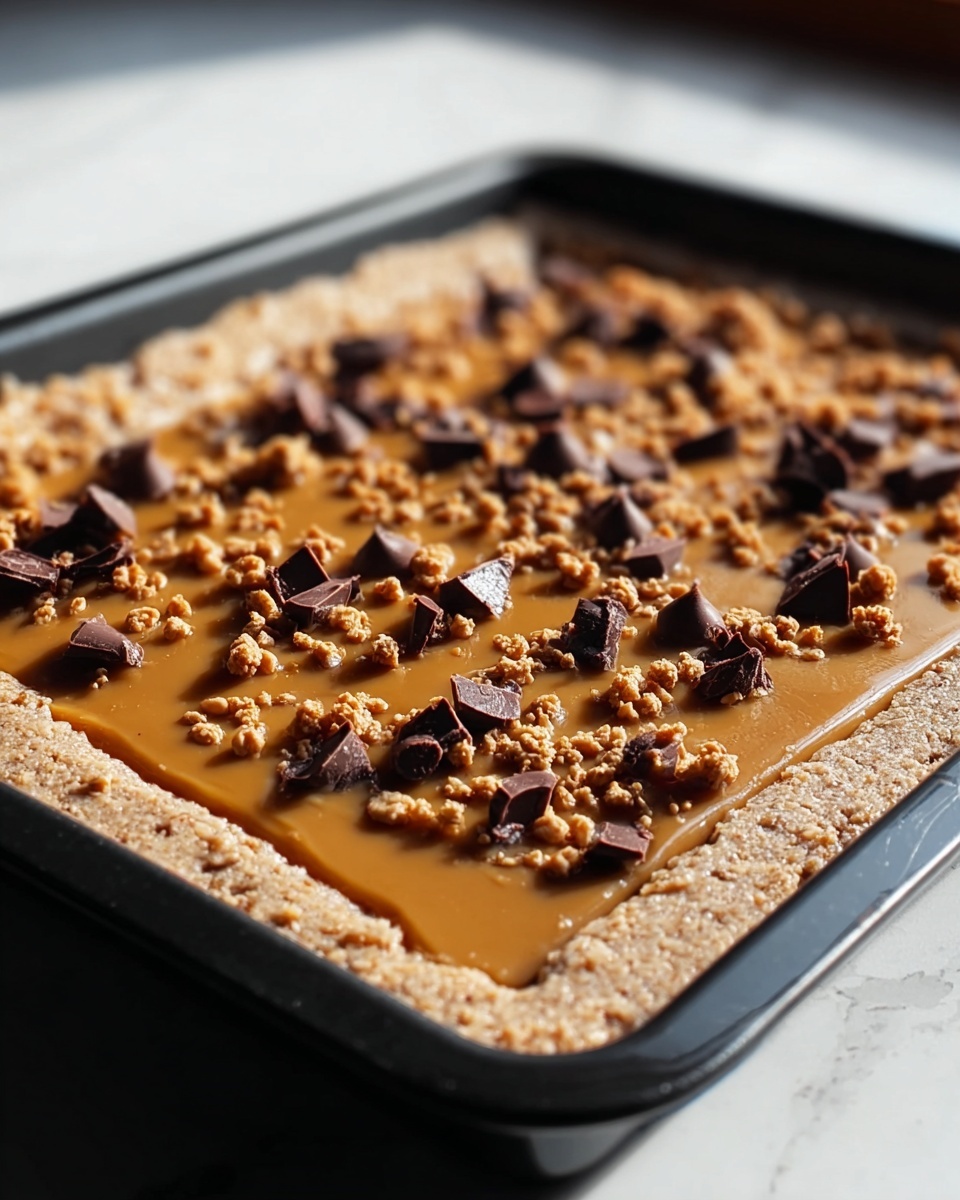
If you have a sweet tooth craving something both crunchy and irresistibly rich, you are in for a treat with this Butterfinger Caramel Crunch Bars Recipe. Imagine the perfect harmony of buttery caramel, crispy cereal, melty chocolate, and that unmistakable Butterfinger crunch, all coming together in one delightful bar. These bars are easy to make, wonderfully textured, and guarantee a smile with every bite, making them an absolute favorite for dessert lovers and snack enthusiasts alike.
Ingredients You’ll Need
With just a handful of simple ingredients, this recipe achieves a perfect balance of flavors and textures that you’ll want to savor bite after bite. Each component plays a key role in creating these bars’ distinctive crunch, sweetness, and gooey richness.
- Crushed Butterfinger candy bars: Packed with peanut butter and crunchy flakes, they infuse every bite with iconic flavor and texture.
- Caramel sauce: Adds luscious, gooey sweetness that binds the ingredients while enriching the bars’ buttery depth.
- Milk chocolate chips: Melt into a smooth, creamy topping that perfectly complements the crunchy layers below.
- Unsalted butter: Adds richness and helps give the bars that melt-in-your-mouth softness alongside crispness.
- Crispy rice cereal: The star of the crunch, it keeps the bars light and delightfully crispy without overwhelming the other flavors.
How to Make Butterfinger Caramel Crunch Bars Recipe
Step 1: Combine the Crunchy Base
Start by crushing your Butterfinger candy bars—you want bite-sized pieces that still deliver that signature snap. Mix these with the crispy rice cereal in a large bowl, gently blending so the crunchy textures are evenly distributed. This is the foundation of your bars, where flavor and crunch truly begin to build up.
Step 2: Create the Caramel Sauce Mixture
In a saucepan set over low heat, melt the unsalted butter together with the caramel sauce. Stir continuously until the mixture becomes smooth and glossy, ready to coat your crispy base. This step ensures everything sticks together while giving the bars a rich, buttery caramel backbone.
Step 3: Combine Caramel with Crunch
Pour your warm caramel butter sauce over the Butterfinger and cereal mixture. Using a spatula, fold everything together lightly but thoroughly so every crisp and candy piece is coated with that delectable caramel sheen.
Step 4: Press Into the Pan
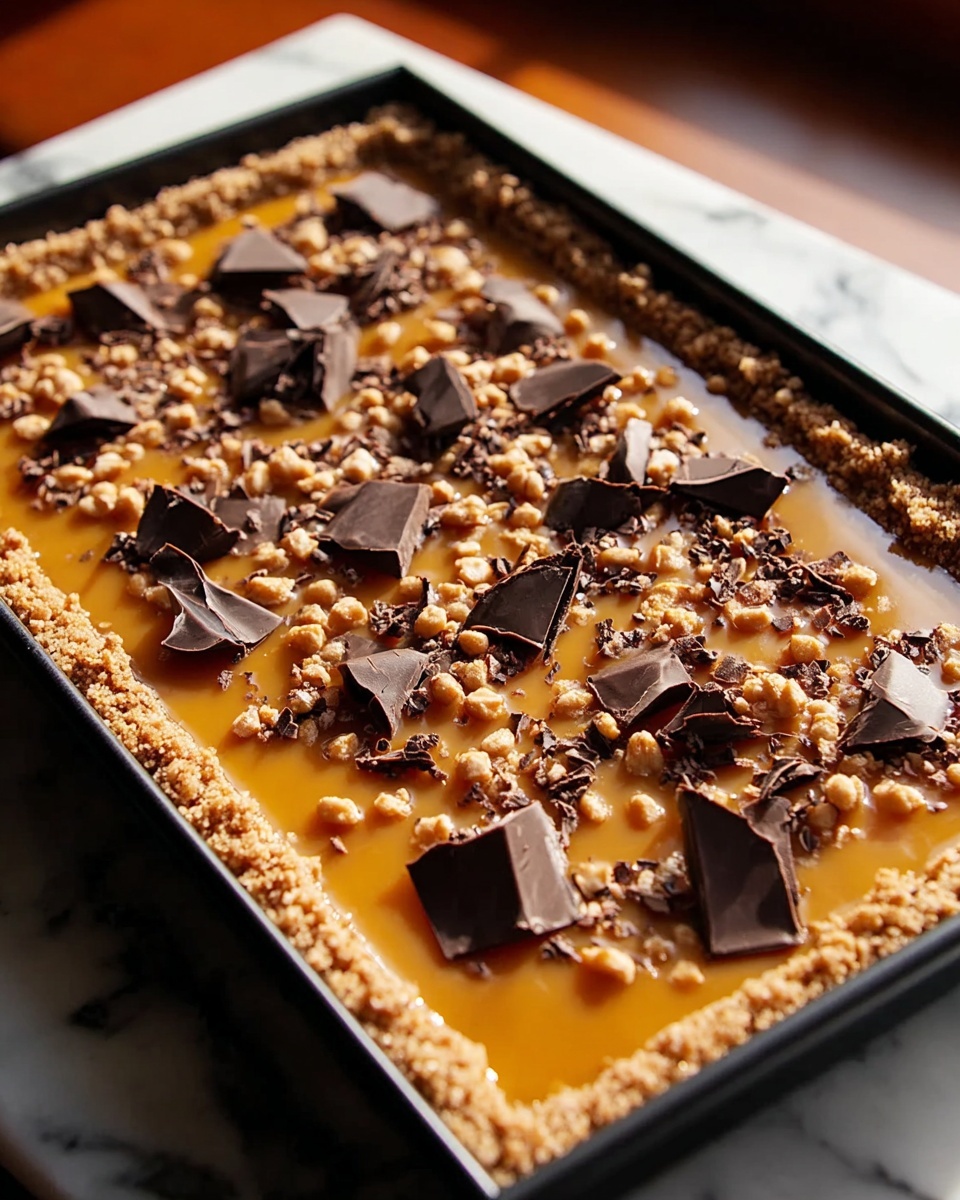
Grease a 9×13 inch baking dish lightly to prevent sticking, then press your sticky mixture firmly into the pan. Compacting the mixture well helps the bars hold their shape when cut and ensures every bar has that perfect ratio of caramel to crunch.
Step 5: Chocolate Topping Magic
Melt the milk chocolate chips in the microwave in short bursts, stirring often until smooth and velvety. Pour the warm chocolate over the pressed mixture and spread evenly. This silky chocolate layer adds a luscious finishing touch that takes these bars from great to wow.
Step 6: Chill and Set
Refrigerate the assembled bars for at least one hour. This chilling time allows the caramel and chocolate topping to firm up, making them easy to cut into neat, satisfying squares—ready for you to indulge.
How to Serve Butterfinger Caramel Crunch Bars Recipe

Garnishes
For a bit of flair, try sprinkling a pinch of sea salt flakes or extra crushed Butterfinger pieces on top just after spreading the chocolate. This adds contrast and a little sparkle to your bars that makes them look as amazing as they taste.
Side Dishes
These bars shine on their own but can be spectacular when paired with a scoop of vanilla ice cream or a dollop of whipped cream. Fresh berries on the side also bring brightness that balances the sweet richness perfectly.
Creative Ways to Present
Cut your bars into small bite-sized pieces and serve on a decorative platter for parties or gatherings. You can also wrap individual bars in parchment paper tied with twine for cute, portable treats to share with friends and family.
Make Ahead and Storage
Storing Leftovers
Keep your Butterfinger Caramel Crunch Bars in an airtight container at room temperature for up to three days. Avoid direct sunlight or humidity to maintain their crisp texture and fresh flavor.
Freezing
If you want to make these ahead of time, these bars freeze beautifully. Wrap them tightly in plastic wrap and place in a freezer-safe container. They’ll stay delicious for up to two months and thaw quickly at room temperature.
Reheating
Because these bars are best enjoyed chilled or at room temp, reheating isn’t necessary. However, if you prefer a softer texture, warming for 10 seconds in the microwave can melt the chocolate topping just enough without losing the crunch underneath.
FAQs
Can I use a different candy bar instead of Butterfinger?
Absolutely! While Butterfinger’s unique peanut butter and crispy texture are signature here, similar candy bars with crunch and caramel notes can work as fun alternatives. Just expect a slightly different flavor profile.
Is it possible to make these bars gluten-free?
Yes, by swapping out the crispy rice cereal for a certified gluten-free version, you can keep these bars safe for gluten-sensitive eaters. Just ensure all other ingredients are gluten-free too.
How long do these bars last once prepared?
Stored properly, these bars stay fresh for up to three days at room temperature, thanks to their sugar and butter content which acts as natural preservatives.
Can I add nuts or other mix-ins?
Definitely! Chopped pecans, almonds, or even a handful of mini chocolate chips can elevate the flavor and texture further. Just toss them in with the cereal and Butterfinger mixture before adding the caramel.
What’s the best way to cut these bars cleanly?
For neat edges, use a sharp knife warmed slightly under hot water before slicing. Wipe the blade clean between cuts to avoid smearing the chocolate topping and keep your bars looking picture-perfect.
Final Thoughts
If you’re looking for a dessert that pairs crunch, caramel, and chocolate into one heavenly bite, this Butterfinger Caramel Crunch Bars Recipe is a must-try. It’s simple to make, endlessly tasty, and guaranteed to become a staple in your recipe collection that you’ll want to share with everyone you love.
Print
Butterfinger Caramel Crunch Bars Recipe
- Prep Time: 15 minutes
- Cook Time: 20 minutes
- Total Time: 1 hour 20 minutes
- Yield: 12 servings
- Category: Dessert
- Method: No-Cook
- Cuisine: American
Description
Butterfinger Caramel Crunch Bars are a decadent treat that combines the crunchy texture of crispy rice cereal and Butterfinger candy bars with a rich caramel and chocolate topping. These no-bake bars are easy to prepare and perfect for satisfying your sweet tooth with a delightful blend of crunchy and gooey flavors.
Ingredients
Main Ingredients
- 1 cup crushed Butterfinger candy bars
- 2 cups crispy rice cereal
- 1 cup caramel sauce
- 1/2 cup unsalted butter
- 1 cup milk chocolate chips
Instructions
- Combine Crunchy Ingredients: In a large mixing bowl, combine the crushed Butterfinger candy bars and crispy rice cereal. Mix them together evenly to create the crunchy base of the bars.
- Melt Butter and Caramel: In a saucepan over low heat, melt the unsalted butter and caramel sauce together, stirring continuously until the mixture is smooth and fully combined.
- Mix Caramel with Cereal: Pour the warm caramel mixture over the crispy cereal and Butterfinger mixture. Stir well to ensure all the cereal and candy bits are coated thoroughly with the caramel.
- Press into Baking Dish: Grease a 9×13 inch baking dish. Transfer the mixture into the dish and firmly press it down to form an even layer.
- Melt Chocolate and Spread: Melt the milk chocolate chips in the microwave in short intervals, stirring in between until smooth. Immediately spread the melted chocolate evenly over the pressed mixture in the baking dish.
- Chill and Set: Refrigerate the bars for at least 1 hour to allow them to set and firm up. Once chilled, cut into squares and serve your delicious Butterfinger caramel crunch bars.
Notes
- Ensure the butter and caramel sauce are melted over low heat to avoid burning.
- Use fresh crispy rice cereal for the best crunch.
- Press the mixture firmly into the baking dish to help the bars hold together.
- Allow the bars to chill fully before cutting to prevent crumbling.
- Store bars in an airtight container in the refrigerator for up to one week.


