
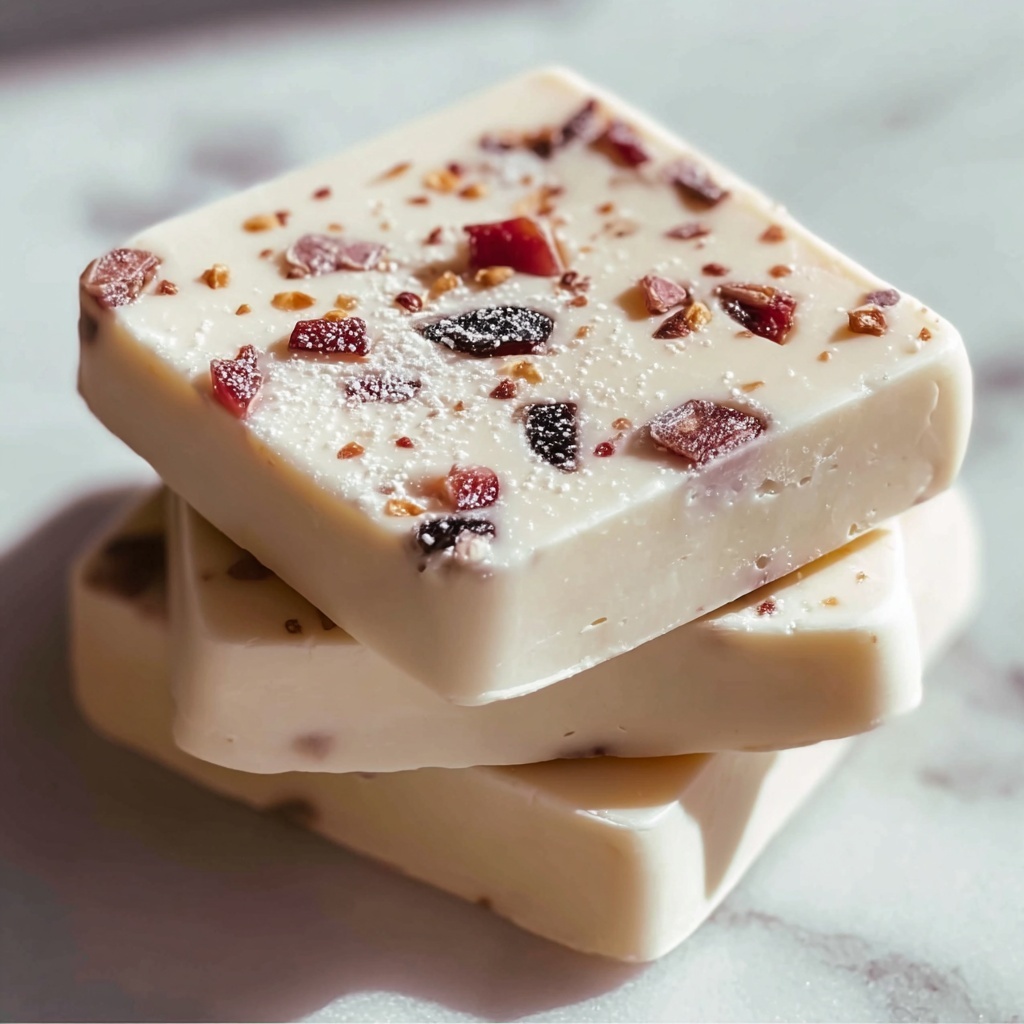
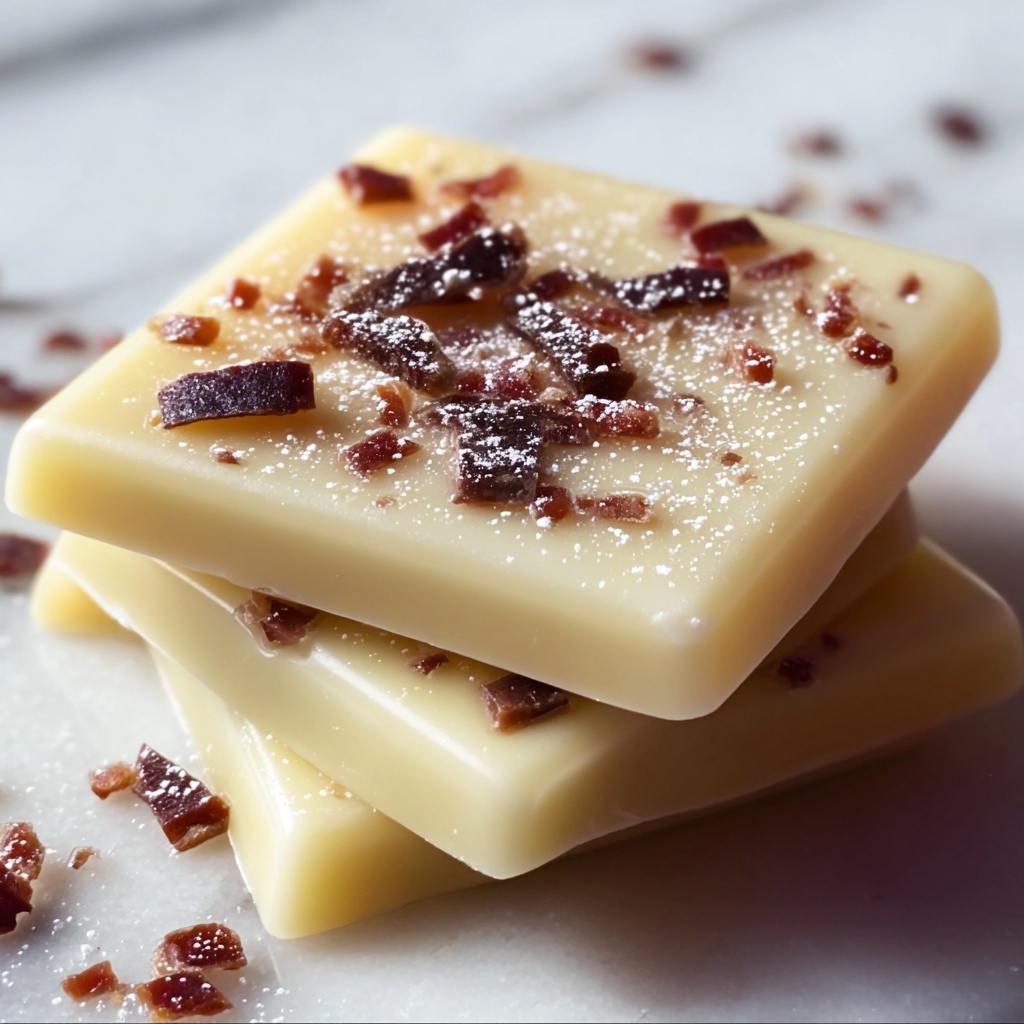
If you have a sweet tooth and love classic, nostalgic treats, the Divinity Candy Recipe is an absolute must-try. This fluffy, cloud-like confection is delightfully sugary with a perfect balance of crunch from nuts and a melt-in-your-mouth texture that simply can’t be beaten. Crafting this vintage candy might sound intimidating at first, but with a bit of care and the right technique, you’ll find it’s surprisingly approachable — perfect for sharing a little homemade joy with friends and family.
Ingredients You’ll Need
The beauty of this Divinity Candy Recipe lies in its simplicity. Each ingredient plays a crucial role, whether it’s building the structure, adding sweetness, or contributing that signature texture and flavor that make divinity so special.
- Granulated sugar: The foundation of sweetness and bulk that gives divinity its classic candy base.
- Light corn syrup: Prevents crystallization, ensuring your candy stays smooth and glossy.
- Water: Helps dissolve the sugar and creates the perfect syrup consistency.
- Egg whites: Beaten to stiff peaks, they provide the fluffy, airy texture unique to divinity.
- Vanilla extract: Adds warm, comforting flavor depth to balance the sweetness.
- Chopped pecans or walnuts (optional): Introduce a satisfying crunch and nutty flavor contrast.
- Pinch of salt: Enhances the candy’s flavors and keeps the sweetness from becoming overwhelming.
How to Make Divinity Candy Recipe
Step 1: Prepare the Sugar Syrup
Start by combining the granulated sugar, light corn syrup, and water in a medium saucepan. Heat the mixture over medium heat, stirring occasionally until all the sugar dissolves completely. This step is key to achieving the perfect silky syrup that will become the backbone of your candy.
Step 2: Cook the Syrup to Hard-Ball Stage
Once the sugar mixture boils, stop stirring and let it cook until it reaches the hard-ball stage, around 250°F (121°C) on a candy thermometer. This precise temperature ensures your divinity will set up with the right firmness—too low, and it won’t hold shape; too high, and it will be too brittle.
Step 3: Whip the Egg Whites
While the syrup is steaming away, beat the egg whites with a pinch of salt in a clean bowl using an electric mixer until stiff peaks form. These whipped whites are what give divinity its iconic light, fluffy texture—think of it as the magic behind the candy’s cloud-like feel.
Step 4: Combine the Hot Syrup with Egg Whites
Carefully and slowly pour the hot syrup in a thin stream into the whipped egg whites as you beat constantly. Take care to avoid splatters and keep your mixer running to integrate the syrup evenly. Continue beating until the mixture turns thick, shiny, and holds stiff peaks—this shows that your divinity has reached the perfect consistency.
Step 5: Add Flavor and Nuts
Gently fold in the vanilla extract for a warm, aromatic touch. If you love a little crunch with your sweetness, this is when you stir in the chopped pecans or walnuts. The nuts lend a delightful texture contrast that elevates this classic treat to the next level.
Step 6: Shape the Divinity Candy
Using a spoon, drop generous mounds of the candy mixture onto wax or parchment paper. This step is fun and a little creative—feel free to make your mounds as uniform or rustic as you like. Just give each candy enough room to set up without sticking together.
Step 7: Cool and Harden
Let your divinity candies cool at room temperature for 1 to 2 hours. This patience pays off as the candies firm up but retain their soft, airy interior. Once hardened, they’re ready for sharing or saving.
Step 8: Store
Keep your gorgeous homemade divinity candies fresh in an airtight container at room temperature for up to a week—perfect for gifting or indulging throughout the holiday season.
How to Serve Divinity Candy Recipe
Garnishes
If you want to dress up your divinity candy, a light dusting of powdered sugar or a scattering of finely chopped nut pieces can add visual appeal and texture. Sprinkling a hint of edible glitter is also charming for special occasions, making each bite feel festive and fun.
Side Dishes
Divinity candy pairs beautifully with rich hot chocolate or a steaming cup of coffee, allowing the candy’s sweetness and fluffy texture to balance the warm, bitter notes. It also works well alongside fresh fruit plates or cheese boards, acting as a sweet contrast to savory and tart flavors.
Creative Ways to Present
For parties or gift-giving, consider packaging your divinity in small decorative tins or clear glass jars tied with festive ribbons. Lining a beautifully arranged candy platter with different flavored nuts or drizzles of melted chocolate can turn this simple treat into a show-stopping centerpiece and conversation starter.
Make Ahead and Storage
Storing Leftovers
Once your divinity candy has cooled and set, store any leftovers in an airtight container at room temperature. Properly stored, the candy will maintain its delightful chewy-crisp texture for up to one week — no need to rush, but it’s usually eaten up faster!
Freezing
While divinity candy doesn’t freeze as well as other candies due to its airy texture, you can try wrapping individual pieces tightly in wax paper and placing them in a freezer-safe container. Thaw at room temperature before serving, but note that freezing can sometimes change the delicate texture slightly.
Reheating
Since divinity is meant to be enjoyed at room temperature, reheating isn’t typically recommended. If the candy becomes a bit too hard or cooler than desired, simply letting it come to room temperature restores its signature softness and flavor beautifully.
FAQs
What makes Divinity Candy different from fudge?
Divinity candy is lighter and fluffier thanks to the whipped egg whites incorporated into the syrup, giving it a meringue-like texture. Fudge, on the other hand, is dense and creamy without the airy element.
Can I make Divinity Candy without nuts?
Absolutely! Nuts are optional in this Divinity Candy Recipe. Leaving them out results in a smoother, pure sweet treat that’s just as delightful.
Why did my divinity turn out sticky?
Sticky divinity usually means the candy did not reach the correct temperature or wasn’t beaten enough after adding the syrup. Using a candy thermometer and continuing to beat until the mixture is thick and holds stiff peaks is key.
Can I add other flavors to this recipe?
Yes! While vanilla is classic, you can experiment with almond extract, peppermint, or even a splash of bourbon to create your own signature divinity twist.
How long does Divinity Candy last?
Stored properly in an airtight container at room temperature, divinity candy stays fresh and tasty for about one week. Beyond that, it may start to lose its desirable texture.
Final Thoughts
There’s something truly magical about making the Divinity Candy Recipe at home — it’s a nostalgic adventure that fills your kitchen with sweet memories and irresistible aromas. Once you master these steps, you’ll have an elegant, melt-in-your-mouth treat that’s perfect for gifting, sharing, or simply savoring yourself. So why not give this classic a try? Your next favorite handmade sweet is just a recipe away!
Print
Divinity Candy Recipe
- Prep Time: 10 minutes
- Cook Time: 15 minutes
- Total Time: 40 minutes
- Yield: 24 servings
- Category: Candy
- Method: Stovetop
- Cuisine: American
Description
Divinity Candy is a classic, fluffy, and sweet confection made from sugar syrup and whipped egg whites, delivering a light and airy texture with a delicate vanilla flavor. This recipe includes optional chopped pecans or walnuts for added crunch and richness, making it a perfect homemade treat for holidays or special occasions.
Ingredients
Dry Ingredients
- 2 cups granulated sugar
- 1/2 cup light corn syrup
- 1/2 cup water
- Pinch of salt
Wet Ingredients
- 2 large egg whites
- 1 teaspoon vanilla extract
Optional Add-ins
- 1 cup chopped pecans or walnuts
Instructions
- Prepare the Sugar Syrup: In a saucepan, combine the granulated sugar, light corn syrup, and water. Heat over medium heat, stirring occasionally until the sugar completely dissolves and the mixture reaches a boil.
- Cook the Syrup: Once boiling, stop stirring and let the syrup cook until it reaches the hard-ball stage at 250°F (121°C) using a candy thermometer.
- Whip the Egg Whites: While the syrup is cooking, beat the egg whites with a pinch of salt in a mixing bowl using an electric or stand mixer until stiff peaks form.
- Combine Syrup and Egg Whites: Carefully and slowly pour the hot syrup in a thin, steady stream into the whipped egg whites while continuously beating to avoid splattering. Continue beating until the mixture is thick, glossy, and holds stiff peaks.
- Add Flavor and Nuts: Stir in the vanilla extract and fold in the chopped pecans or walnuts if using, to add texture and flavor.
- Shape the Divinity: Drop spoonfuls of the candy mixture onto wax or parchment paper, forming small mounds for individual servings.
- Cool and Harden: Allow the candy to cool at room temperature for 1-2 hours, letting it harden completely.
- Store: Once hardened, store the Divinity candy in an airtight container for up to one week to maintain freshness.
Notes
- Use a candy thermometer for accurate temperature to ensure the correct texture.
- Be cautious when pouring hot syrup as it can splatter and cause burns.
- Make sure the mixing bowl and beaters are free of any fat or grease to achieve stiff egg whites.
- For nut-free version, omit the pecans or walnuts.
- Store candies in a cool, dry place to prevent stickiness.


