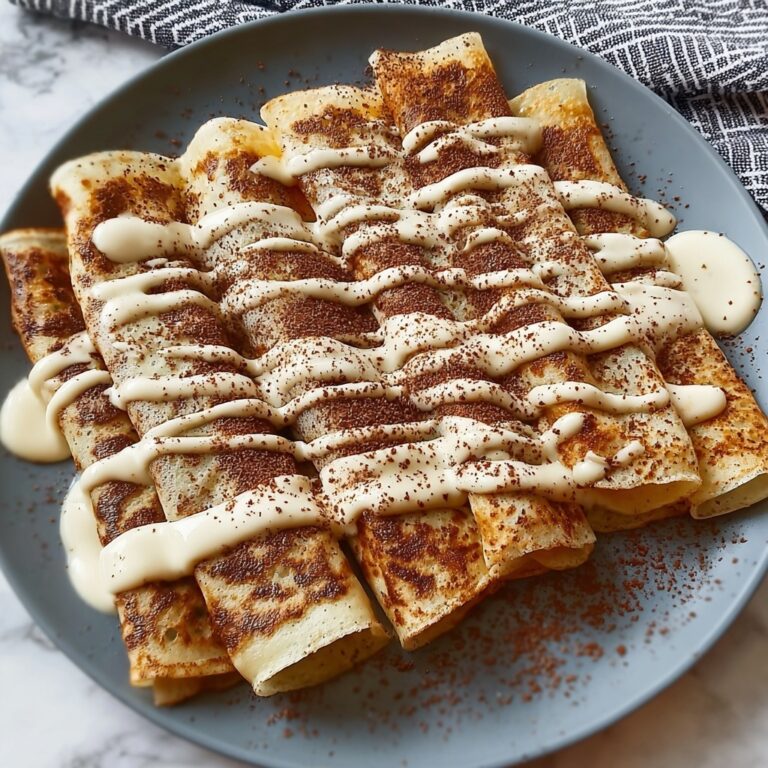
If you’re craving a dessert that feels like a warm hug from the past, look no further than Grandma’s Apple Crisp Recipe. This beloved classic brings together tart, tender apples with a perfectly crumbly, spiced oat topping that bakes into golden perfection. It’s a simple yet utterly satisfying treat that combines comforting flavors and textures you’ll want to come back to again and again.

Ingredients You’ll Need
Trust me, the beauty of Grandma’s Apple Crisp Recipe lies in these simple, down-to-earth ingredients. Each one plays an essential role: the apples bring tart juiciness, the sugars add just the right sweetness, and the oats and spices create a crisp, crunchy contrast that makes every bite an absolute delight.
- 6 medium apples (Granny Smith or Honeycrisp): Choose these for their crisp texture and balance of tartness and sweetness, which is perfect for baking.
- 2 tablespoons granulated sugar: A touch of sweetness to enhance the natural apple flavors.
- 2 tablespoons brown sugar: Adds moisture and a rich caramel note to the fruit layer.
- 1 teaspoon cinnamon: The quintessential spice that warms every mouthful with its inviting aroma.
- 1 teaspoon vanilla extract: Infuses a subtle, aromatic sweetness into the apple filling.
- 1 tablespoon lemon juice: Keeps the apples vibrant in color while balancing the sweetness with brightness.
- 1 cup rolled oats: The heart of the topping, lending a hearty and chewy texture.
- 3/4 cup all-purpose flour: Helps bind the topping while providing structure.
- 1/2 cup brown sugar: Gives the crisp topping a deep, molasses-rich sweetness.
- 1/2 teaspoon cinnamon: Sprinkled into the topping for extra spice and warmth.
- 1/4 teaspoon nutmeg: A pinch of nutmeg adds cozy depth and complements the cinnamon perfectly.
- 1/2 cup cold unsalted butter, cubed: The magic ingredient that makes the topping flaky and golden when baked.
How to Make Grandma’s Apple Crisp Recipe
Step 1: Prepare Your Oven and Apples
Start by preheating your oven to 350°F (175°C) and lightly greasing a 9×13-inch baking dish. This prep ensures your apple crisp won’t stick and bakes evenly. Meanwhile, peel, core, and slice your apples into uniform pieces so they cook perfectly together. Toss the apples with granulated sugar, brown sugar, cinnamon, vanilla extract, and lemon juice. This mixture not only sweetens the apples but also infuses them with classic fall flavors and keeps them vibrant.
Step 2: Mix the Crisp Topping
Next, in a separate bowl, combine the rolled oats, all-purpose flour, brown sugar, cinnamon, and nutmeg. These ingredients form a flavorful base that’s both crispy and crunchy. Cut in the cold, cubed unsalted butter using your fingers or a pastry cutter, mixing until the topping becomes crumbly—think golden pebbles. Keeping the butter cold is key to getting that melt-in-your-mouth texture once baked.
Step 3: Assemble and Bake
Spread the apple mixture evenly across the bottom of your greased baking dish, creating a luscious fruit layer. Then, sprinkle the crisp topping generously over the apples, covering every corner for that perfect balance of fruit and crumble. Pop it into the oven and bake for 40 to 45 minutes, until the topping turns a beautiful golden brown and the apples are bubbling with their natural juices.
Step 4: Cool and Enjoy
After baking, let the crisp cool slightly. This resting time allows the juices to thicken a bit and the topping to set wonderfully. Serve Grandma’s Apple Crisp Recipe warm, and if you’re feeling decadent, add a scoop of vanilla ice cream or a dollop of whipped cream on top. Each bite will feel like a cozy celebration straight from the kitchen of someone who truly knows how to comfort with food.
How to Serve Grandma’s Apple Crisp Recipe
Garnishes
A simple dusting of powdered sugar can add a hint of sweetness and a delightful visual appeal. For a fun texture contrast, sprinkle toasted chopped nuts like pecans or walnuts just before serving. Fresh mint leaves lend a refreshing pop of color and aroma, elevating the dish elegantly without overpowering its classic charm.
Side Dishes
Grandma’s Apple Crisp Recipe pairs beautifully with creamy sides. Vanilla ice cream is a classic choice, melting smoothly alongside warm apples. You might also enjoy it with a generous spoonful of whipped cream or even a drizzle of caramel sauce for extra indulgence. For a brunch twist, serve it alongside cinnamon-spiced breakfast sausages or a sharp cheddar cheese plate for a sweet-savory contrast.
Creative Ways to Present
For a fun family-style twist, serve the apple crisp in individual ramekins topped with a cinnamon stick for stirring. You can also layer it with Greek yogurt and granola for an apple crisp parfait, turning dessert into a delightful breakfast option. If hosting a crowd, make mini crisp-topped apple cobblers in muffin tins for charming hand-held treats.
Make Ahead and Storage
Storing Leftovers
If you have leftovers, store them in an airtight container in the refrigerator for up to 3 days. The flavors will deepen, and the crisp topping may soften slightly, but reheating will bring back some of its original crunch. It’s perfect for an easy dessert or breakfast the next day.
Freezing
Grandma’s Apple Crisp Recipe freezes beautifully. Cool it completely, then wrap tightly with plastic wrap and aluminum foil or place in a freezer-safe dish. It can be frozen for up to 3 months. When ready to eat, thaw overnight in the fridge before reheating for best texture.
Reheating
To reheat, warm your apple crisp in a preheated oven at 350°F (175°C) for about 15-20 minutes until heated through and the topping is crisp again. Avoid microwaving if possible, as it can make the crisp topping soggy. A quick oven warm-up restores that signature crunchy delight you love.
FAQs
Can I use other types of apples?
Absolutely! While Granny Smith and Honeycrisp are ideal for their texture and balance of tartness, Fuji, Braeburn, or Pink Lady apples also work well. Just keep in mind that sweeter apples may produce a softer filling.
What if I don’t have rolled oats?
If you don’t have rolled oats, quick oats can be a substitute, though the texture will be less hearty. Avoid steel-cut oats, as they won’t soften enough during baking.
Can this recipe be made gluten-free?
Yes! Substitute the all-purpose flour with a gluten-free flour blend, and ensure your oats are certified gluten-free. This adjustment makes Grandma’s Apple Crisp Recipe suitable for gluten-sensitive friends and family.
Do I need to peel the apples?
Peeling the apples is recommended for the smoothest texture and a classic apple crisp feel, but keeping the peel on adds extra fiber and a rustic touch if you prefer.
How long can I let it cool before serving?
Let the crisp cool for about 10-15 minutes after baking. This allows the juices to thicken slightly without losing the warm, comforting vibe. It’s delicious warm or at room temperature.
Final Thoughts
There’s something truly special about Grandma’s Apple Crisp Recipe—it’s more than just a dessert, it’s a heartwarming tradition wrapped in cinnamon-scented crumbs and bubbling apples. Whether you’re making it for a holiday, a weeknight treat, or just because, this recipe invites you to slow down, savor the moment, and enjoy a taste of homemade love. Give it a try, and you might just find yourself reaching for this golden classic again and again.
Print
Grandma’s Apple Crisp Recipe
- Prep Time: 15 minutes
- Cook Time: 45 minutes
- Total Time: 1 hour
- Yield: 8 servings
- Category: Dessert
- Method: Baking
- Cuisine: American
- Diet: Vegetarian
Description
Grandma’s Apple Crisp is a warm, comforting dessert featuring tender cinnamon-spiced apples topped with a buttery, oat-studded crumb topping. Perfectly baked until golden and bubbling, this classic recipe is easy to prepare and ideal for cozy gatherings or family dinners.
Ingredients
Apple Filling
- 6 medium apples (Granny Smith or Honeycrisp), peeled, cored, and sliced
- 2 tablespoons granulated sugar
- 2 tablespoons brown sugar
- 1 teaspoon cinnamon
- 1 teaspoon vanilla extract
- 1 tablespoon lemon juice
Topping
- 1 cup rolled oats
- 3/4 cup all-purpose flour
- 1/2 cup brown sugar
- 1/2 teaspoon cinnamon
- 1/4 teaspoon nutmeg
- 1/2 cup cold unsalted butter, cubed
Instructions
- Preheat Oven and Prepare Dish: Preheat your oven to 350°F (175°C) and lightly grease a 9×13-inch baking dish to prevent sticking.
- Mix Apple Filling: In a large bowl, toss the peeled, cored, and sliced apples with granulated sugar, brown sugar, cinnamon, vanilla extract, and lemon juice to evenly coat the fruit and enhance flavor.
- Prepare Crumb Topping: In a separate bowl, combine rolled oats, all-purpose flour, brown sugar, cinnamon, and nutmeg. Add cold, cubed unsalted butter and use your fingers or a pastry cutter to blend the mixture until it forms a crumbly texture.
- Assemble the Crisp: Spread the apple mixture evenly in the prepared baking dish, then sprinkle the crumb topping evenly over the apples.
- Bake: Bake the apple crisp in the preheated oven for 40-45 minutes, or until the topping is golden brown and the apples are tender and bubbly.
- Cool and Serve: Allow the crisp to cool slightly before serving. For an extra indulgence, serve warm with vanilla ice cream or whipped cream if desired.
Notes
- You can substitute the Granny Smith or Honeycrisp apples with other firm, tart apple varieties if preferred.
- For a gluten-free version, replace all-purpose flour with almond flour or gluten-free flour blend.
- Ensure the butter used in the topping is cold for better crumbly texture.
- Add chopped nuts like walnuts or pecans to the topping for added crunch.
- Leftovers can be refrigerated and gently reheated before serving.


