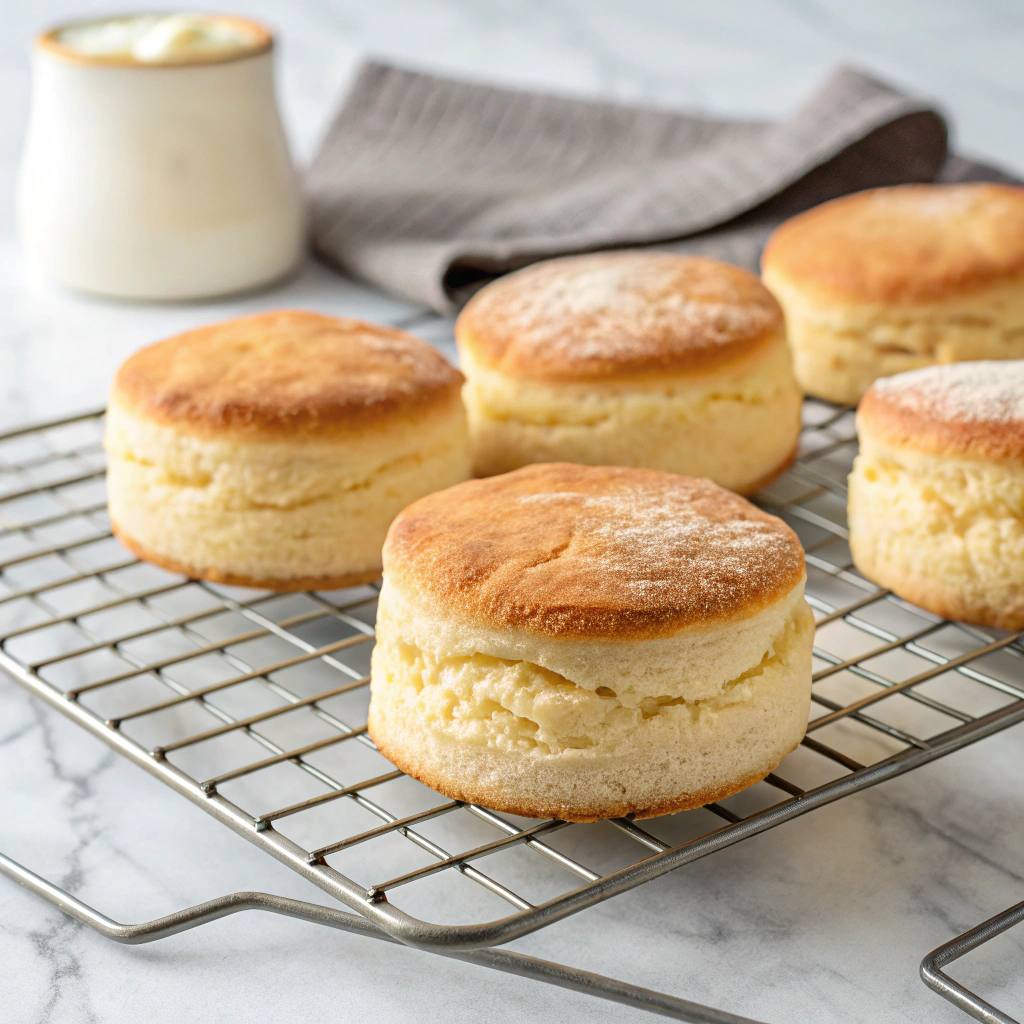
If you’ve ever wondered how to create the fluffiest, most tender biscuits that practically melt in your mouth, this Homemade Angel Biscuits Recipe is your new best friend. These biscuits strike the perfect balance between a delicate crumb and a slight golden crust, thanks to the magic of yeast combined with traditional baking agents. Whether you’re making them for a cozy breakfast or a comforting dinner side, these biscuits will elevate any meal and quickly become a cherished classic in your kitchen.
Ingredients You’ll Need
Gathering a handful of simple, pantry-friendly ingredients is all it takes to whip up these delightful homemade wonders. Each element plays a key role, from the richness of the butter and shortening to the gentle lift provided by yeast and baking powder.
- 5 cups all-purpose flour: The essential base that provides structure and tenderness to the biscuits.
- 1/4 cup granulated sugar: Adds a touch of sweetness to balance the savory notes.
- 1 tablespoon baking powder: Helps the biscuits rise up light and fluffy.
- 1 teaspoon baking soda: Works alongside baking powder for perfect leavening and a slight caramel flavor.
- 1 teaspoon salt: Enhances all the other flavors while giving the biscuits a well-rounded taste.
- 1/2 cup cold unsalted butter, cubed: Adds richness and creates flaky layers when cut into the dough.
- 1/2 cup shortening: Balances tenderness and moisture for that melt-in-your-mouth texture.
- 2 teaspoons active dry yeast: Makes these biscuits rise beautifully for that heavenly, airy crumb.
- 1/4 cup warm water (about 110°F): Activates the yeast, crucial for that subtle fermentation flavor.
- 2 cups buttermilk: Brings tangy moisture that tenderizes the dough and adds depth.
How to Make Homemade Angel Biscuits Recipe
Step 1: Combine the Dry Ingredients
Start with a large mixing bowl where you whisk together flour, sugar, baking powder, baking soda, and salt. This ensures an even distribution of ingredients so every biscuit is consistently delicious.
Step 2: Cut in Butter and Shortening
Use a pastry blender or even two forks to cut the cold butter and shortening into the flour mixture until it resembles coarse crumbs. This step is essential for creating those flaky layers that make homemade biscuits so special.
Step 3: Activate the Yeast
In a small bowl, dissolve the yeast into warm water, letting it sit for about 5 minutes until frothy. This activation process is what gives the biscuits a subtle lift and characteristic chewiness.
Step 4: Combine Wet and Dry Ingredients
Add your frothy yeast mixture and buttermilk to the flour mixture, stirring gently. Over-mixing can toughen the dough, so just bring everything together until the dough forms.
Step 5: Knead the Dough Gently
Turn the dough out onto a floured surface and knead just 3 to 4 times. This minimal kneading helps keep the biscuits light and tender without overworking the gluten.
Step 6: Roll and Cut the Biscuits
Roll your dough out to about one inch thick. Use a biscuit cutter to stamp out biscuit rounds, re-rolling scraps as needed so nothing goes to waste. This method ensures evenly sized biscuits that bake uniformly.
Step 7: Let the Biscuits Rise
Place the cut biscuits on a baking sheet, cover with a clean towel, and allow them to rise for 30 minutes. This resting period softens the dough and gives you that angelic fluffiness.
Step 8: Bake to Golden Perfection
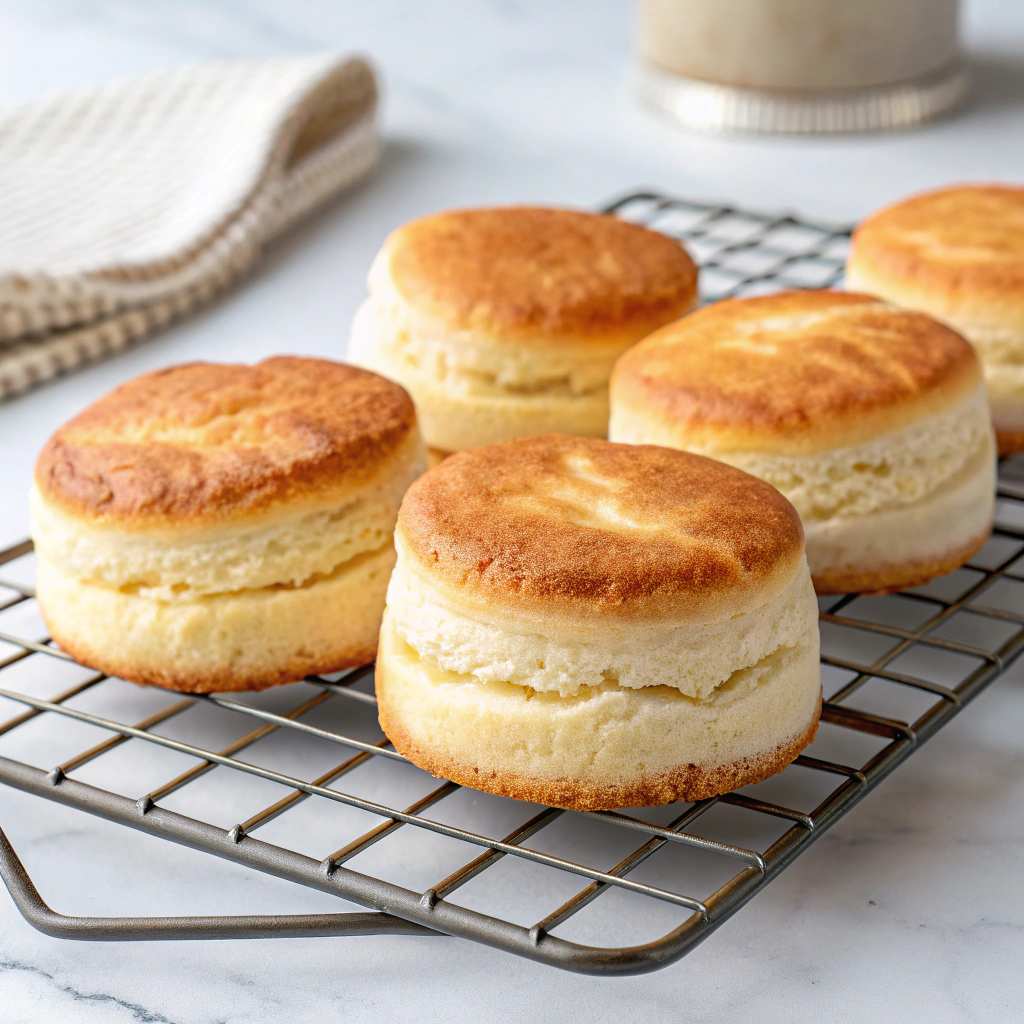
Preheat your oven to 400°F (200°C). Bake the biscuits for 15 to 20 minutes until they swell up and turn a beautiful golden brown. The scent alone will have you rushing to the kitchen.
Step 9: Serve Warm and Enjoy
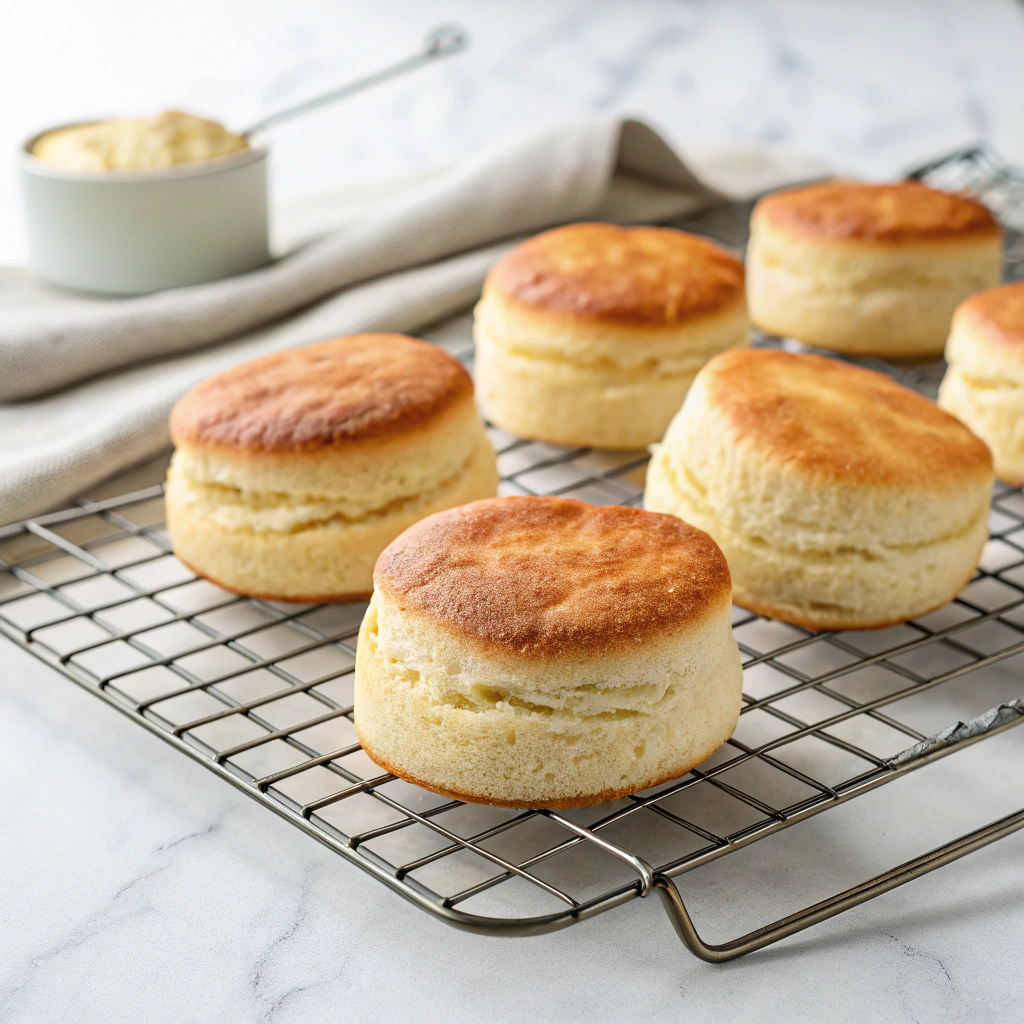
Once out of the oven, let your homemade biscuits cool just slightly. Serve them warm with butter, honey, jam, or your favorite spread and prepare to fall in love bite after bite.
How to Serve Homemade Angel Biscuits Recipe
Garnishes
While these biscuits are heavenly on their own, a pat of melting butter brings out their rich flavor beautifully. Drizzling honey or spreading a dollop of fruit jam adds a lovely contrast of sweetness that enhances every mouthful.
Side Dishes
Homemade angel biscuits make the perfect partner for a savory breakfast with eggs and sausage or a hearty stew during chilly nights. They soak up gravy, soups, and sauces like a dream, making every meal feel special.
Creative Ways to Present
For a brunch spread, slice biscuits in half and pile on fresh berries and whipped cream for a simple shortcake twist. Alternatively, turn the biscuits into sliders with fried chicken or roasted veggies for an unexpected yet delightful treat.
Make Ahead and Storage
Storing Leftovers
If you find yourself with leftovers (though unlikely!), store them in an airtight container at room temperature for up to two days. This keeps the biscuits soft and prevents them from drying out quickly.
Freezing
To freeze, place fully cooled biscuits in a resealable freezer bag or airtight container. They can last up to three months frozen. When ready to use, thaw overnight in the refrigerator or at room temperature.
Reheating
Reheat biscuits by wrapping them in foil and warming in a 350°F oven for 10 to 15 minutes. For a quick fix, microwave on a low setting wrapped in a damp paper towel for about 20 seconds to recapture that fresh-baked softness.
FAQs
Can I substitute buttermilk in this recipe?
Yes! If you don’t have buttermilk, you can mix 2 cups of regular milk with 2 tablespoons of lemon juice or white vinegar and let it sit for 5 minutes to mimic the tangy acidity.
Why do these biscuits use yeast and baking powder together?
The yeast adds a subtle fermentation flavor and chewy texture, while the baking powder provides immediate lift and lightness. Together, they create the unique, airy crumb that defines angel biscuits.
Can I use all butter instead of butter and shortening?
Using all butter is possible but might result in a slightly less tender biscuit since shortening helps with softness. Feel free to experiment, but the original recipe balances both fats for optimal texture.
How thick should I roll the dough?
About 1 inch thick is perfect to ensure the biscuits rise nicely and bake evenly without becoming too dense or too thin.
Do these biscuits freeze well after baking?
Absolutely! Homemade angel biscuits freeze wonderfully, and reheating them later retains much of their freshly baked charm when done properly.
Final Thoughts
There is something incredibly comforting about fresh biscuits straight from your own oven, and this Homemade Angel Biscuits Recipe makes that dream so easy to achieve. I can’t wait for you to experience the delicate texture, rich flavors, and warm nostalgia these biscuits bring. Whether you’re baking for a special occasion or just because, these biscuits promise to delight and impress every single time.
Print
Homemade Angel Biscuits Recipe
- Prep Time: 30 minutes
- Cook Time: 20 minutes
- Total Time: 50 minutes
- Yield: 12 biscuits
- Category: Bread
- Method: Baking
- Cuisine: American
Description
These Homemade Angel Biscuits are fluffy, tender, and slightly sweet with a delicate rise thanks to the combination of yeast and baking powder. Perfectly golden and soft on the inside, they make an ideal accompaniment for breakfast or any meal. The addition of both butter and shortening gives the biscuits a rich texture and buttery flavor.
Ingredients
Dry Ingredients
- 5 cups all-purpose flour
- 1/4 cup granulated sugar
- 1 tablespoon baking powder
- 1 teaspoon baking soda
- 1 teaspoon salt
Fat
- 1/2 cup cold unsalted butter, cubed
- 1/2 cup shortening
Yeast Mixture
- 2 teaspoons active dry yeast
- 1/4 cup warm water (about 110°F)
Liquid
- 2 cups buttermilk
Instructions
- Mix Dry Ingredients: In a large mixing bowl, whisk together the flour, sugar, baking powder, baking soda, and salt until evenly combined.
- Cut in Fats: Use a pastry blender or two forks to cut the cold butter and shortening into the dry ingredients until the mixture resembles coarse crumbs, ensuring even distribution of fat.
- Activate Yeast: In a small bowl, dissolve the active dry yeast in warm water (approximately 110°F) and let it sit for 5 minutes until it becomes frothy, indicating the yeast is active.
- Combine Ingredients: Add the yeast mixture and buttermilk to the flour mixture. Stir gently until a cohesive dough forms, being careful not to overmix.
- Knead Dough: Turn the dough out onto a floured surface and gently knead 3–4 times to bring everything together without overworking the gluten.
- Roll and Cut: Roll the dough out to about 1-inch thickness, then use a biscuit cutter to cut out the individual biscuits. Re-roll any scraps to make additional biscuits.
- Proof Biscuits: Place the cut biscuits onto a baking sheet, cover with a clean towel, and let them rise in a warm place for 30 minutes to allow them to puff up slightly.
- Preheat Oven: While the biscuits are proofing, preheat your oven to 400°F (200°C) to ensure proper baking temperature.
- Bake Biscuits: Bake the biscuits in the preheated oven for 15–20 minutes or until they turn golden brown on top.
- Serve: Remove the biscuits from the oven and serve warm, complemented with butter, honey, or your favorite spread for a delightful treat.
Notes
- For best results, make sure your butter and shortening are very cold before cutting into the flour mixture.
- Do not over-knead the dough; this keeps the biscuits tender and fluffy.
- If you don’t have buttermilk, you can substitute with regular milk plus 1 tablespoon of lemon juice or vinegar and let it sit for 5 minutes.
- The yeast proofing step is essential to give the biscuits a light texture and slight rise alongside the baking powder.
- Biscuits are best enjoyed fresh out of the oven but can be reheated gently later.

