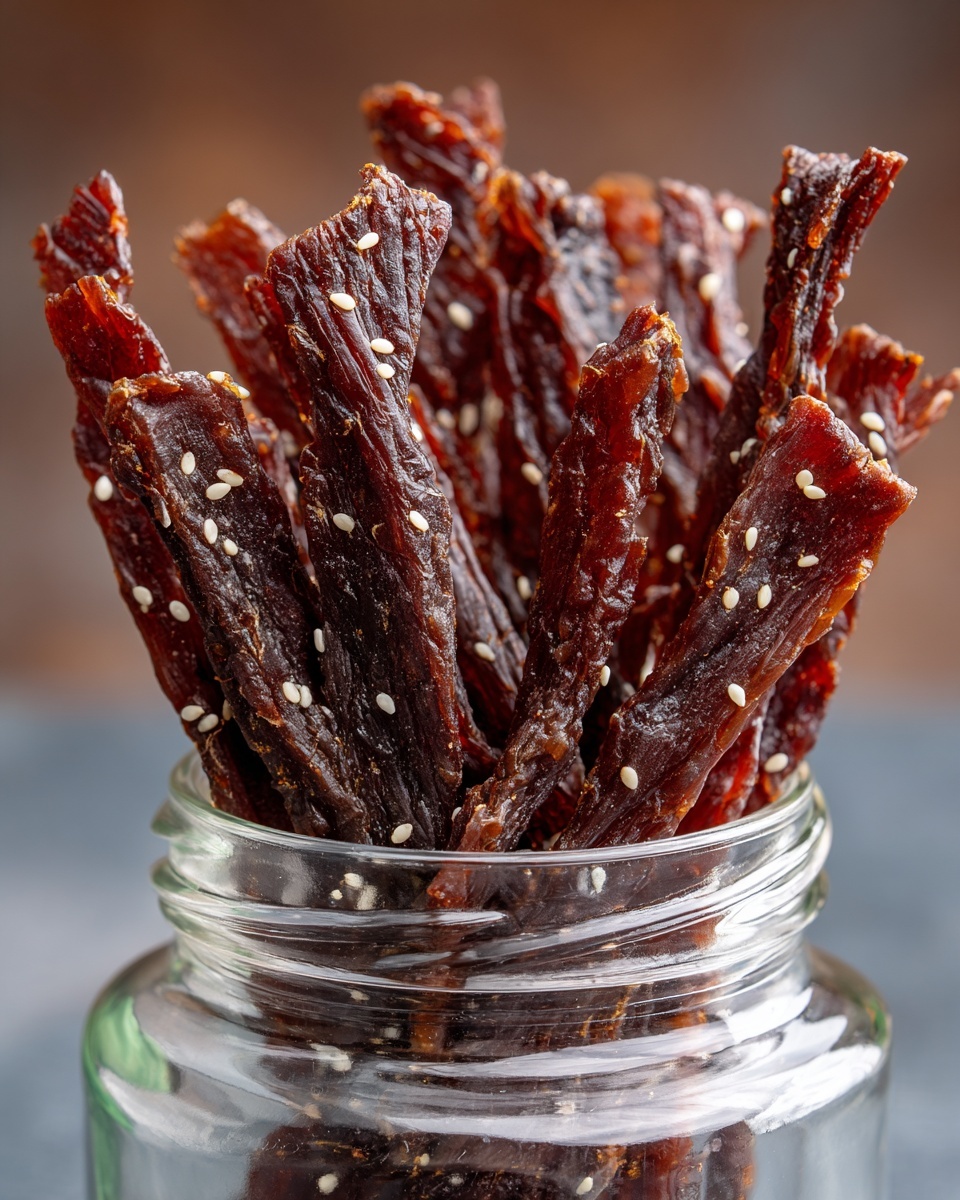
If you have ever dreamed of making your own savory and sweet snack that’s bursting with flavor, this guide on How to Make Irresistible Honey Garlic Chicken Jerky at Home Recipe will become your new best friend. This homemade chicken jerky balances the natural tenderness of chicken breast with a rich marinade of honey, garlic, and a hint of smoky depth. It’s perfect for snacking on the go, adding a protein boost to your day, or impressing friends with your culinary creativity. This recipe transforms simple pantry ingredients into a delightful treat that’s chewy, flavorful, and deeply satisfying.
Ingredients You’ll Need
Each ingredient in this How to Make Irresistible Honey Garlic Chicken Jerky at Home Recipe contributes something special, from enhancing the flavor to improving the texture and appearance. The list is simple, but every element matters to create that perfect balance.
- 1 lb chicken breast, trimmed of fat: Lean chicken ensures a healthy, protein-rich base for your jerky with minimal grease.
- ⅓ cup soy sauce: This brings the essential salty umami flavor that forms the backbone of the marinade.
- ⅓ cup Worcestershire sauce: Adds complexity with tangy and slightly sweet undertones, elevating the marinade.
- ¼ cup honey: Sweetness that perfectly complements the garlic and chili, balancing flavors and helping caramelize the jerky.
- 2 tablespoons chili garlic sauce: A spicy, garlicky kick that livens up the palate without overpowering the dish.
- 1 tablespoon liquid smoke (optional): Infuses a subtle smoky aroma reminiscent of slow-cooked jerky from a wood fire.
- ¼ teaspoon curing salt (optional): Helps preserve the jerky and adds a faint tang, especially useful if storing long-term.
How to Make How to Make Irresistible Honey Garlic Chicken Jerky at Home Recipe
Step 1: Prepare the Marinade
In a sturdy bowl, combine soy sauce, Worcestershire sauce, honey, chili garlic sauce, liquid smoke, and curing salt if you’re using it. Stir everything together until the honey thoroughly dissolves and all the ingredients marry into a harmonious sauce. This marinade is the soul of your jerky, so be sure it’s blended well!
Step 2: Slice the Chicken Breast
Trim all visible fat from the chicken breasts to avoid excess grease in your jerky. Then, slice the chicken into thin strips about ¼ inch thick. Consistent thickness ensures even drying and perfect texture—avoid uneven slices that might dry too quickly or too slowly.
Step 3: Marinate the Chicken
Place your chicken strips into a resealable ziplock bag and pour in the marinade. Seal the bag tightly, removing as much air as possible, and toss everything gently to coat the meat evenly. Pop the bag into your refrigerator and let it marinate for anywhere from 6 to 24 hours. The longer you marinate, the deeper the flavors will penetrate, but even a shorter soak yields delicious results.
Step 4: Drain and Arrange for Dehydration
Once marinated, remove the chicken strips and use a colander to strain off excess marinade. Lay each strip on the dehydrator trays with a little space between them to allow good airflow. This step is critical because air circulation ensures your jerky dries uniformly, avoiding soggy spots.
Step 5: Dehydrate the Chicken
Dehydrate the chicken strips at 160°F for 4 to 6 hours. Begin checking for doneness around the 3.5-hour mark. You want the jerky to bend and crack but never snap cleanly. This means it’s tender yet perfectly dehydrated for that ideal chew.
Step 6: Optional Oven Heat for Food Safety
For peace of mind, especially if you’re gifting or planning to store the jerky for days, you can heat the strips in a 300°F oven for 10 minutes either before or after dehydrating. This ensures the internal temperature hits 165°F, a key food safety milestone.
How to Serve How to Make Irresistible Honey Garlic Chicken Jerky at Home Recipe
Garnishes
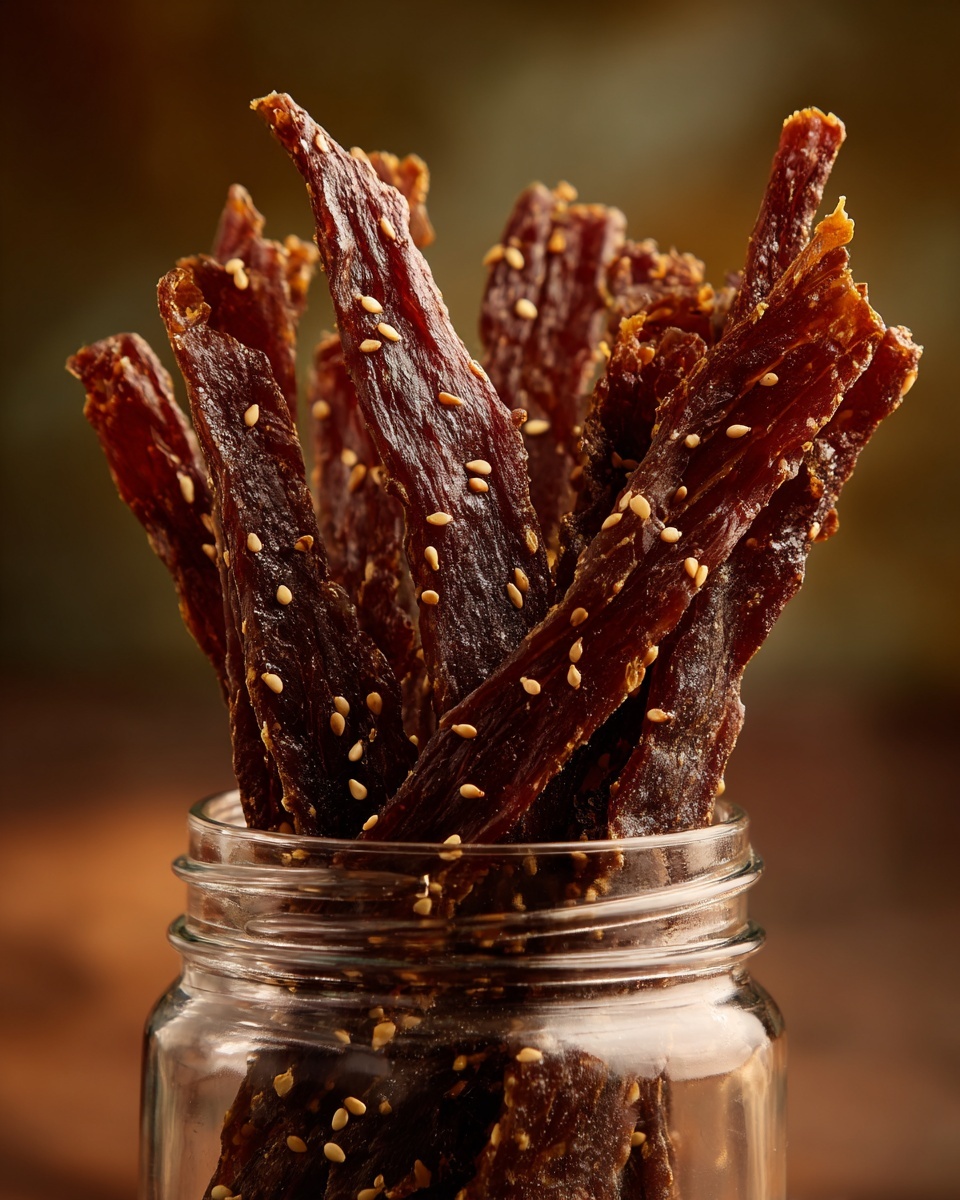
While chicken jerky is fantastic on its own, adding garnishes can elevate the experience. Lightly sprinkle some toasted sesame seeds or fresh chopped green onions over the jerky just before serving. These add a visual pop and an extra dimension of flavor that complements the honey garlic blend beautifully.
Side Dishes
This jerky pairs wonderfully with crunchy fresh veggies like celery sticks, sliced bell peppers, or even crunchy kale chips to provide textural contrast and a fresh bite alongside the dense, chewy meat.
Creative Ways to Present
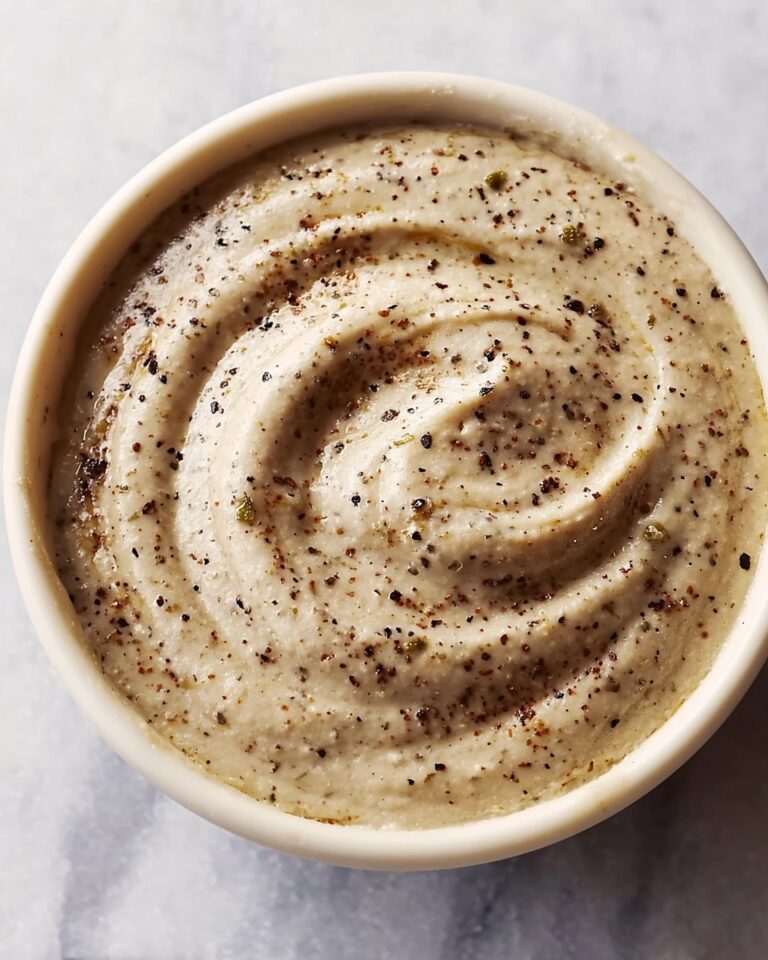
Consider serving your jerky on a rustic wooden board with small bowls of dipping sauces such as a honey mustard or a spicy mayo for dipping. You could even thread the jerky strips onto skewers for a fun and shareable appetizer at your next gathering. Presentation makes all the difference when sharing a homemade favorite!
Make Ahead and Storage
Storing Leftovers
Store your homemade jerky in an airtight container or resealable bag at room temperature if you plan to consume it within a few days. Keeping air and moisture out is key to preserving that chewy texture and delicious flavor.
Freezing
If you want to keep your jerky fresh for longer, freezing is a smart option. Place your jerky in a resealable freezer bag, press out all the air, and freeze for up to 3 months. Thaw it slowly in the refrigerator for best texture maintenance.
Reheating
Generally, chicken jerky is best enjoyed as is without reheating. However, if you prefer it warm, briefly warm it in a 200°F oven for a few minutes—the gentle heat will bring out aromas without drying it out.
FAQs
Can I use chicken thighs instead of chicken breast?
Absolutely! Chicken thighs have a bit more fat which makes the jerky a little richer and more tender. Just trim any excess fat to avoid greasy jerky and adjust drying time slightly if needed.
Is curing salt necessary for this recipe?
Curing salt is optional but recommended if you want to preserve your jerky longer or store it at room temperature for extended periods. It helps inhibit bacterial growth and keeps colors vibrant.
Can I skip the liquid smoke?
Yes, you can! Liquid smoke adds a wonderful smoky flavor but if you prefer a cleaner taste or don’t have it on hand, your jerky will still taste fantastic without it.
How long does homemade chicken jerky last?
When stored properly in an airtight container, homemade chicken jerky lasts about 1 to 2 weeks at room temperature and up to a month in the refrigerator.
What’s the best way to slice chicken for jerky?
It’s easiest to freeze the chicken slightly (about 30 minutes) before slicing; this firms up the meat and helps you get clean, consistent strips for even drying.
Final Thoughts
Now that you’ve got the full scoop on How to Make Irresistible Honey Garlic Chicken Jerky at Home Recipe, it’s time to roll up your sleeves and dive into this addictive snack-making adventure. Homemade jerky is not only rewarding but lets you customize flavors to your own cravings and dietary needs. Trust me, once you try this sweet, garlicky, chewy delight, store-bought jerky will seem a distant memory!
Print
How to Make Irresistible Honey Garlic Chicken Jerky at Home Recipe
- Prep Time: 10 minutes
- Cook Time: 4 to 6 hours
- Total Time: 6 hours 10 minutes (excluding marination time)
- Yield: 5 servings
- Category: Jerky
- Method: Dehydrating
- Cuisine: American
- Diet: Low Fat
Description
Discover how to make irresistible honey garlic chicken jerky at home with this easy recipe. Marinated in a flavorful blend of soy sauce, Worcestershire sauce, honey, chili garlic sauce, and optional liquid smoke, these thinly sliced chicken strips are dehydrated to perfection for a tasty, protein-packed snack.
Ingredients
Marinade
- ⅓ cup soy sauce
- ⅓ cup Worcestershire sauce
- ¼ cup honey
- 2 tablespoons chili garlic sauce
- 1 tablespoon liquid smoke (optional, hickory recommended)
- ¼ teaspoon curing salt (optional)
Chicken
- 1 lb chicken breast, trimmed of fat
Instructions
- Prepare Marinade: In a bowl, combine soy sauce, Worcestershire sauce, honey, chili garlic sauce, liquid smoke, and curing salt (if using). Mix well and pour the marinade into a ziplock bag.
- Slice Chicken: Trim all visible fat from the chicken breast and slice it into ¼-inch thick strips for even marination and drying.
- Marinate Chicken: Add the chicken strips to the marinade inside the ziplock bag. Seal the bag and refrigerate for 6 to 24 hours to allow the flavors to penetrate the meat.
- Drain Excess Marinade: Remove the chicken strips from the bag and strain excess marinade using a colander to prevent sogginess during dehydration.
- Arrange on Dehydrator Trays: Place the chicken strips on dehydrator trays in a single layer, ensuring pieces do not touch to allow proper airflow.
- Dehydrate Chicken: Set the dehydrator to 160°F and dry the chicken strips for 4 to 6 hours. Begin checking for doneness around the 3.5-hour mark to prevent over-drying.
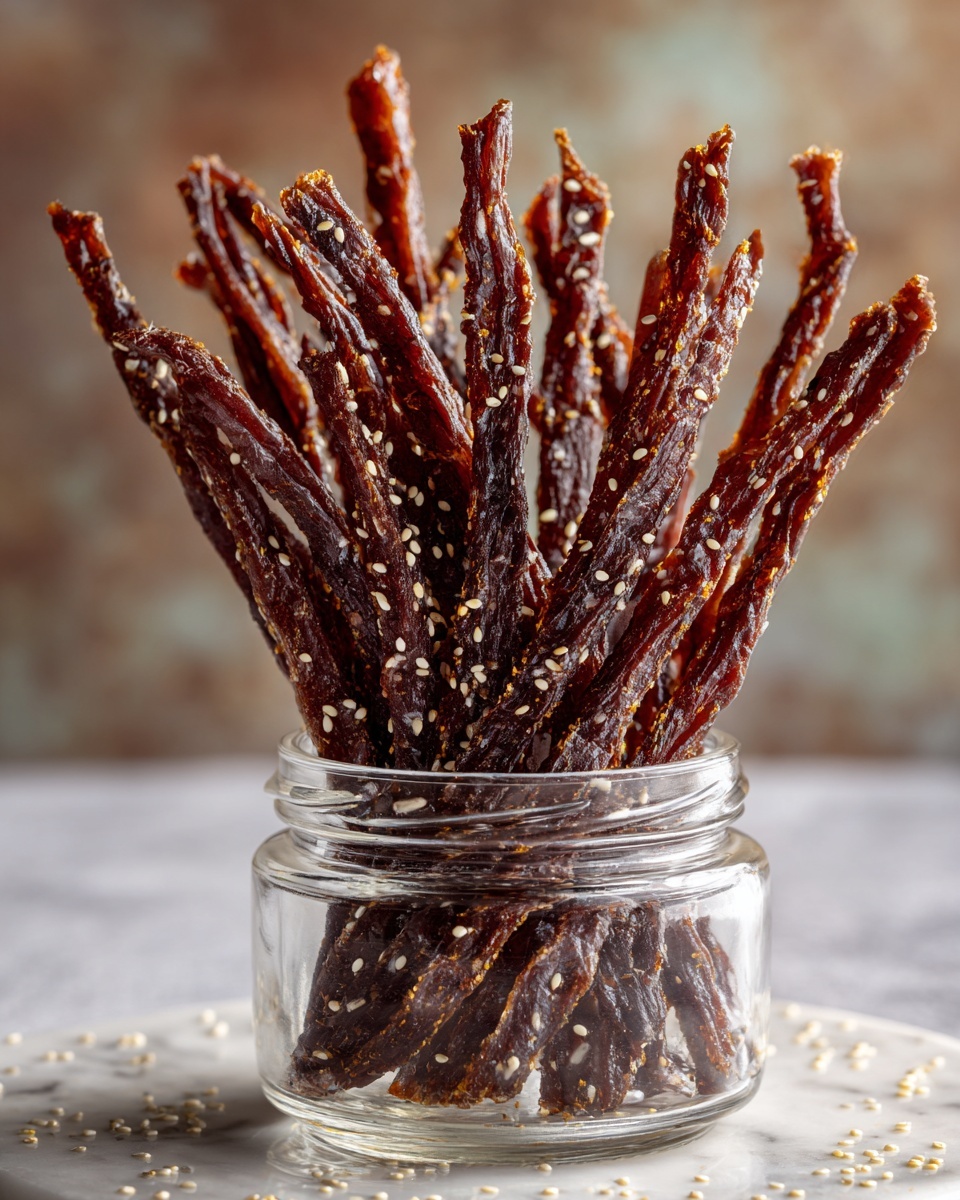
- Check Doneness: The jerky is ready when it bends and cracks but does not break in half, indicating the perfect chewy texture.
- Optional Safety Heating: To ensure food safety, optionally heat the jerky strips in a preheated 300°F oven for 10 minutes before or after dehydrating. This step helps achieve an internal temperature of 165°F, killing any residual bacteria.
Notes
- If using curing salt, be sure to measure accurately as it helps preserve the meat and prevent bacterial growth.
- Liquid smoke is optional but adds a nice smoky flavor to the jerky.
- For best texture, monitor drying time carefully; over-dried jerky can be too brittle.
- Store jerky in airtight containers or vacuum-sealed bags to maintain freshness.
- You can substitute chicken thighs for a slightly different flavor and texture, but adjust drying time accordingly.

