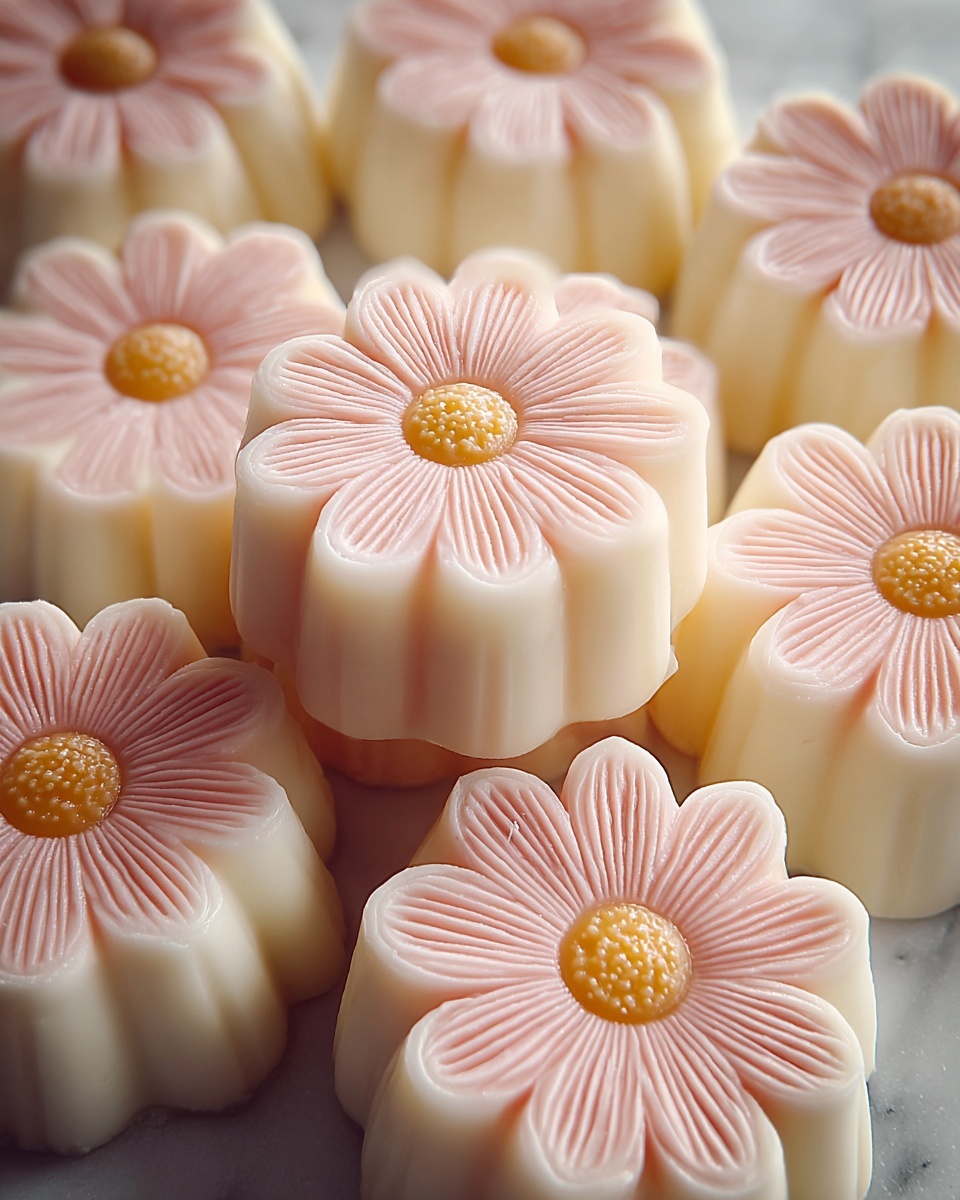
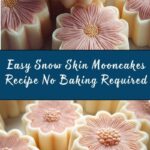
If you’ve ever wanted to try a delicate, chilled dessert that’s both traditional and refreshingly light, this Snow Skin Mooncakes Recipe is a fantastic way to start. Unlike the classic baked mooncakes, these beauties are soft, slightly chewy, and have a tender snow-white skin that beautifully encases a smooth, sweet filling. Perfect for celebrating the Mid-Autumn Festival or anytime you crave an elegant, no-bake treat that melts in your mouth and captivates your senses.
Ingredients You’ll Need
The magic of this Snow Skin Mooncakes Recipe lies in its simplicity. Each component plays a vital role, whether it’s the soft, elastic dough or the luscious filling that provides the signature sweetness and texture.
- 100g glutinous rice flour: Essential for that chewy, tender texture unique to snow skin mooncakes.
- 30g rice flour: Adds a delicate structure, keeping the skin light and soft.
- 20g wheat starch: Helps give the dough elasticity and a silky feel.
- 60g powdered sugar: Sweetens the dough subtly without overpowering the filling.
- 185ml milk: Moisturizes the dough and adds a creamy richness.
- 25g sweetened condensed milk: Intensifies sweetness and contributes to the dough’s smooth texture.
- 30g vegetable oil: Ensures the dough remains pliable and tender after steaming.
- 200g lotus seed paste or red bean paste (for filling): Classic fillings that bring a traditional, mellow sweetness.
- 50g cooked glutinous rice flour (for dusting): Prevents sticking and gives a nice finish to the mooncakes.
How to Make Snow Skin Mooncakes Recipe
Step 1: Prepare the Dry Ingredients
Begin by sifting together the glutinous rice flour, rice flour, wheat starch, and powdered sugar into a heatproof mixing bowl. This step is crucial to prevent lumps and ensure even mixing, making your dough silky smooth.
Step 2: Combine the Wet Ingredients
In a separate bowl, whisk together the milk, sweetened condensed milk, and vegetable oil. Slowly add this liquid mixture to the sifted dry ingredients, stirring continuously until you achieve a consistent batter.
Step 3: Strain and Steam the Batter
For the silkiest texture, strain the batter through a fine sieve into a shallow pan. Steam this mixture over medium heat for 25 to 30 minutes until it firms up, which is the key to that smooth, soft snow skin texture.
Step 4: Knead Into Dough
Once steamed and slightly cooled but still warm, transfer the dough onto a clean surface and knead it gently until it becomes smooth and pliable. This step helps remove any remaining lumps and makes the dough easy to work with.
Step 5: Assemble the Mooncakes
Divide the dough and filling into equal portions—approximately 25 grams of dough and 30 grams of filling per mooncake. Flatten each dough ball, place the filling in the center, then wrap and seal carefully to avoid air pockets.
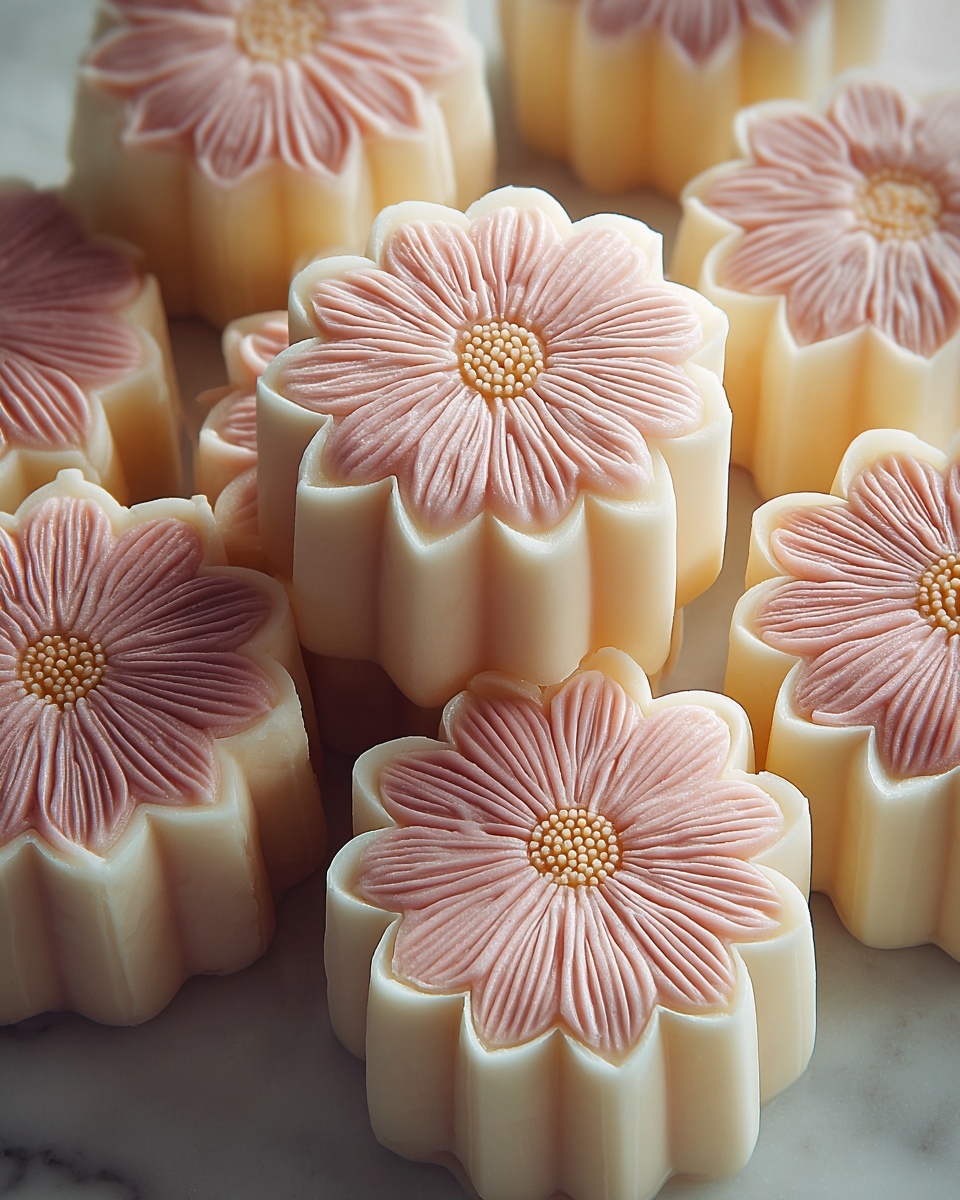
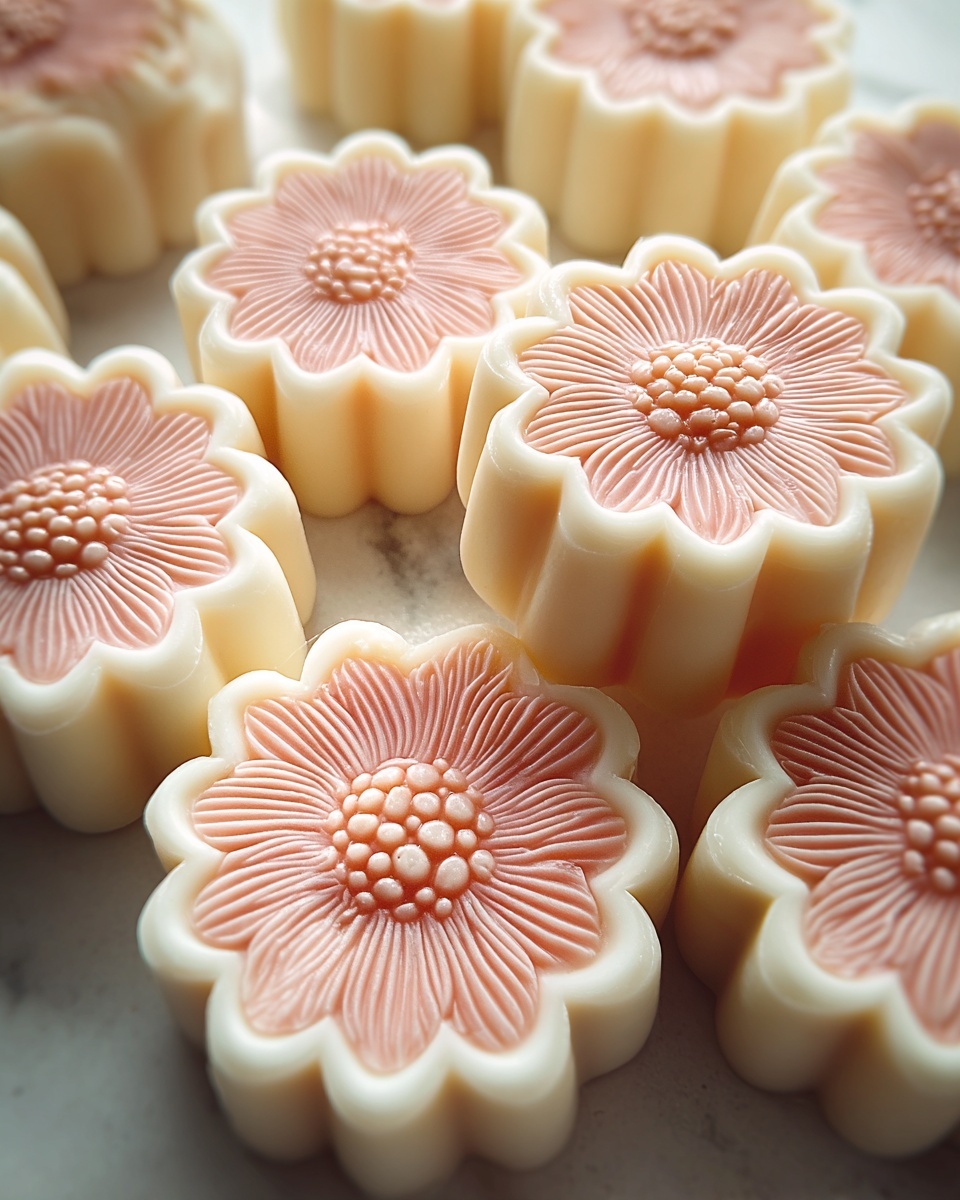
Step 6: Shape and Chill
Dust your hands and the mooncake surface with cooked glutinous rice flour to prevent sticking, then press each into a mooncake mold for that lovely, traditional pattern. Refrigerate the finished mooncakes for at least 2 hours to let them firm up and enhance their flavor.
How to Serve Snow Skin Mooncakes Recipe
Garnishes
Adding a delicate touch can make your Snow Skin Mooncakes truly special. Sprinkle a little edible gold dust or finely crushed freeze-dried berries on top for a pop of color and elegance that complements the smooth skin.
Side Dishes
Traditionally enjoyed with jasmine or oolong tea, these mooncakes pair beautifully with floral and slightly bitter teas, which balance the sweetness and refresh your palate.
Creative Ways to Present
For a festive twist, try serving your mooncakes alongside fresh fruit slices or wrapped individually in translucent paper tied with satin ribbons. You can even experiment with different snow skin flavors like matcha or cocoa powder to impress friends and family.
Make Ahead and Storage
Storing Leftovers
If you have leftovers, keep your snow skin mooncakes well wrapped in plastic wrap or an airtight container in the refrigerator. They will remain fresh and delicious for 3 to 5 days.
Freezing
You can freeze these mooncakes to enjoy later. Wrap each one tightly in plastic wrap and place them in a freezer-safe container. Thaw in the refrigerator overnight before serving to preserve their delicate texture.
Reheating
Since these mooncakes are best enjoyed chilled, reheating is generally not recommended. If you prefer them softer, allow them to rest at room temperature for 15 to 20 minutes to take the chill off without losing their signature texture.
FAQs
Can I use other fillings besides lotus seed or red bean paste?
Absolutely! Feel free to experiment with fillings like mung bean paste, taro, or even sweetened black sesame paste to suit your taste and add variety to your Snow Skin Mooncakes Recipe.
Is it possible to flavor the snow skin dough?
Yes! You can enhance the dough by adding natural flavor powders such as matcha, cocoa, or fruit powders, which not only add flavor but also create beautiful colors.
Do I need a special mold to shape the mooncakes?
While traditional mooncake molds add lovely patterns, you can shape the mooncakes by hand if you don’t have a mold. Just be gentle to maintain the filled center and smooth skin.
Why is the cooked glutinous rice flour used for dusting?
Cooked glutinous rice flour, or gao fen, prevents sticking without drying out the soft skin, which is important for keeping the texture just right when handling and shaping the mooncakes.
Can these mooncakes be made vegan?
Yes, by substituting the milk and condensed milk with plant-based alternatives such as almond milk and coconut condensed milk, you can create a vegan-friendly version without compromising texture or taste.
Final Thoughts
This Snow Skin Mooncakes Recipe brings a fresh and delightful twist to a beloved Chinese tradition that’s sure to impress both your family and friends. Its no-bake, chilled nature makes it perfect for warmer days, while the delicate texture and rich filling keep everyone coming back for more. I truly hope you give this recipe a try and enjoy the satisfying art of mooncake-making in your own kitchen!
Print
Snow Skin Mooncakes Recipe
- Prep Time: 45 minutes
- Cook Time: 30 minutes
- Total Time: 1 hour 15 minutes
- Yield: 8 mooncakes
- Category: Dessert
- Method: Steaming
- Cuisine: Chinese
- Diet: Vegetarian
Description
This recipe for Snow Skin Mooncakes offers a delightful no-bake Chinese dessert option traditionally enjoyed during the Mid-Autumn Festival. Featuring a chewy, soft glutinous rice flour skin and a sweet lotus seed or red bean paste filling, these mooncakes are steamed rather than baked and served chilled, making them a refreshing treat.
Ingredients
Snow Skin Dough
- 100g glutinous rice flour
- 30g rice flour
- 20g wheat starch
- 60g powdered sugar
- 185ml milk
- 25g sweetened condensed milk
- 30g vegetable oil
Filling
- 200g lotus seed paste or red bean paste
For Dusting and Shaping
- 50g cooked glutinous rice flour
Instructions
- Combine Dry Ingredients: In a heatproof mixing bowl, sift together the glutinous rice flour, rice flour, wheat starch, and powdered sugar to ensure no lumps and an even mixture.
- Mix Wet Ingredients: In a separate bowl, mix the milk, sweetened condensed milk, and vegetable oil thoroughly.
- Form Batter: Slowly add the wet mixture to the dry ingredients while stirring continuously until the batter is smooth and lump-free.
- Strain Batter: Pour the batter through a fine sieve into a shallow pan to remove any remaining lumps, ensuring a silky texture.
- Steam the Batter: Place the pan in a steamer and steam over medium heat for 25 to 30 minutes or until the batter sets and becomes dough-like.
- Knead Dough: Allow the steamed dough to cool slightly, then knead it gently while still warm until it becomes smooth and pliable.
- Divide Dough and Filling: Portion the dough into 25g pieces and the filling into 30g pieces to create equal-sized mooncakes.
- Shape Mooncakes: Flatten each dough ball, place the filling in the center, wrap around the filling, and seal the edges completely.
- Dust and Mold: Lightly dust each mooncake with cooked glutinous rice flour to prevent sticking, then press into a mooncake mold for the traditional shape and pattern.
- Chill Before Serving: Refrigerate the finished mooncakes for at least 2 hours to set before serving chilled.
Notes
- You can customize the snow skin dough by adding matcha, cocoa powder, or fruit powders for different flavors.
- Store the mooncakes refrigerated and consume within 3 to 5 days for optimal freshness.
- Use cooked glutinous rice flour (gao fen) for dusting to prevent the sticky dough from adhering to surfaces or molds.


