
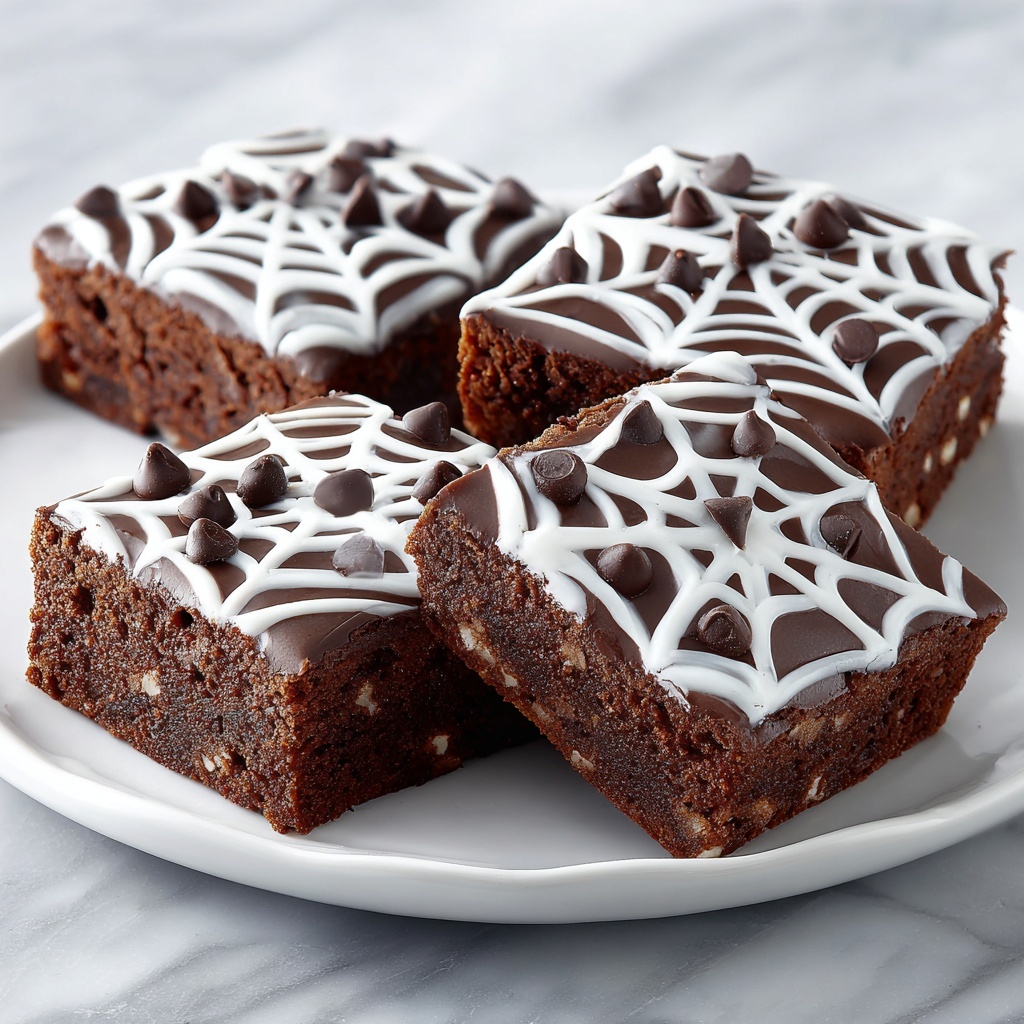
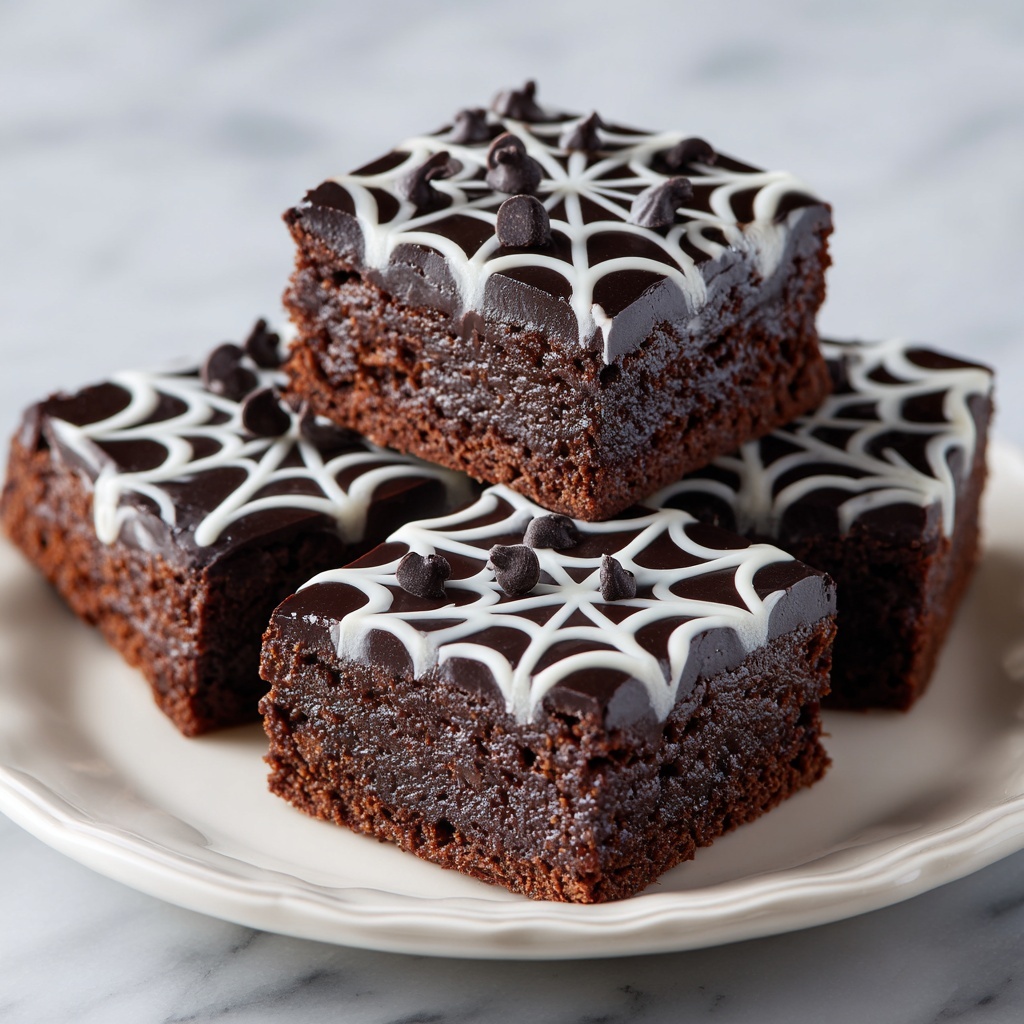
If you’re searching for a fun and festive treat to make your Halloween celebration extra special, the Spider Web Halloween Brownies Recipe is exactly what you need. These fudgy, rich brownies combine classic chocolate goodness with a playful spooky design on top, making them as delightful to look at as they are to eat. Perfect for a party or a cozy night in, this recipe brings together simple ingredients and clever decorating to create the ultimate Halloween indulgence that everyone will love.
Ingredients You’ll Need
With just a handful of pantry staples and a few extras for that festive flair, this recipe keeps things easy but flavorful. Each ingredient plays a key role, whether it’s building that moist brownie base or creating the signature spider web decoration that steals the show.
- Melted butter (1/2 cup): Gives the brownies their rich, buttery texture and flavor; coconut oil can be swapped for a dairy-free option.
- Granulated sugar (1 cup): Sweetens the batter and balances the cocoa’s bitterness perfectly.
- Large eggs (2): Bind the ingredients and add to the cakey yet fudgy structure.
- Vanilla extract (1 teaspoon): Enhances the overall flavor with a subtle warmth.
- Cocoa powder (1/3 cup): Provides that deep, chocolatey taste essential to brownies.
- All-purpose flour (1/2 cup): Creates structure; gluten-free flour works just as well for dietary needs.
- Salt (1/4 teaspoon): Balances sweetness and enhances chocolate’s richness.
- Baking powder (1/4 teaspoon): Helps the brownies rise just a little for the perfect texture.
- Chocolate chips (1/3 cup, optional): Add melty pockets of chocolate for extra indulgence.
- White chocolate or vanilla icing (1/4 cup): Used for the striking spider web design on top.
- Black food coloring (1-2 drops, optional): Intensifies the web’s contrast for a bolder Halloween look.
How to Make Spider Web Halloween Brownies Recipe
Step 1: Prepare Your Pan and Oven
Start by preheating your oven to a cozy 350°F (175°C). Line an 8×8-inch baking pan with parchment paper to make removing the brownies a breeze later on. This small setup step ensures your brownies bake evenly and don’t stick, setting you up for success right from the start.
Step 2: Mix the Wet Ingredients
In a medium bowl, whisk melted butter and granulated sugar until smooth and slightly glossy. Then, beat in your eggs and vanilla extract until fully blended. This creates a luscious base that promises rich taste and the perfect fudgy texture you crave.
Step 3: Combine Your Dry Ingredients
Sift together the cocoa powder, all-purpose flour, salt, and baking powder. This step prevents any lumps in your batter, ensuring a silky finish. Gently fold these dry ingredients into your wet mixture, being careful not to overmix, which keeps your brownies tender and moist.
Step 4: Add Chocolate Chips (Optional)
If you love chocolate surprises within your brownies, gently fold in the chocolate chips now. They melt slightly during baking, adding gooey bursts of extra chocolate that elevate every bite.
Step 5: Bake to Perfection
Pour the batter into your prepared pan and spread it out evenly. Bake for around 20 to 25 minutes, or until a toothpick inserted near the center comes out mostly clean. Keep an eye on them—overbaking can dry out these delicate brownies, so trusting this timing is key.
Step 6: Let Them Cool
Once out of the oven, it’s important to let the brownies cool completely in the pan. This not only helps them set properly but also prepares a smooth surface for your spider web decoration to look its best.
Step 7: Create the Spider Web Design
Melt your white chocolate or vanilla icing and transfer it to a piping bag or a squeeze bottle for control. Starting at the center of the brownies, pipe concentric circles outward. Then, using a toothpick, drag lines from the center out to the edges to form the classic spider web effect. For an extra touch of spooky elegance, adding a drop or two of black food coloring to your icing will make the web pop.
How to Serve Spider Web Halloween Brownies Recipe
Garnishes
Sprinkle a few edible Halloween confetti or orange and black sugar crystals around the edges to amplify the festive vibe. For a creepier touch, place small plastic spiders or candy eyeballs nearby (remember to remove before eating!). These simple additions make your brownies even more eye-catching and fun for guests of all ages.
Side Dishes
Serve your Spider Web Halloween Brownies alongside a chilled glass of cold milk or a hot cup of cinnamon-spiced coffee or tea. The warm spices and cool drinks complement the rich chocolate perfectly, turning your treat into a full sensory experience.
Creative Ways to Present
Consider cutting your brownies into irregular “broken cobweb” shapes and arranging them on a rustic wooden board draped with faux spiderweb decorations for a dramatic presentation. You can also individually wrap them in clear bags tied with orange ribbons for party favors that guests will adore long after the last bite.
Make Ahead and Storage
Storing Leftovers
Once cooled completely, store your brownies in an airtight container at room temperature. They’ll stay fresh and fudgy for about 3 to 4 days, making it easy to prepare ahead of time for the big spooky night.
Freezing
If you want to keep these treats around longer, you can freeze the uncut brownies wrapped tightly in plastic wrap and aluminum foil. When stored properly, they freeze beautifully for up to 3 months without losing their delicious texture or flavor.
Reheating
To enjoy frozen brownies, let them thaw at room temperature or warm them gently in the microwave for 10-15 seconds. This helps restore their ooey-gooey goodness and brings back that just-baked warmth you love.
FAQs
Can I make the brownies dairy-free?
Absolutely! Simply swap the melted butter for coconut oil or another dairy-free alternative. The texture and flavor remain fantastic, making this Spider Web Halloween Brownies Recipe accessible for everyone.
How do I make the spider web design without a piping bag?
If you don’t have a piping bag, a resealable plastic sandwich bag with a tiny corner snipped off works perfectly. It gives you enough control to pipe the white chocolate in thin circles for your webbing.
What can I use instead of white chocolate for the web decoration?
You can also use vanilla icing or royal icing prepared with powdered sugar and a little milk. Just make sure it’s thick enough to hold the web shape after piping.
How do I avoid overbaking my brownies?
Keep a close eye on the baking time and start checking your brownies around the 20-minute mark by inserting a toothpick. If it comes out mostly clean with a few moist crumbs, they’re done—this ensures a fudgy center rather than dry brownies.
Can I add other Halloween-themed decorations to these brownies?
Yes! Feel free to use candy pumpkins, edible glitter, or even themed sprinkles. The Spider Web Halloween Brownies Recipe is a fantastic base for letting your spooky creativity shine.
Final Thoughts
I can’t recommend diving into this Spider Web Halloween Brownies Recipe enough if you want to impress your friends, family, or party guests with an easy-to-make yet spectacular Halloween dessert. It combines that unbeatable rich chocolate flavor with a whimsical and festive touch that’s guaranteed to bring smiles all around. So go ahead, whip up a batch, and watch these spooky sweets disappear in seconds!
Print
Spider Web Halloween Brownies Recipe
- Prep Time: 10 minutes
- Cook Time: 25 minutes
- Total Time: 35 minutes
- Yield: 9 servings
- Category: Dessert
- Method: Baking
- Cuisine: American
- Diet: Gluten Free
Description
These Spider Web Halloween Brownies are a festive and delicious treat perfect for spooky celebrations. Rich and fudgy with a deep cocoa flavor, they feature a fun white chocolate spider web design on top, adding an eye-catching twist to classic brownies. Easy to make and customizable with optional chocolate chips, these brownies are ideal for Halloween parties or seasonal dessert tables.
Ingredients
Brownie Batter
- 1/2 cup melted butter (or coconut oil for dairy-free)
- 1 cup granulated sugar
- 2 large eggs
- 1 teaspoon vanilla extract
- 1/3 cup cocoa powder
- 1/2 cup all-purpose flour (or gluten-free flour for gluten-free version)
- 1/4 teaspoon salt
- 1/4 teaspoon baking powder
- 1/3 cup chocolate chips (optional)
Decoration
- 1/4 cup white chocolate or vanilla icing
- 1–2 drops black food coloring (optional)
Instructions
- Preheat Oven and Prepare Pan: Preheat your oven to 350°F (175°C) and line an 8×8-inch baking pan with parchment paper to prevent sticking and ensure easy removal of the brownies.
- Mix Wet Ingredients: In a medium bowl, whisk together the melted butter and granulated sugar until the mixture is smooth. Then, add the eggs and vanilla extract, mixing thoroughly until fully combined.
- Add Dry Ingredients: Sift together the cocoa powder, all-purpose flour, salt, and baking powder. Gently stir these dry ingredients into the wet mixture until just combined. If desired, fold in the chocolate chips to add extra chocolaty texture.
- Transfer and Bake: Pour the brownie batter evenly into the prepared pan, spreading it out smoothly. Bake in the preheated oven for 20-25 minutes, or until a toothpick inserted into the center comes out mostly clean with a few moist crumbs.
- Cool Down: Allow the brownies to cool completely in the pan to set properly before decorating.
- Create Spider Web Decoration: Melt the white chocolate or vanilla icing and transfer it to a piping bag or squeeze bottle. Starting from the center of the cooled brownies, pipe concentric thin circles outward. Then, using a toothpick, drag lines from the center to the edges of the brownie to create a spider web effect. If using, add 1-2 drops of black food coloring for contrast in the icing.
- Serve: Cut the decorated brownies into squares and serve your spooky Halloween treats, perfect for parties or festive snacks.
Notes
- For a dairy-free version, substitute butter with melted coconut oil.
- To make this recipe gluten-free, use a gluten-free flour blend instead of all-purpose flour.
- Chocolate chips are optional but add extra richness and texture.
- The spider web design can be customized with colored icing or additional Halloween-themed decorations.
- Ensure brownies are completely cool before decorating to prevent melting the white chocolate.
- Store brownies in an airtight container at room temperature for up to 3 days or refrigerate to extend freshness.


