
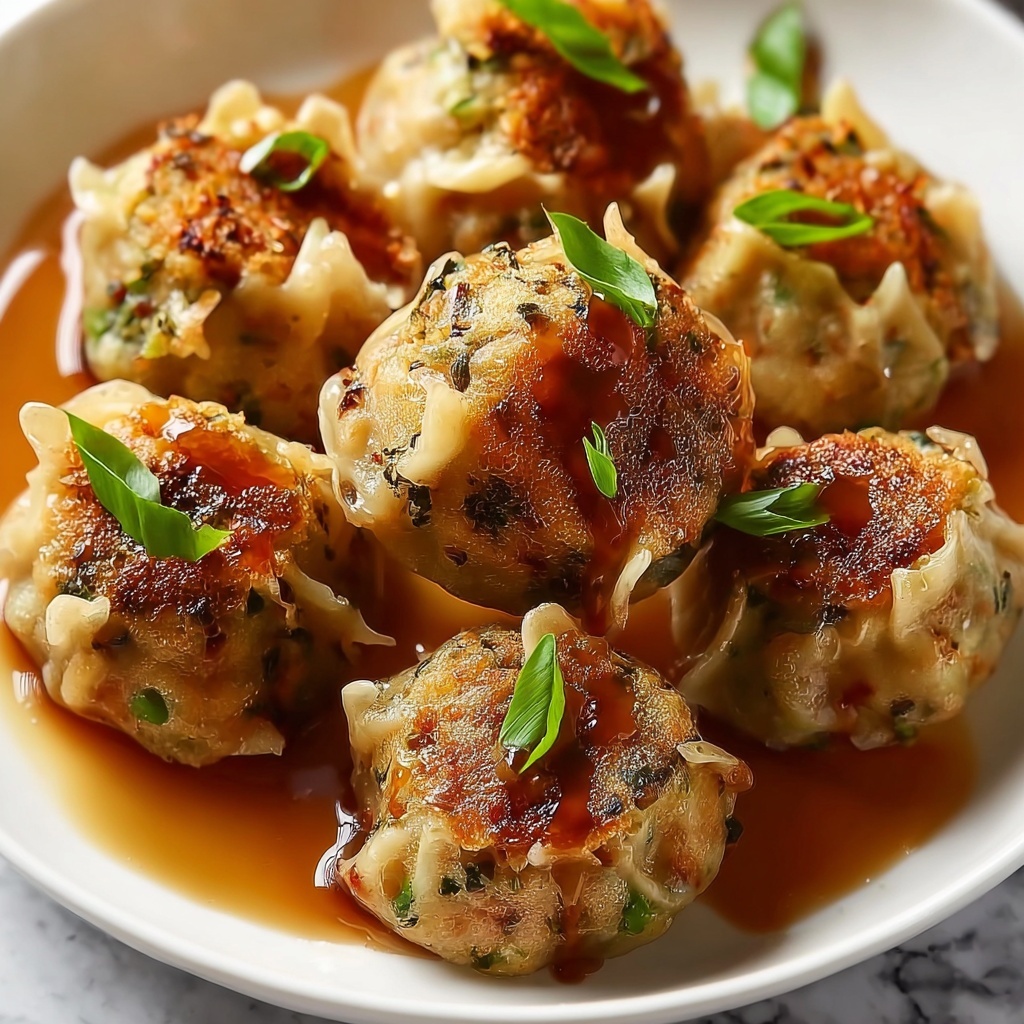
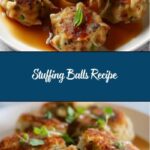
There is something irresistibly cozy about a batch of perfectly baked stuffing balls that just scream comfort food bliss. This Stuffing Balls Recipe captures that magic by turning traditional stuffing into delightful, bite-sized spheres packed with savory herbs, fresh vegetables, and a luscious creamy base. Whether you’re looking to jazz up your holiday spread or simply want a new way to enjoy classic stuffing flavors, these little gems deliver big on taste and texture, promising to become a beloved crowd-pleaser in your kitchen.
Ingredients You’ll Need
The beauty of this Stuffing Balls Recipe lies in its simplicity. Each ingredient plays a key role in building layers of flavor, from the buttery sautéed veggies to the aromatic herbs that make each bite sing. With just a handful of pantry staples and fresh herbs, you’ll have everything needed to create these delectable balls of comfort.
- Butter (4 tbsp or 1/4 cup): Essential for sautéing the vegetables and adding richness to the base flavor.
- Onion (1 medium, finely chopped): Adds sweetness and depth once softened in butter.
- Celery (1 cup, finely chopped): Provides a refreshing crunch and subtle earthiness to balance the stuffing.
- Dried breadcrumbs (5 cups): The foundation that soaks up flavors and gives structure to the balls.
- Dried sage (1 tsp): Infuses that unmistakable piney, slightly peppery warmth classic to stuffing recipes.
- Dried thyme (1 tbsp): Adds a gentle, herbal brightness that complements the sage perfectly.
- Fresh parsley (1 cup, chopped): Brings a vibrant green freshness and slight peppery note.
- Salt (1 tsp): Enhances all the natural flavors and balances the mixture.
- Freshly cracked black pepper (to taste): Gives a subtle kick and aroma to round out the seasoning.
- Cream of mushroom soup (1 can, 14 oz): The secret ingredient that adds creaminess and binds everything together beautifully; substitute with cream of chicken or celery if preferred.
How to Make Stuffing Balls Recipe
Step 1: Preheat and Prepare
Start by preheating your oven to 350°F (175°C) and lightly greasing a baking dish. This ensures your stuffing balls bake evenly and don’t stick, setting the stage for a perfectly golden exterior.
Step 2: Sauté the Vegetables
Melt the butter in a skillet over medium heat, then add the finely chopped onion and celery. Cook until both are softened, about 5 to 6 minutes. This cooking step softens the veggies and releases their natural sweetness, which really brings the stuffing balls to life.
Step 3: Cool the Veggie Mixture
Once the onion and celery are tender, remove the skillet from heat and let the mixture cool slightly. This prevents the hot vegetables from making the breadcrumbs soggy in the next step and helps your stuffing mixture hold together better.
Step 4: Mix the Stuffing Ingredients
In a large bowl, combine the dried breadcrumbs, sage, thyme, fresh parsley, salt, and black pepper. Stir in the cooled vegetable mixture along with the cream of mushroom soup until everything is thoroughly mixed and has a crumbly but moist texture. This mixture is what will become your stuffing balls, so make sure it’s well combined but not too wet.
Step 5: Form the Balls
Wet your hands slightly to prevent sticking and shape the stuffing mixture into meatball-sized balls. Place each one carefully into the prepared baking dish. The uniform size helps them cook evenly and makes serving a breeze.
Step 6: Bake to Perfection
Cover the dish with foil to keep moisture in and bake the stuffing balls for 25 minutes. Baking melds the flavors together and crisps the outer edges just enough for a delightful texture contrast.
Step 7: Let Rest and Serve
Once baked, let the stuffing balls rest for about 5 minutes. This brief pause allows them to firm up slightly, making them easier to serve and even more enjoyable to eat.
How to Serve Stuffing Balls Recipe
Garnishes
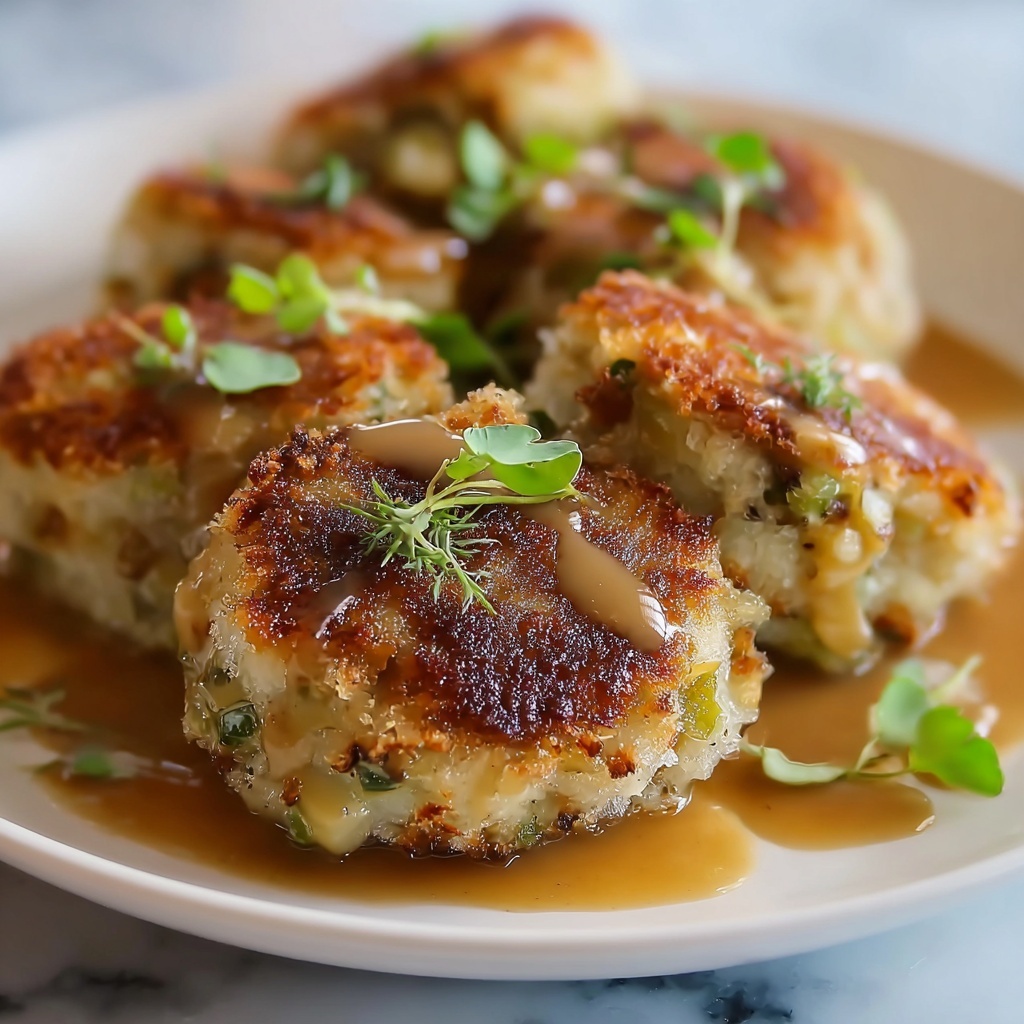
These stuffing balls are fantastic on their own, but a sprinkle of fresh chopped parsley or a few thyme sprigs on top adds vibrant color and fresh herbal notes that brighten every bite. For a special touch, a drizzle of browned butter or a light gravy makes them even more irresistible.
Side Dishes
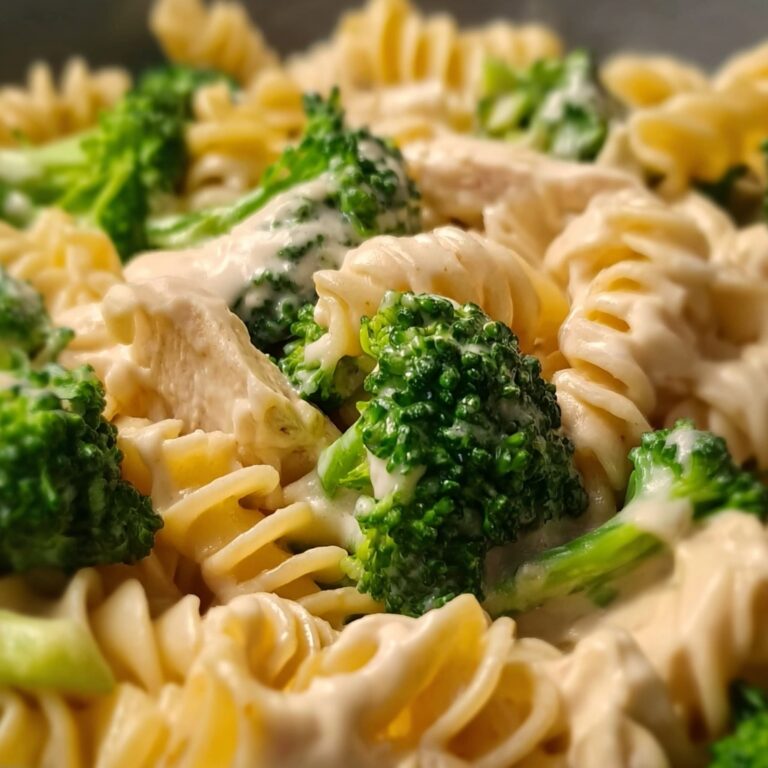
Stuffing balls pair perfectly with traditional holiday favorites like roast turkey or baked ham, but they also shine beside roasted vegetables, mashed potatoes, or crisp green salads. Their savory, herby flavor brings a delicious balance to any plate.
Creative Ways to Present
Get creative by serving Stuffing Balls Recipe in a fun appetizer style — think toothpicks for easy finger food at parties. You could also turn them into sliders with a small bun and cranberry sauce or create a stuffing ball platter featuring various dipping sauces like cranberry relish, creamy mustard, or herb aioli for a snack that’s anything but ordinary.
Make Ahead and Storage
Storing Leftovers
If you find yourself with leftovers, simply place the cooled stuffing balls in an airtight container and store them in the refrigerator for up to three days. This way, you can enjoy that comforting flavor all week long without any hassle.
Freezing
For longer storage, freeze the cooked stuffing balls in a single layer on a baking sheet until firm, then transfer them to a freezer-safe bag or container. They keep well for up to three months, making them a convenient make-ahead option for busy days or holiday prep.
Reheating
Reheat leftover stuffing balls in the oven at 350°F until warmed through and crisp on the outside, usually about 10-15 minutes. This method helps them regain their fresh-from-the-oven texture, something a microwave just can’t quite replicate.
FAQs
Can I make this Stuffing Balls Recipe gluten-free?
Absolutely! Just substitute the store-bought breadcrumbs with a gluten-free variety or use crushed gluten-free crackers. The rest of the ingredients and steps remain the same, delivering all the flavor without the gluten.
Can I use fresh herbs instead of dried?
Yes, fresh herbs are a wonderful addition and can be used instead of or alongside the dried. Just remember to use about three times the amount of fresh herbs as dried to get that full flavor impact.
Is it possible to bake stuffing balls without the soup?
The soup adds moisture and binds the ingredients together, but if you prefer to omit it, you can use a combination of broth and beaten eggs to help hold everything in place. Just make sure the mixture remains moist enough to form balls without crumbling.
How can I make these stuffing balls crispier?
For an extra crispy exterior, you can uncover the baking dish in the last 5-10 minutes of baking or even broil them for a minute or two at the end. Just watch closely so they don’t burn!
Can I customize the flavor of the stuffing balls?
Definitely! Feel free to add cooked sausage, nuts like pecans or walnuts, dried cranberries, or shredded cheese to personalize the stuffing balls to your taste and occasion.
Final Thoughts
There’s truly nothing like sharing a plate of warm, herbaceous stuffing balls with friends and family, especially when you know this Stuffing Balls Recipe is so simple yet bursting with flavor. Whether as a side dish or an appetizer, it’s a comforting, crowd-pleasing treat that shines any time of year. So go ahead, gather your ingredients, and make these delightful little bites your new favorite tradition!
Print
Stuffing Balls Recipe
- Prep Time: 15 minutes
- Cook Time: 25 minutes
- Total Time: 40 minutes
- Yield: 6 servings
- Category: Side Dish
- Method: Baking
- Cuisine: American
Description
This easy and flavorful Stuffing Balls recipe is a delicious twist on traditional stuffing, perfect as a side dish for holiday meals or everyday dinners. Made with sautéed onions and celery, mixed with aromatic herbs, breadcrumbs, and creamy mushroom soup, these savory balls are baked to golden perfection and offer a comforting texture and taste.
Ingredients
Veggies and Butter
- 4 tbsp (1/4 cup) butter
- 1 medium onion, finely chopped
- 1 cup celery, finely chopped (about 4 small stalks)
Dry Ingredients
- 5 cups dried store-bought breadcrumbs
- 1 tsp dried sage
- 1 tbsp dried thyme
- 1 cup fresh parsley, chopped
- 1 tsp salt
- Freshly cracked black pepper, to taste
Wet Ingredients
- 1 can (14 oz) cream of mushroom soup (or substitute with cream of chicken or celery soup)
Instructions
- Preheat Oven: Preheat your oven to 350°F (175°C) and lightly grease a baking dish to prevent sticking.
- Sauté Veggies: In a skillet over medium heat, melt the butter and add chopped onion and celery. Cook them until softened and fragrant, about 5-6 minutes.
- Cool Veggies: Remove the skillet from heat and let the sautéed vegetables cool slightly to prevent wilting the breadcrumbs and herbs in the next step.
- Mix Stuffing: In a large bowl, combine the breadcrumbs, dried sage, dried thyme, chopped parsley, salt, and freshly cracked black pepper. Stir in the cooled vegetable mixture along with the cream of mushroom soup until everything is well mixed and crumbly.
- Form Balls: Wet your hands to prevent sticking and shape the mixture into meatball-sized balls. Arrange them in the prepared baking dish.
- Bake: Cover the dish with foil to keep moisture in and bake in the preheated oven for 25 minutes until heated through and lightly golden.
- Cool and Serve: Allow the stuffing balls to rest for 5 minutes after removing from the oven. Serve warm as a comforting side dish.
Notes
- You can substitute cream of mushroom soup with cream of chicken or celery soup to vary the flavor.
- Make sure to let the sautéed vegetables cool before mixing to avoid soggy stuffing.
- For a gluten-free version, use gluten-free breadcrumbs.
- These stuffing balls can be prepared a day ahead and refrigerated before baking.
- If you want a crispier exterior, uncover during the last 5 minutes of baking.

