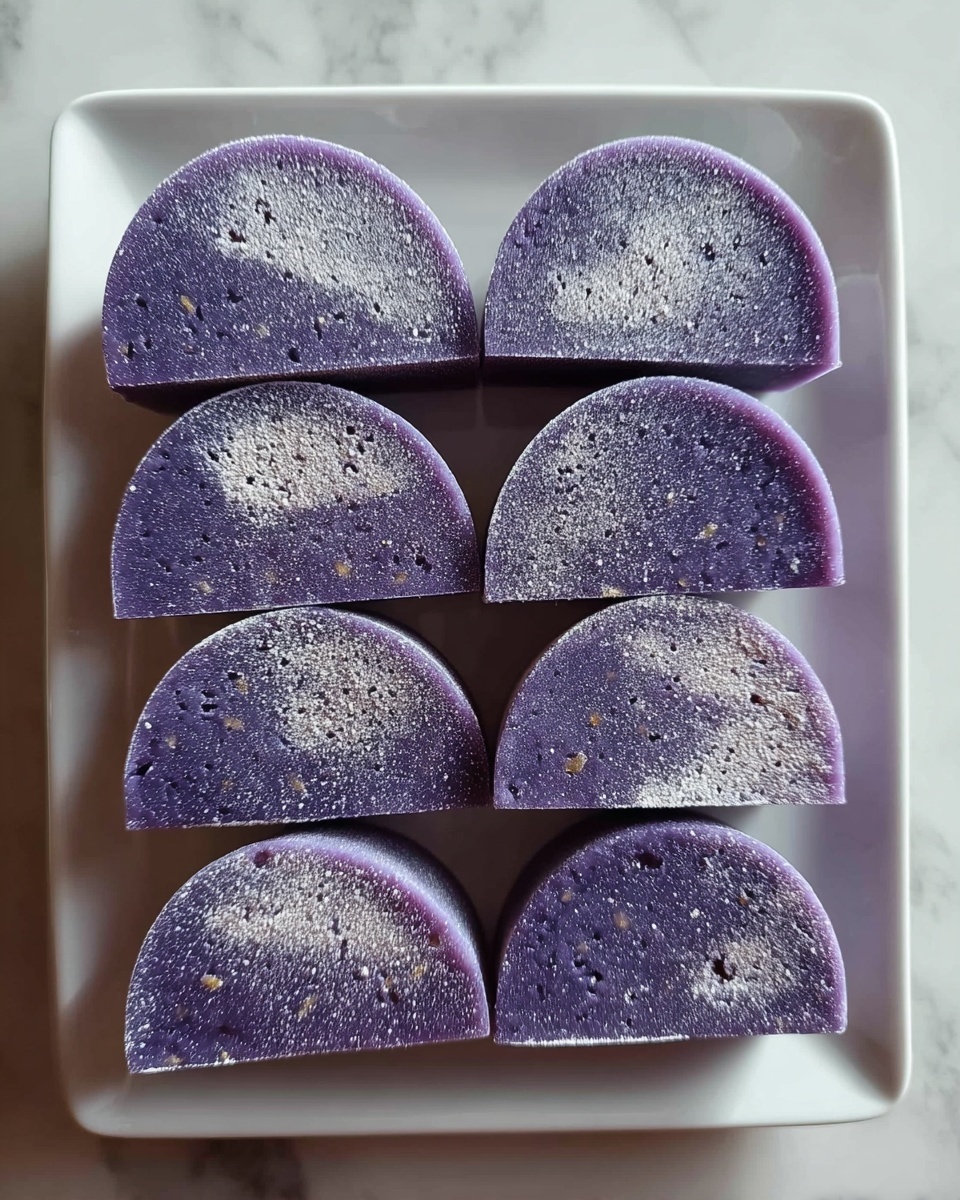
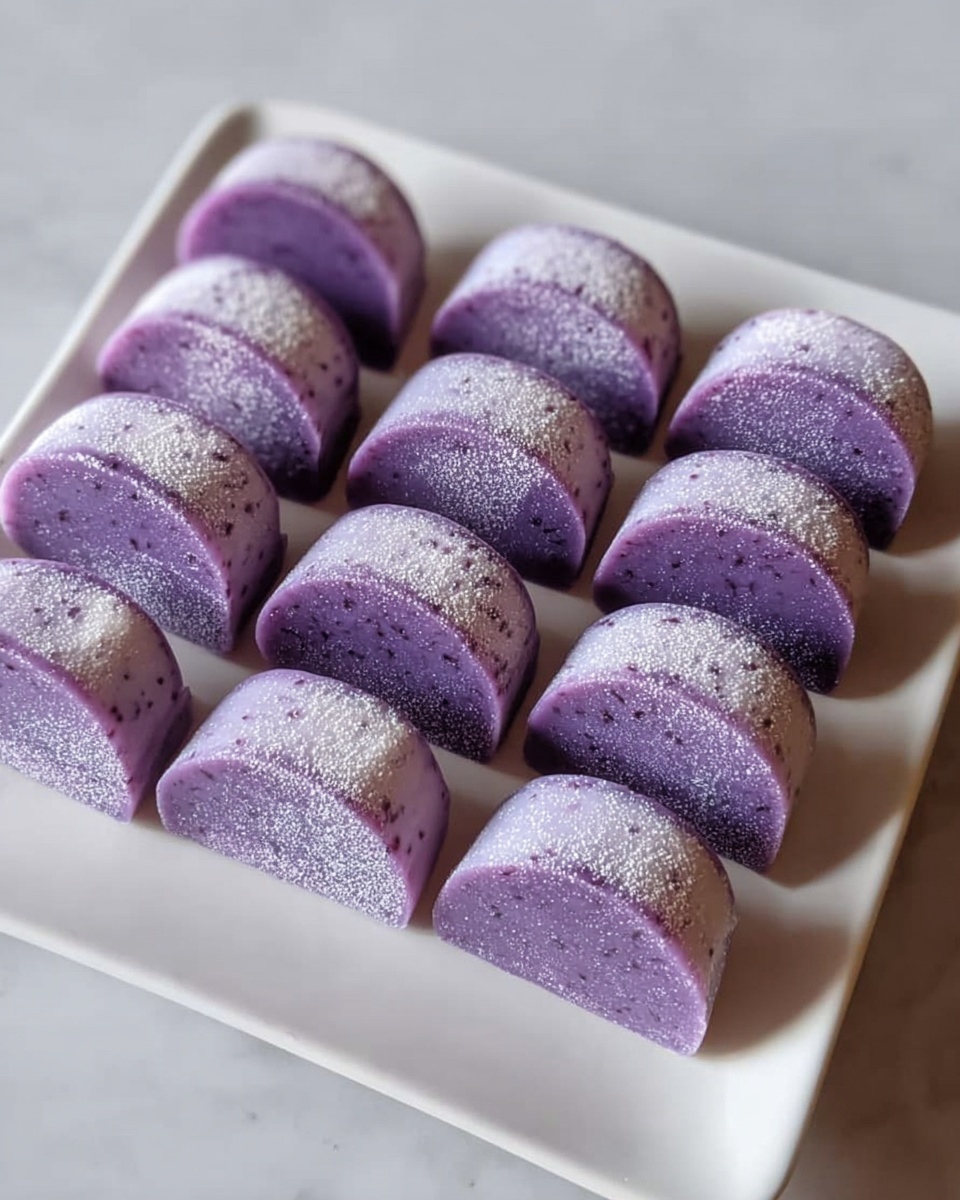
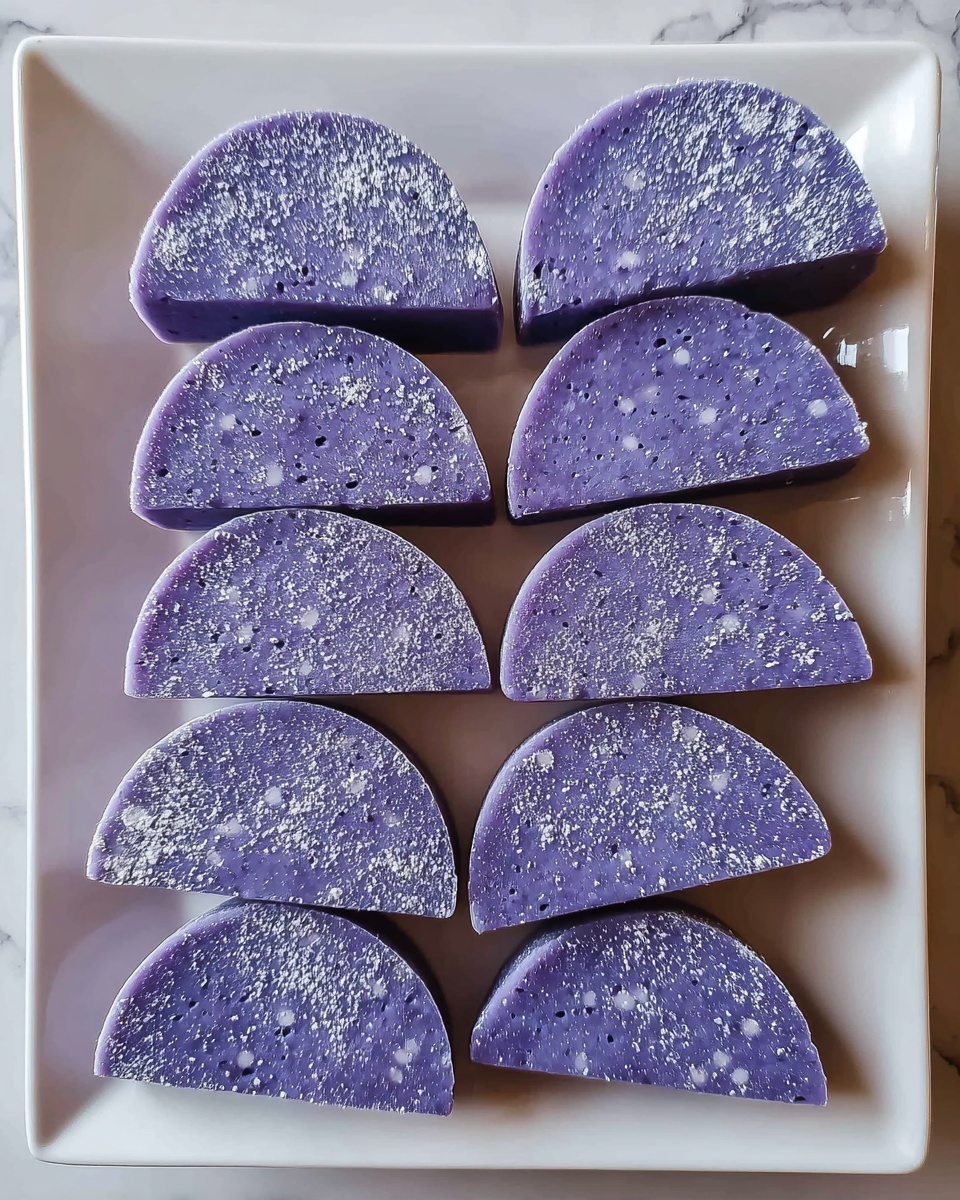
If you’ve ever wanted to try a treat that’s as captivating to the eyes as it is to the taste buds, then you are going to adore this Ube Mochi Recipe. This delightful Filipino-inspired dessert brings together the vibrant purple hue and subtly sweet flavor of ube with the chewy, tender goodness of mochi. Each bite offers a perfect balance of creamy richness and soft texture that feels like a hug in dessert form. Whether you’re new to making mochi or a seasoned enthusiast, this recipe will become one of your favorites to whip up and share with friends and family.
Ingredients You’ll Need
Don’t underestimate the simplicity of this ingredient list — each component plays a crucial role in creating the perfect ube mochi, contributing not just flavor but also that signature texture and look you’ll love. The magic really begins when these humble ingredients unite.
- 1 cup glutinous rice flour (mochiko): The foundation of your mochi dough, providing that signature chewy texture.
- ¾ cup granulated sugar: Sweetens the dough just right, balancing the earthiness of ube.
- 1 cup coconut milk (or regular milk): Adds natural creaminess and a subtle tropical twist if you choose coconut milk.
- 2 tablespoons ube extract (or ube halaya, mashed): This is the star ingredient giving that unmistakable purple color and flavor.
- Purple food coloring (optional): Use this if you want a more vibrant, eye-catching hue.
- Cornstarch or potato starch: Essential for dusting your surface and mochi balls to keep them from sticking.
- Filling options (optional): Choose from ube halaya (ube jam), sweetened red bean paste (anko), coconut flakes, or custard cream to add a delightful surprise inside.
How to Make Ube Mochi Recipe
Step 1: Combine Your Ingredients
Start by whisking together the glutinous rice flour, sugar, coconut milk, and ube extract or mashed ube halaya in a microwave-safe bowl until the mixture is smooth and even. Adding purple food coloring at this stage will give your dough an extra pop of color, making it irresistibly vibrant.
Step 2: Microwave the Dough
Cover your bowl with plastic wrap and microwave it on high for one minute. Then, take it out and stir thoroughly with a silicone spatula. Repeat this cycle two more times, stirring after each minute, until your mochi dough becomes translucent and sticky. The transformation here is simply mesmerizing!
Step 3: Knead Gently if Needed
If you notice lumps in the dough, carefully transfer it onto a cornstarch-dusted surface and gently knead until silky smooth. Be mindful as the dough will still be hot, so take your time here — this step guarantees a velvety texture.
Step 4: Let the Dough Cool Slightly
Allow your mochi dough to cool just enough so you can comfortably handle it without hurting yourself. Patience in this step makes shaping so much easier.
Step 5: Prepare Your Work Surface
Dust a clean countertop or cutting board generously with cornstarch or potato starch. This will keep your mochi dough from sticking and make the shaping process a breeze.
Step 6: Portion and Flatten the Dough
Divide your dough into 24 equal portions, covering the remainder to prevent drying while you work. Then, flatten each portion into a 2-3 inch round disc using your fingers or a rolling pin — this thin disc is the perfect base for adding your choice of filling.
Step 7: Add Delicious Filling (Optional)
Place a small spoonful of your chosen filling like ube halaya, sweetened red bean paste, coconut flakes, or even custard cream in the center of each disc. The surprise center elevates every bite!
Step 8: Seal and Shape the Mochi
Pinch the edges of the dough together around the filling, sealing it completely. Roll the mochi between your palms until it forms a smooth, round ball. This sealing is the magic that holds your sweet surprise inside.
Step 9: Dust and Repeat
Generously dust each finished mochi ball with starch so they don’t stick together. Repeat the flatten-filling-seal steps with the rest of your dough and filling, and soon you’ll have a beautiful batch ready.
Step 10: Serve Fresh for Best Results
The softest, chewiest Ube Mochi Recipe experience comes from enjoying them fresh. Serve them as soon as you finish making to savor every bit of that delightful texture.
How to Serve Ube Mochi Recipe
Garnishes
Adding a simple garnish can elevate your ube mochi to dessert-table stardom. Toasted coconut flakes sprinkled on top add an addictive crunch, while a light dusting of powdered sugar lends an elegant touch. For a vibrant finish, scatter some edible gold dust or tiny edible flowers.
Side Dishes
Ube mochi shines on its own but pairs wonderfully with a cup of hot green tea or matcha latte, which balances the sweetness with a subtle earthiness. For a more indulgent dessert spread, serve alongside fresh tropical fruits like mango or pineapple for a refreshing contrast.
Creative Ways to Present
For parties or special occasions, consider serving your mochi on colorful banana leaves or in cute cupcake liners for a festive look. Or, stack an assortment of ube mochi balls on a tiered dessert stand to showcase their pretty purple hues. Another fun idea—skewer a few mochi balls with fruit for a playful dessert kebab.
Make Ahead and Storage
Storing Leftovers
If you need to keep mochi for later, store them in an airtight container at room temperature. They stay best within one to two days, maintaining that soft and chewy texture that makes this Ube Mochi Recipe so special.
Freezing
You can freeze your mochi balls if you want to save them longer. Place them on a baking sheet dusted with starch and freeze individually before transferring to a freezer-safe container or bag. Thaw at room temperature when you’re ready to enjoy.
Reheating
Gently warm mochi in the microwave for about 10-15 seconds to regain their tender chewiness. Be cautious not to overheat, or you might lose the ideal texture. A quick steam can also soften them without drying out the dough.
FAQs
Can I use regular milk instead of coconut milk in this Ube Mochi Recipe?
Absolutely! Regular milk works fine and still creates a delicious mochi, but coconut milk adds a subtle richness and tropical flavor that complements the ube beautifully.
Is ube extract different from ube halaya?
Ube extract is a concentrated flavoring, usually liquid, while ube halaya is a cooked ube jam that’s thicker and has texture. Both work great in the mochi dough, but using halaya adds extra creaminess and authenticity.
Can I make this Ube Mochi Recipe without a microwave?
Yes! You can cook the mochi dough on the stovetop over low heat, stirring constantly until it reaches that sticky and translucent stage. It may take a bit longer, but the result is just as wonderful.
What are some alternative fillings if I don’t have ube halaya or red bean paste?
Feel free to get creative! Mashed sweet potatoes, chocolate chips, or even nut butters can be fun surprises inside your mochi balls.
How do I prevent gluten from forming and keeps the mochi chewy?
The key is using glutinous rice flour rather than regular rice flour or wheat flour. It gives mochi that unique chewy quality without developing gluten.
Final Thoughts
Making this Ube Mochi Recipe is such a joyful adventure — from the beautiful purple dough to the satisfying chew and sweet filling surprise. It’s a lovely treat to brighten your day or impress guests with a homemade Filipino delicacy. Give it a try, and prepare to fall in love with every delightful bite!
Print
Ube Mochi Recipe
- Prep Time: 15 minutes
- Cook Time: 3 minutes
- Total Time: 1 hour 15 minutes (including cooling and assembly)
- Yield: 24 servings
- Category: Dessert
- Method: Microwaving
- Cuisine: Filipino
- Diet: Vegetarian
Description
Ube Mochi is a chewy and colorful Filipino dessert made from glutinous rice flour and infused with vibrant purple ube extract or ube halaya. These sweet mochi balls feature a soft, sticky texture and can be filled with a variety of fillings such as ube jam, sweetened red bean paste, coconut flakes, or custard cream. Quick to make using the microwave, this treat is best enjoyed fresh but can be stored for a day or two.
Ingredients
Mochi Dough
- 1 cup glutinous rice flour (mochiko)
- ¾ cup granulated sugar
- 1 cup coconut milk (or regular milk)
- 2 tablespoons ube extract (or ube halaya, mashed)
- Purple food coloring (optional, for more vibrant color)
- Cornstarch or potato starch, for dusting
Filling (Optional)
- Ube halaya (ube jam)
- Sweetened red bean paste (anko)
- Coconut flakes
- Custard cream
Instructions
- Combine Ingredients: In a microwave-safe bowl, whisk together the glutinous rice flour, sugar, coconut milk, and ube extract or mashed ube halaya until smooth. Add purple food coloring if desired and mix until the color is well incorporated.
- Microwave: Cover the bowl with plastic wrap and microwave on high for 1 minute. Remove and stir the mixture thoroughly with a silicone spatula. Cover again and microwave for another minute, then stir again. Repeat the process for a third minute until the dough becomes translucent and sticky.
- Knead (Optional): If there are lumps, transfer the hot dough onto a surface lightly dusted with cornstarch or potato starch and knead gently for a minute or two until smooth, being cautious of the heat.
- Cool: Allow the dough to cool slightly until it is comfortable to handle without burning your hands.
- Prepare Work Surface: Generously dust a clean flat surface with cornstarch or potato starch to prevent sticking.
- Divide Dough: Portion the mochi dough into 24 equal pieces, keeping the remaining dough covered to avoid drying out.
- Flatten Dough: Take one dough portion and flatten it into a round disc about 2 to 3 inches in diameter using your fingers or a small rolling pin.
- Add Filling (Optional): Place a small amount of your preferred filling such as ube halaya, red bean paste, coconut flakes, or custard cream in the center of the flattened dough piece.
- Seal the Mochi: Carefully gather the edges of the dough around the filling, pinching them tightly to seal completely. Roll the mochi between your palms to form a smooth ball.
- Dust with Starch: Generously dust the finished mochi ball with cornstarch or potato starch to prevent sticking.
- Repeat: Repeat steps 7 to 10 with the remaining dough pieces and fillings.
- Serve Immediately: Enjoy the ube mochi fresh for the softest and chewiest texture.
- Store Properly: If not serving right away, store the mochi balls in an airtight container at room temperature and consume within 1 to 2 days for best texture.
Notes
- Use purple food coloring if you want a more vivid purple hue in the mochi.
- The mochi dough can be sticky and hot after microwaving; handle with care.
- Fillings are optional; you can enjoy the mochi plain or with any filling you prefer.
- Store mochi at room temperature only, refrigeration may harden them.
- Consume mochi within 1-2 days for optimal freshness and texture.
